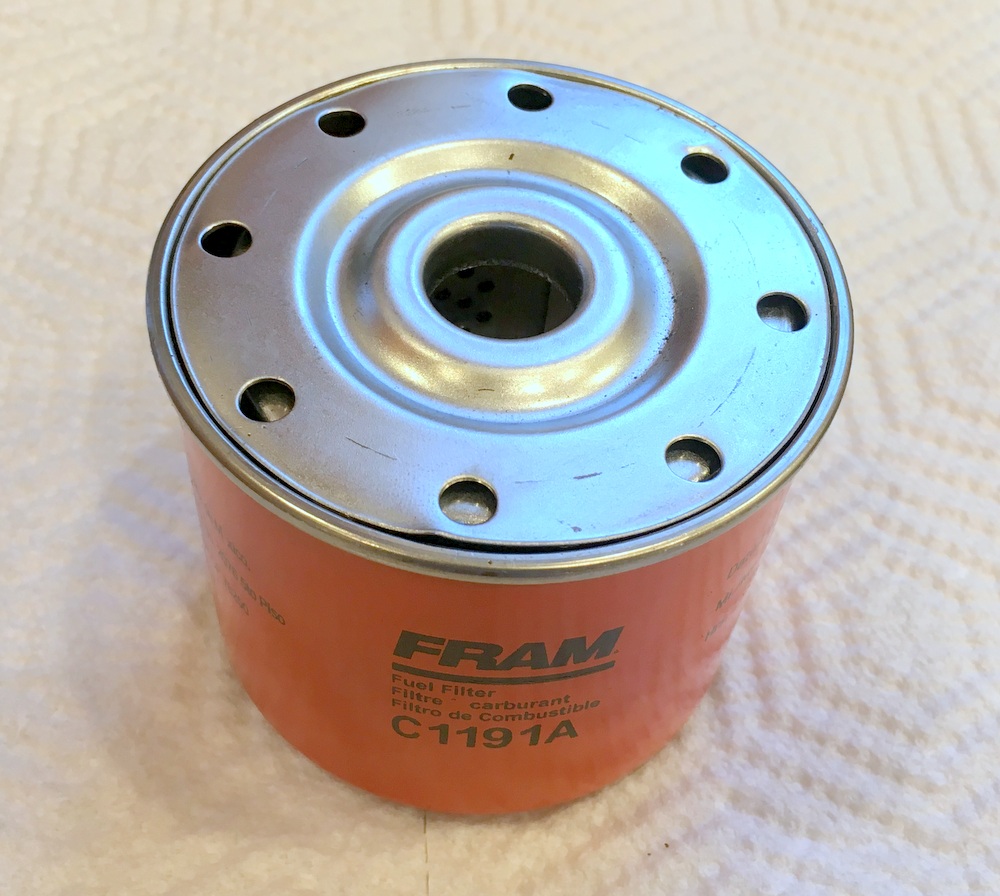
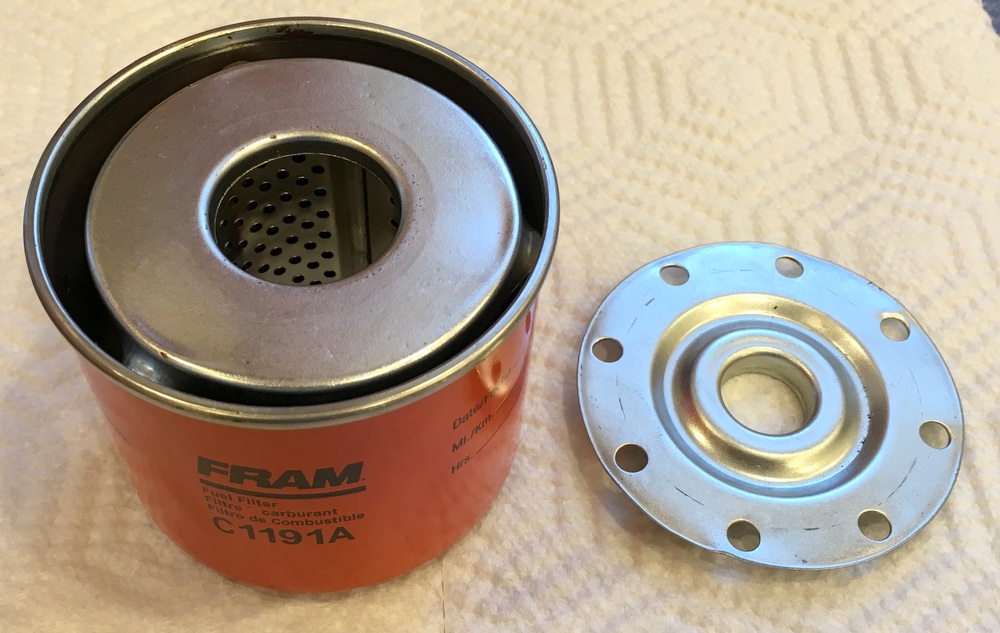
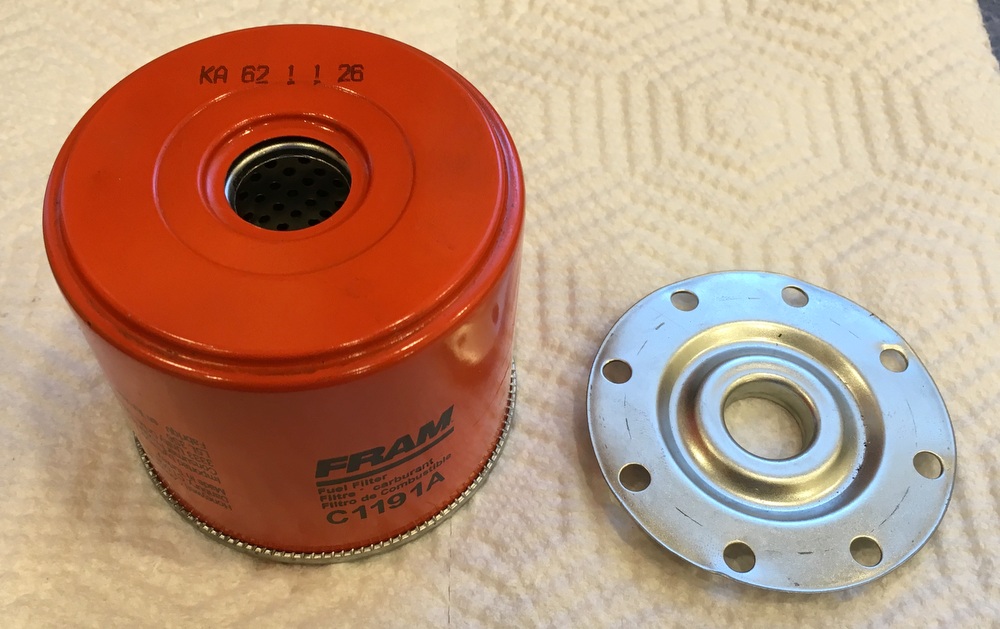
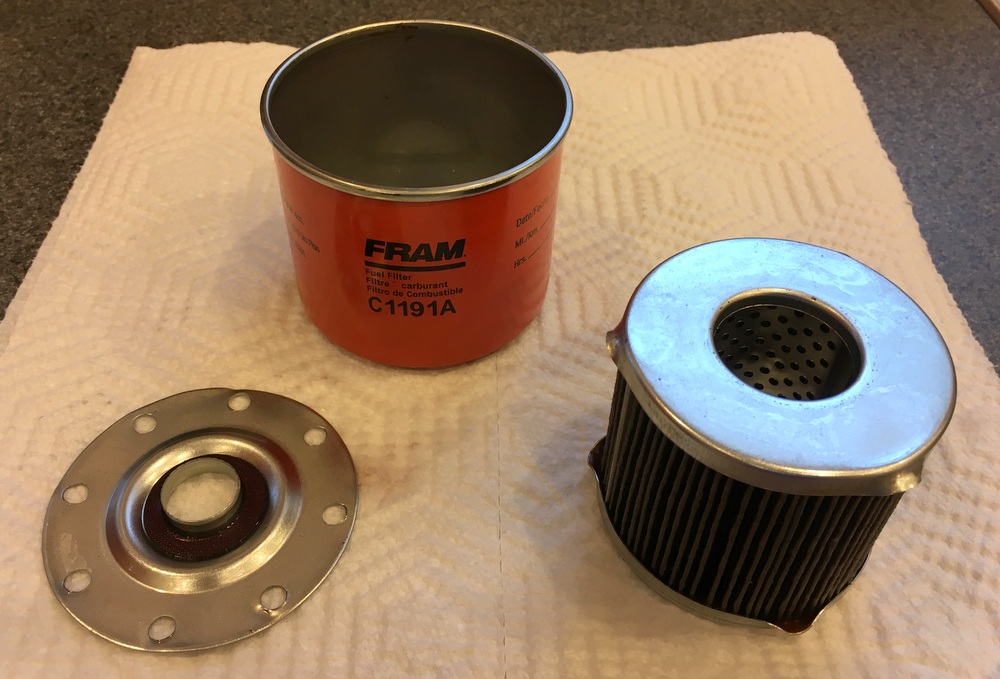
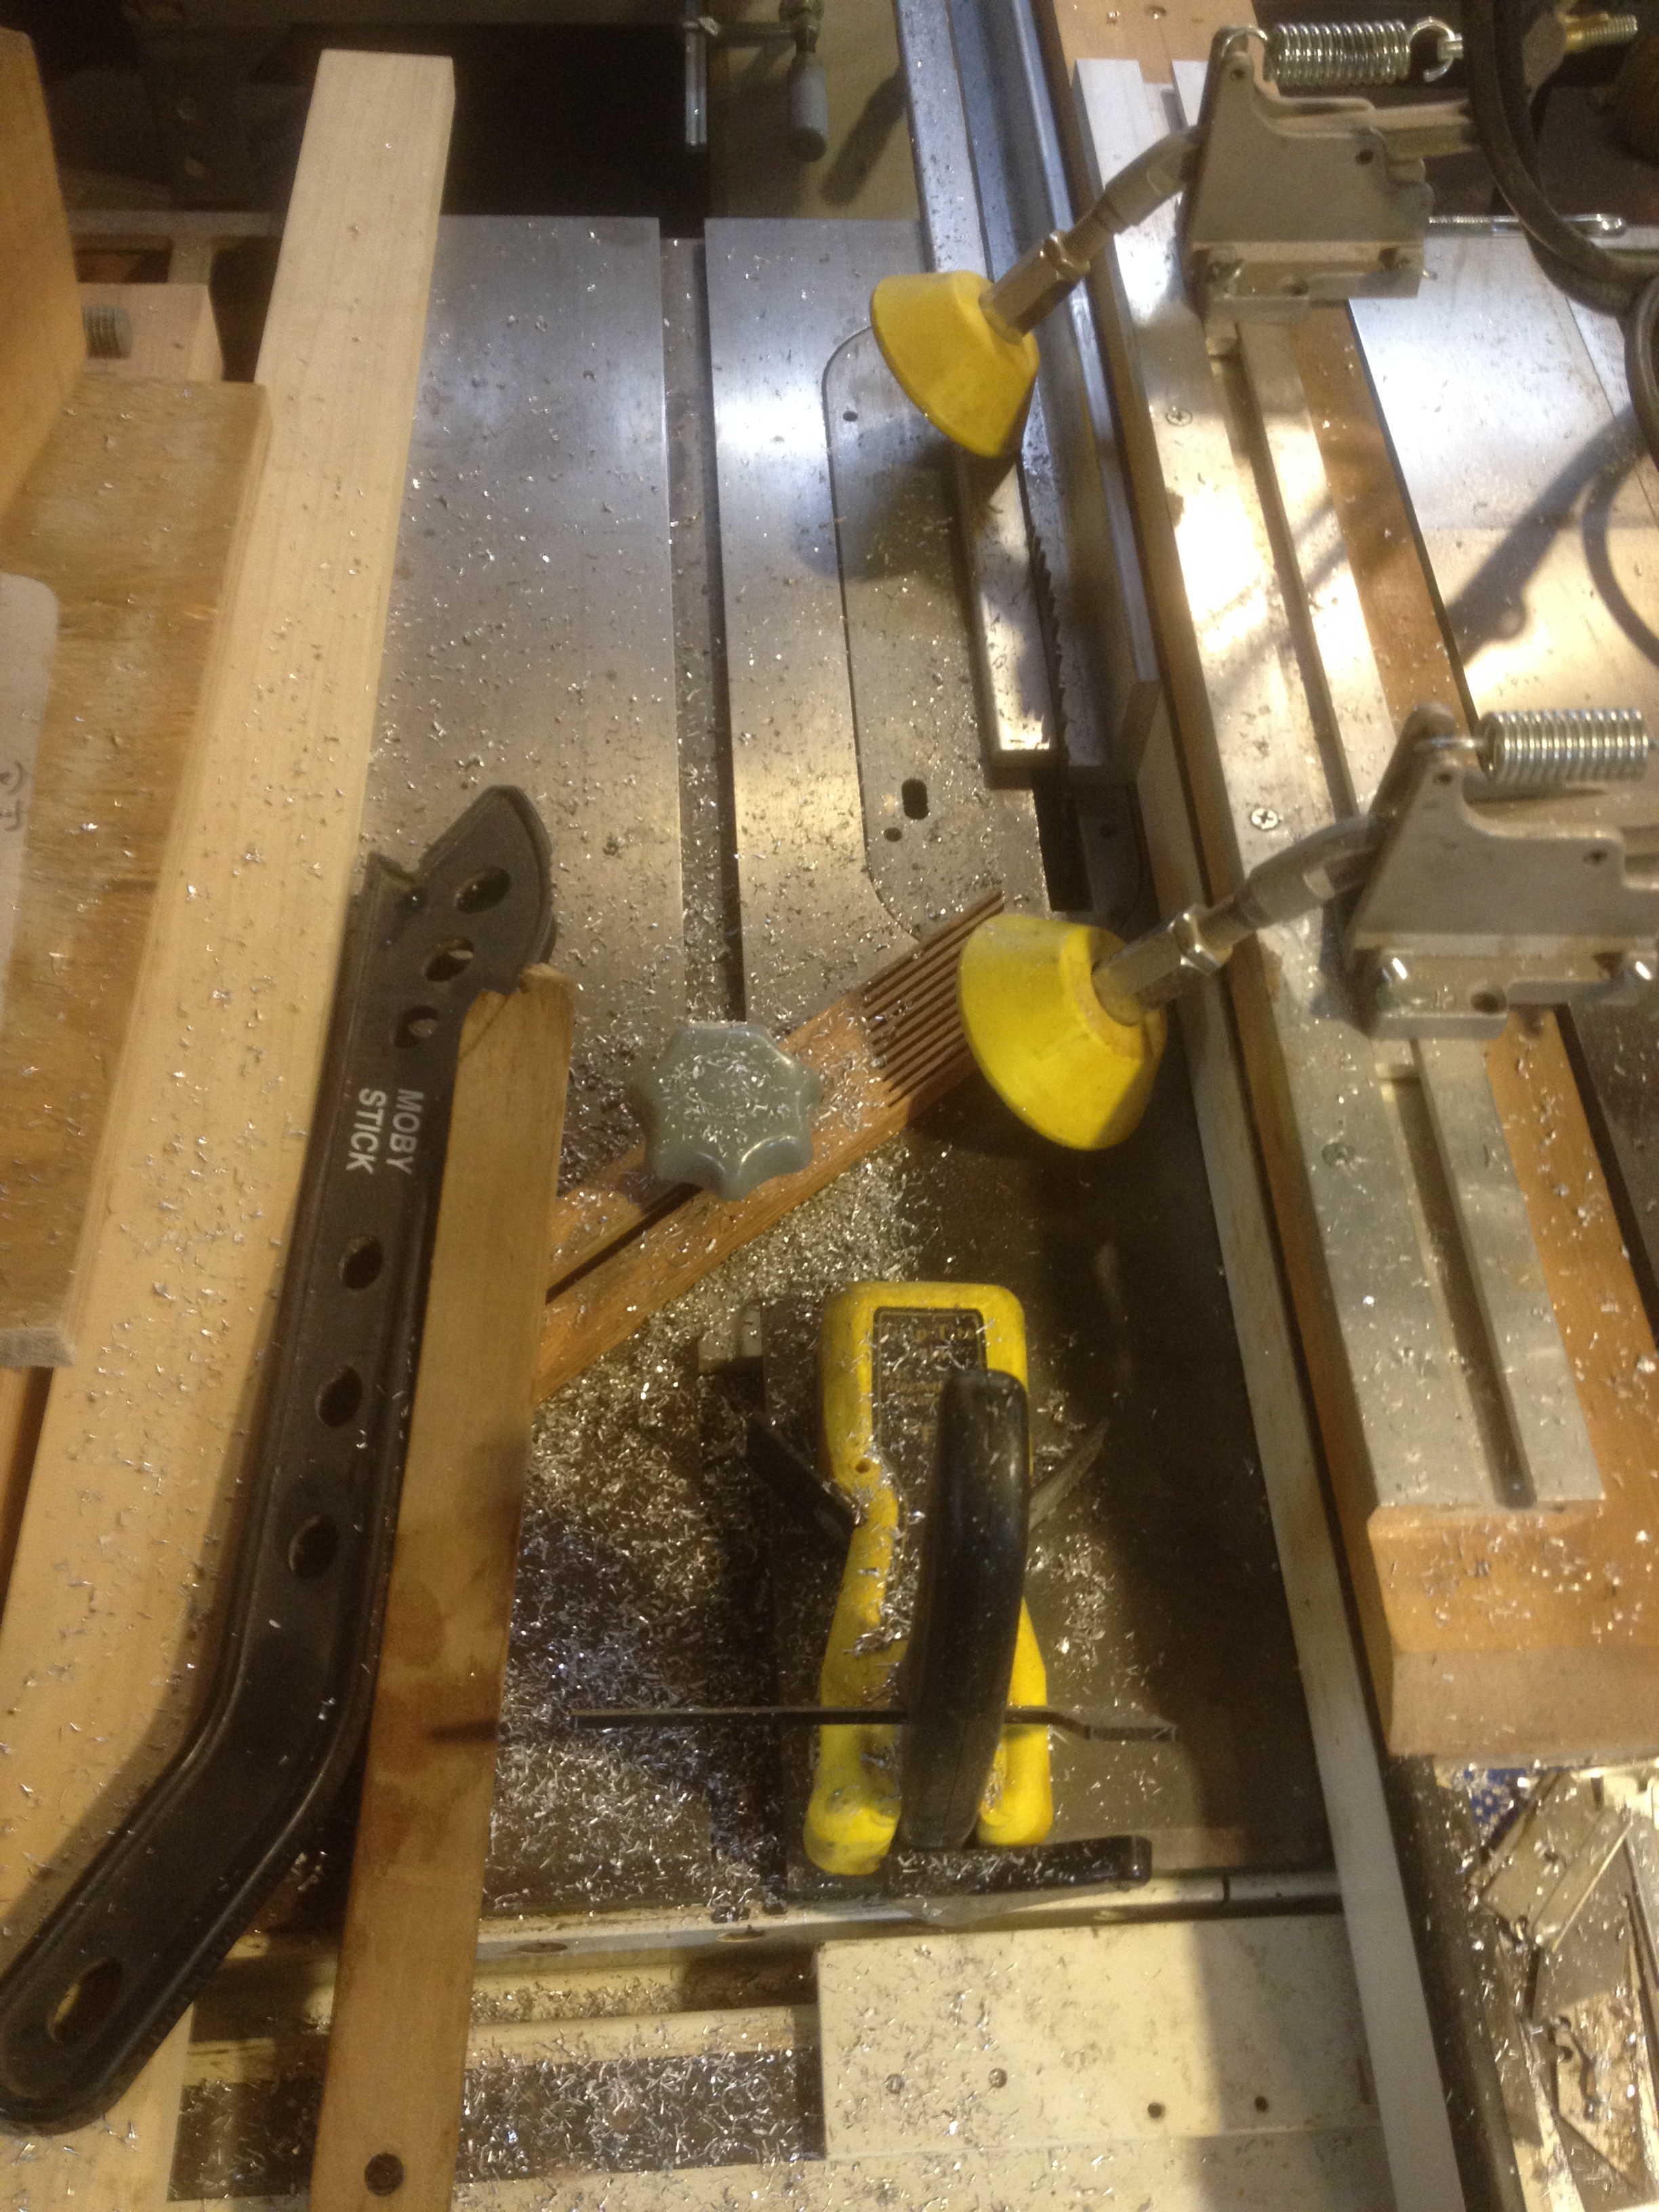
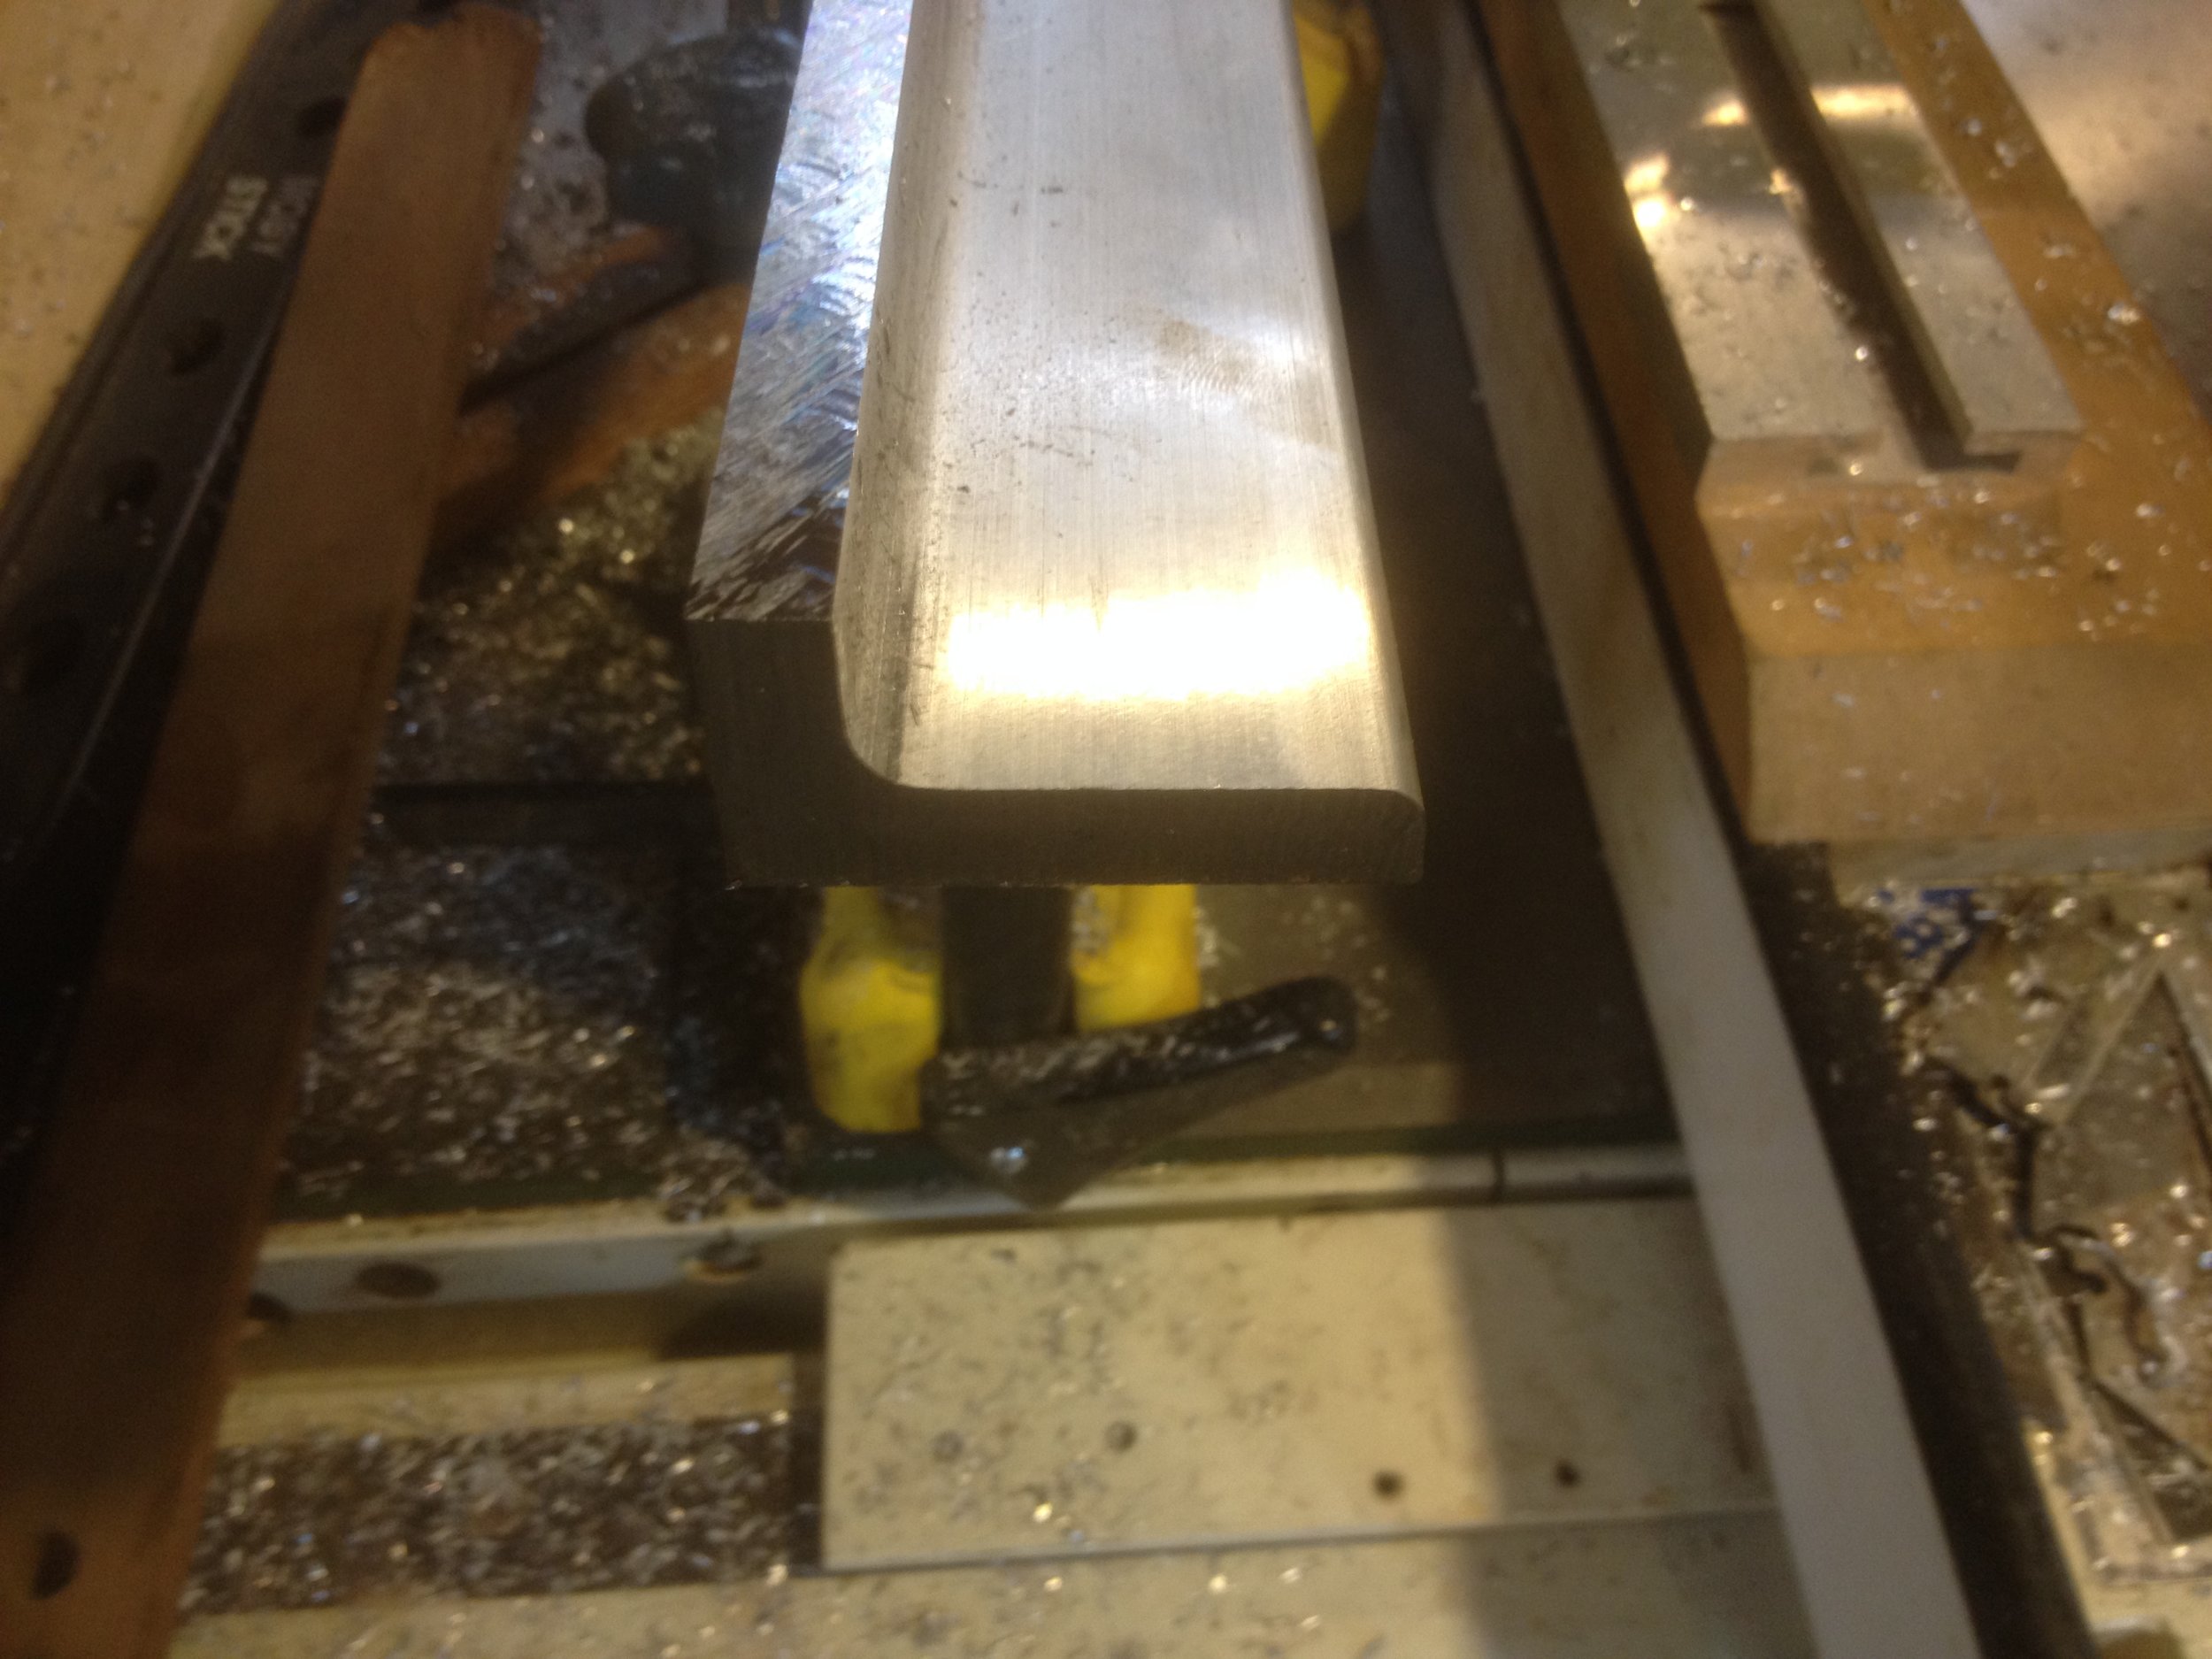
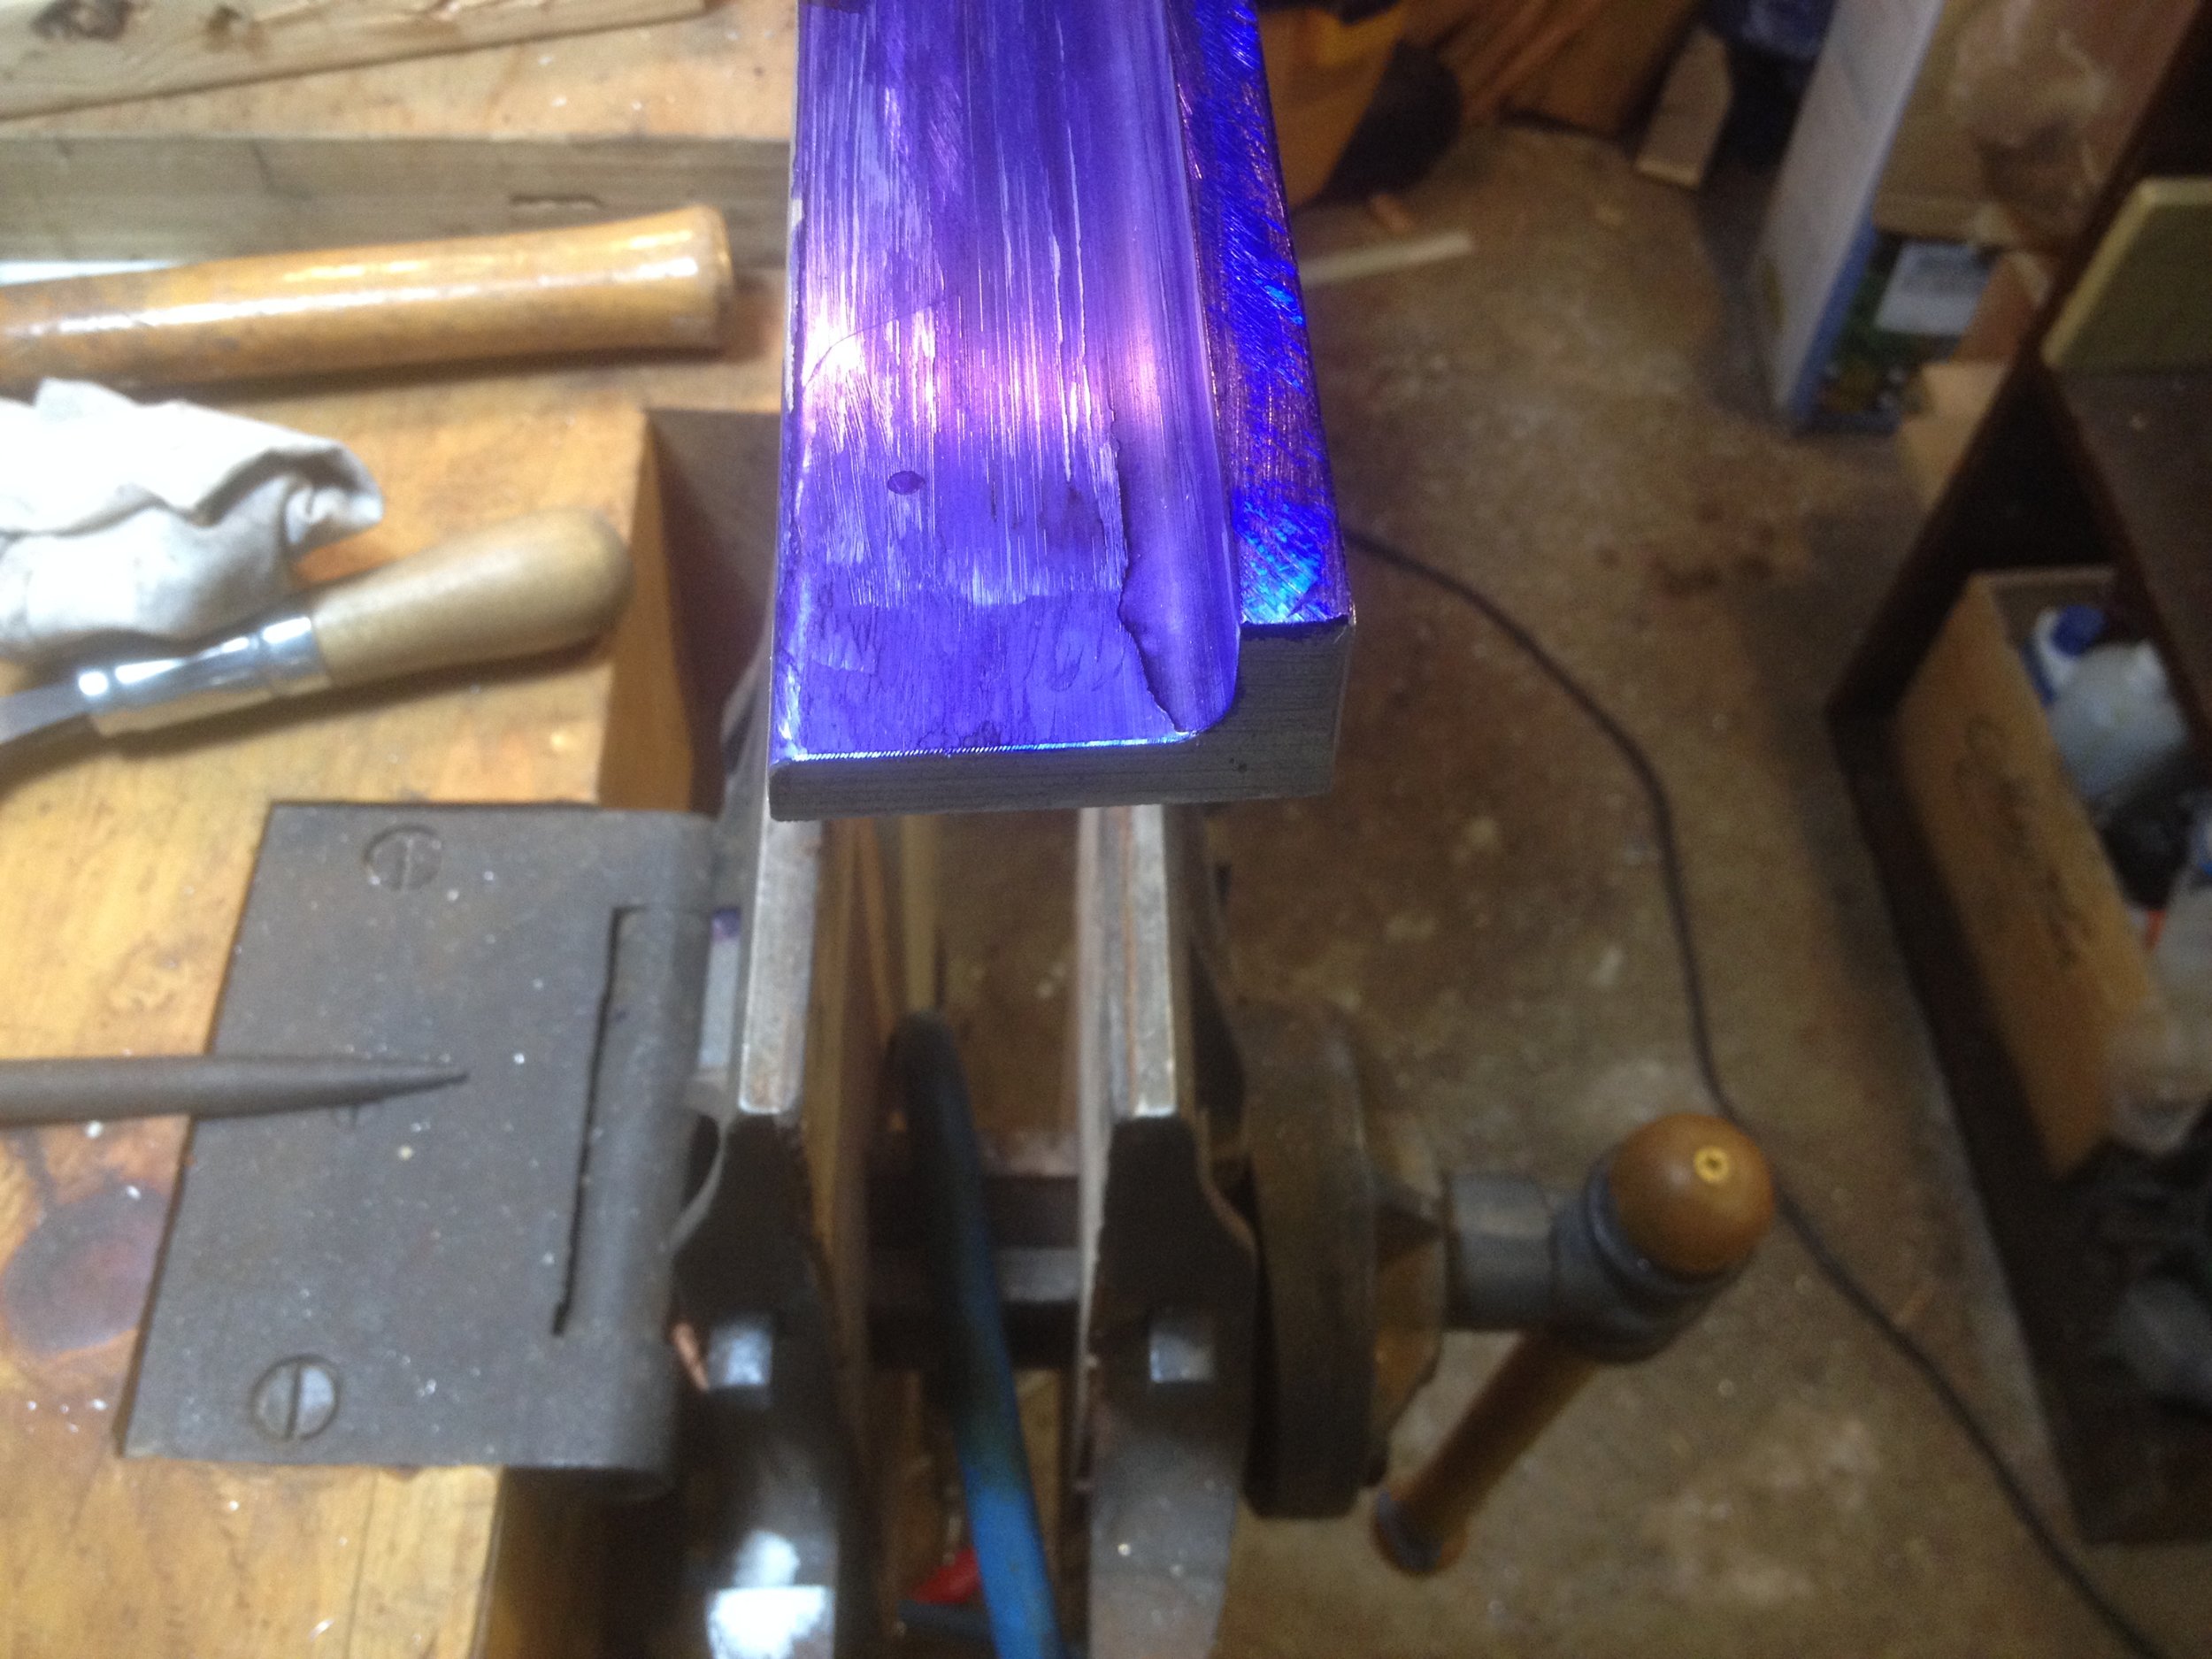
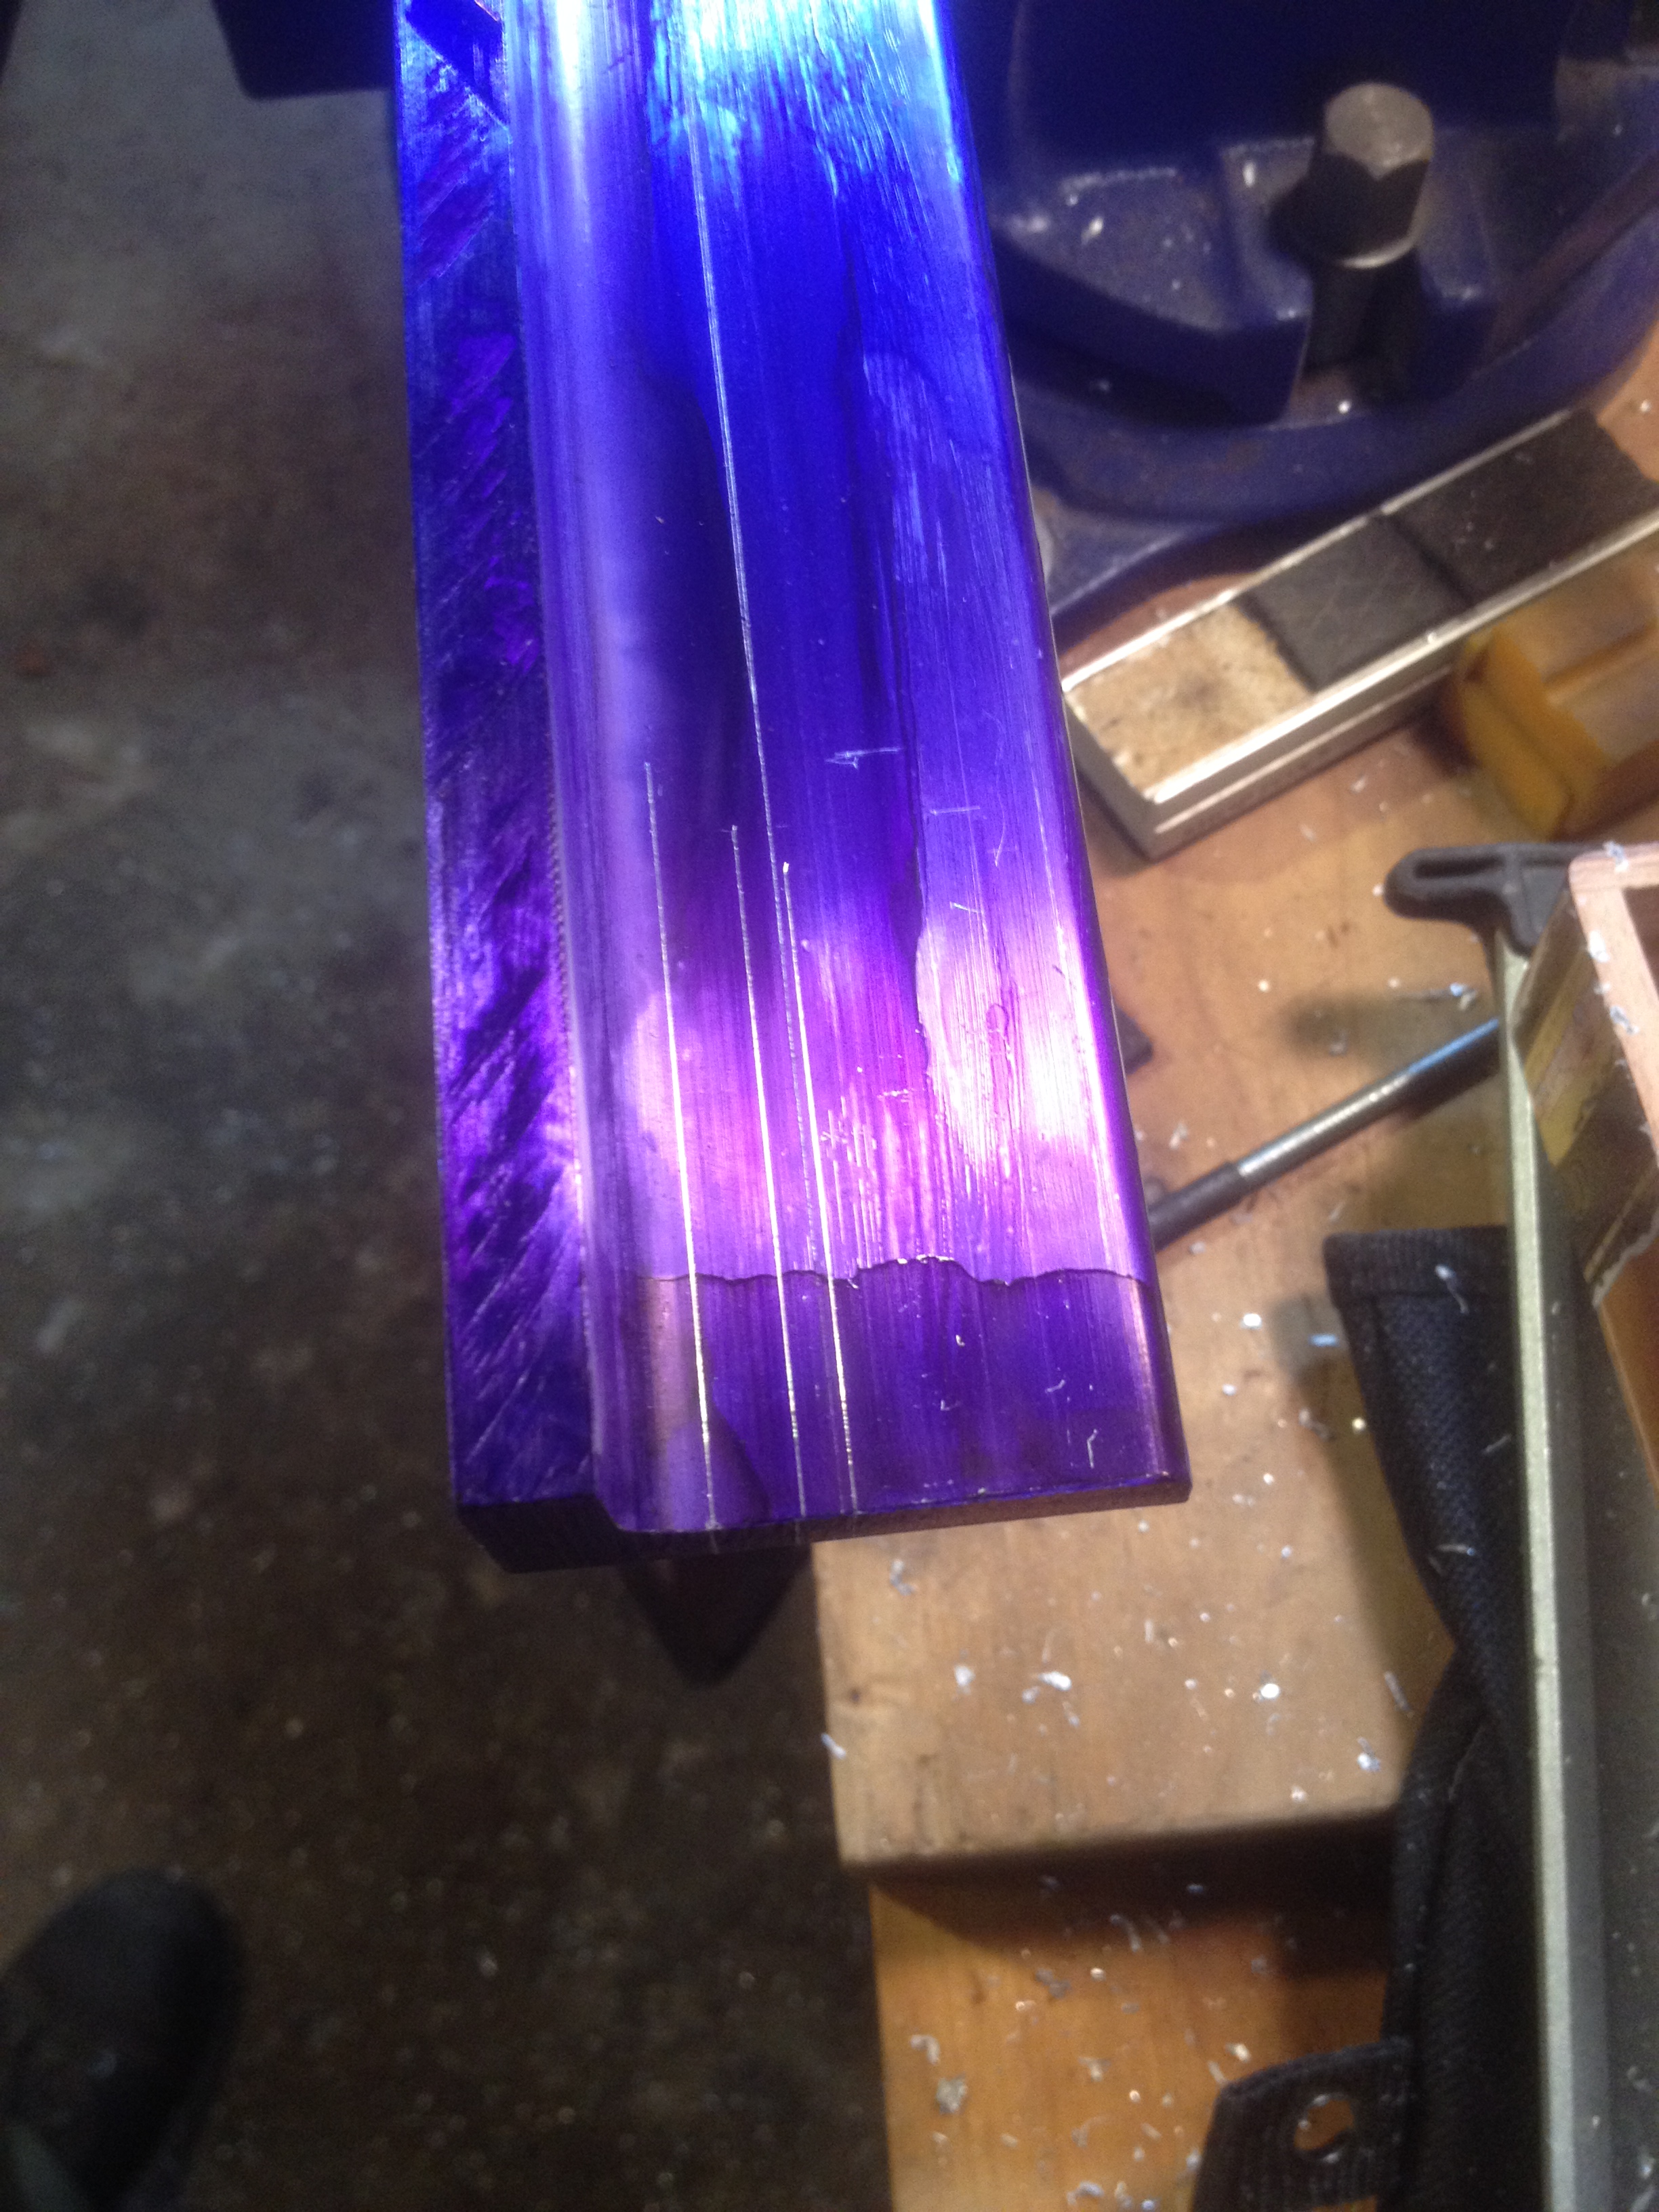
What's inside a fuel filter?

This design is open on both ends, a bolt passes through the center and clamps an end cap on the filter bottom. Many others are spin on and closed on the end, they look just like oil filters.

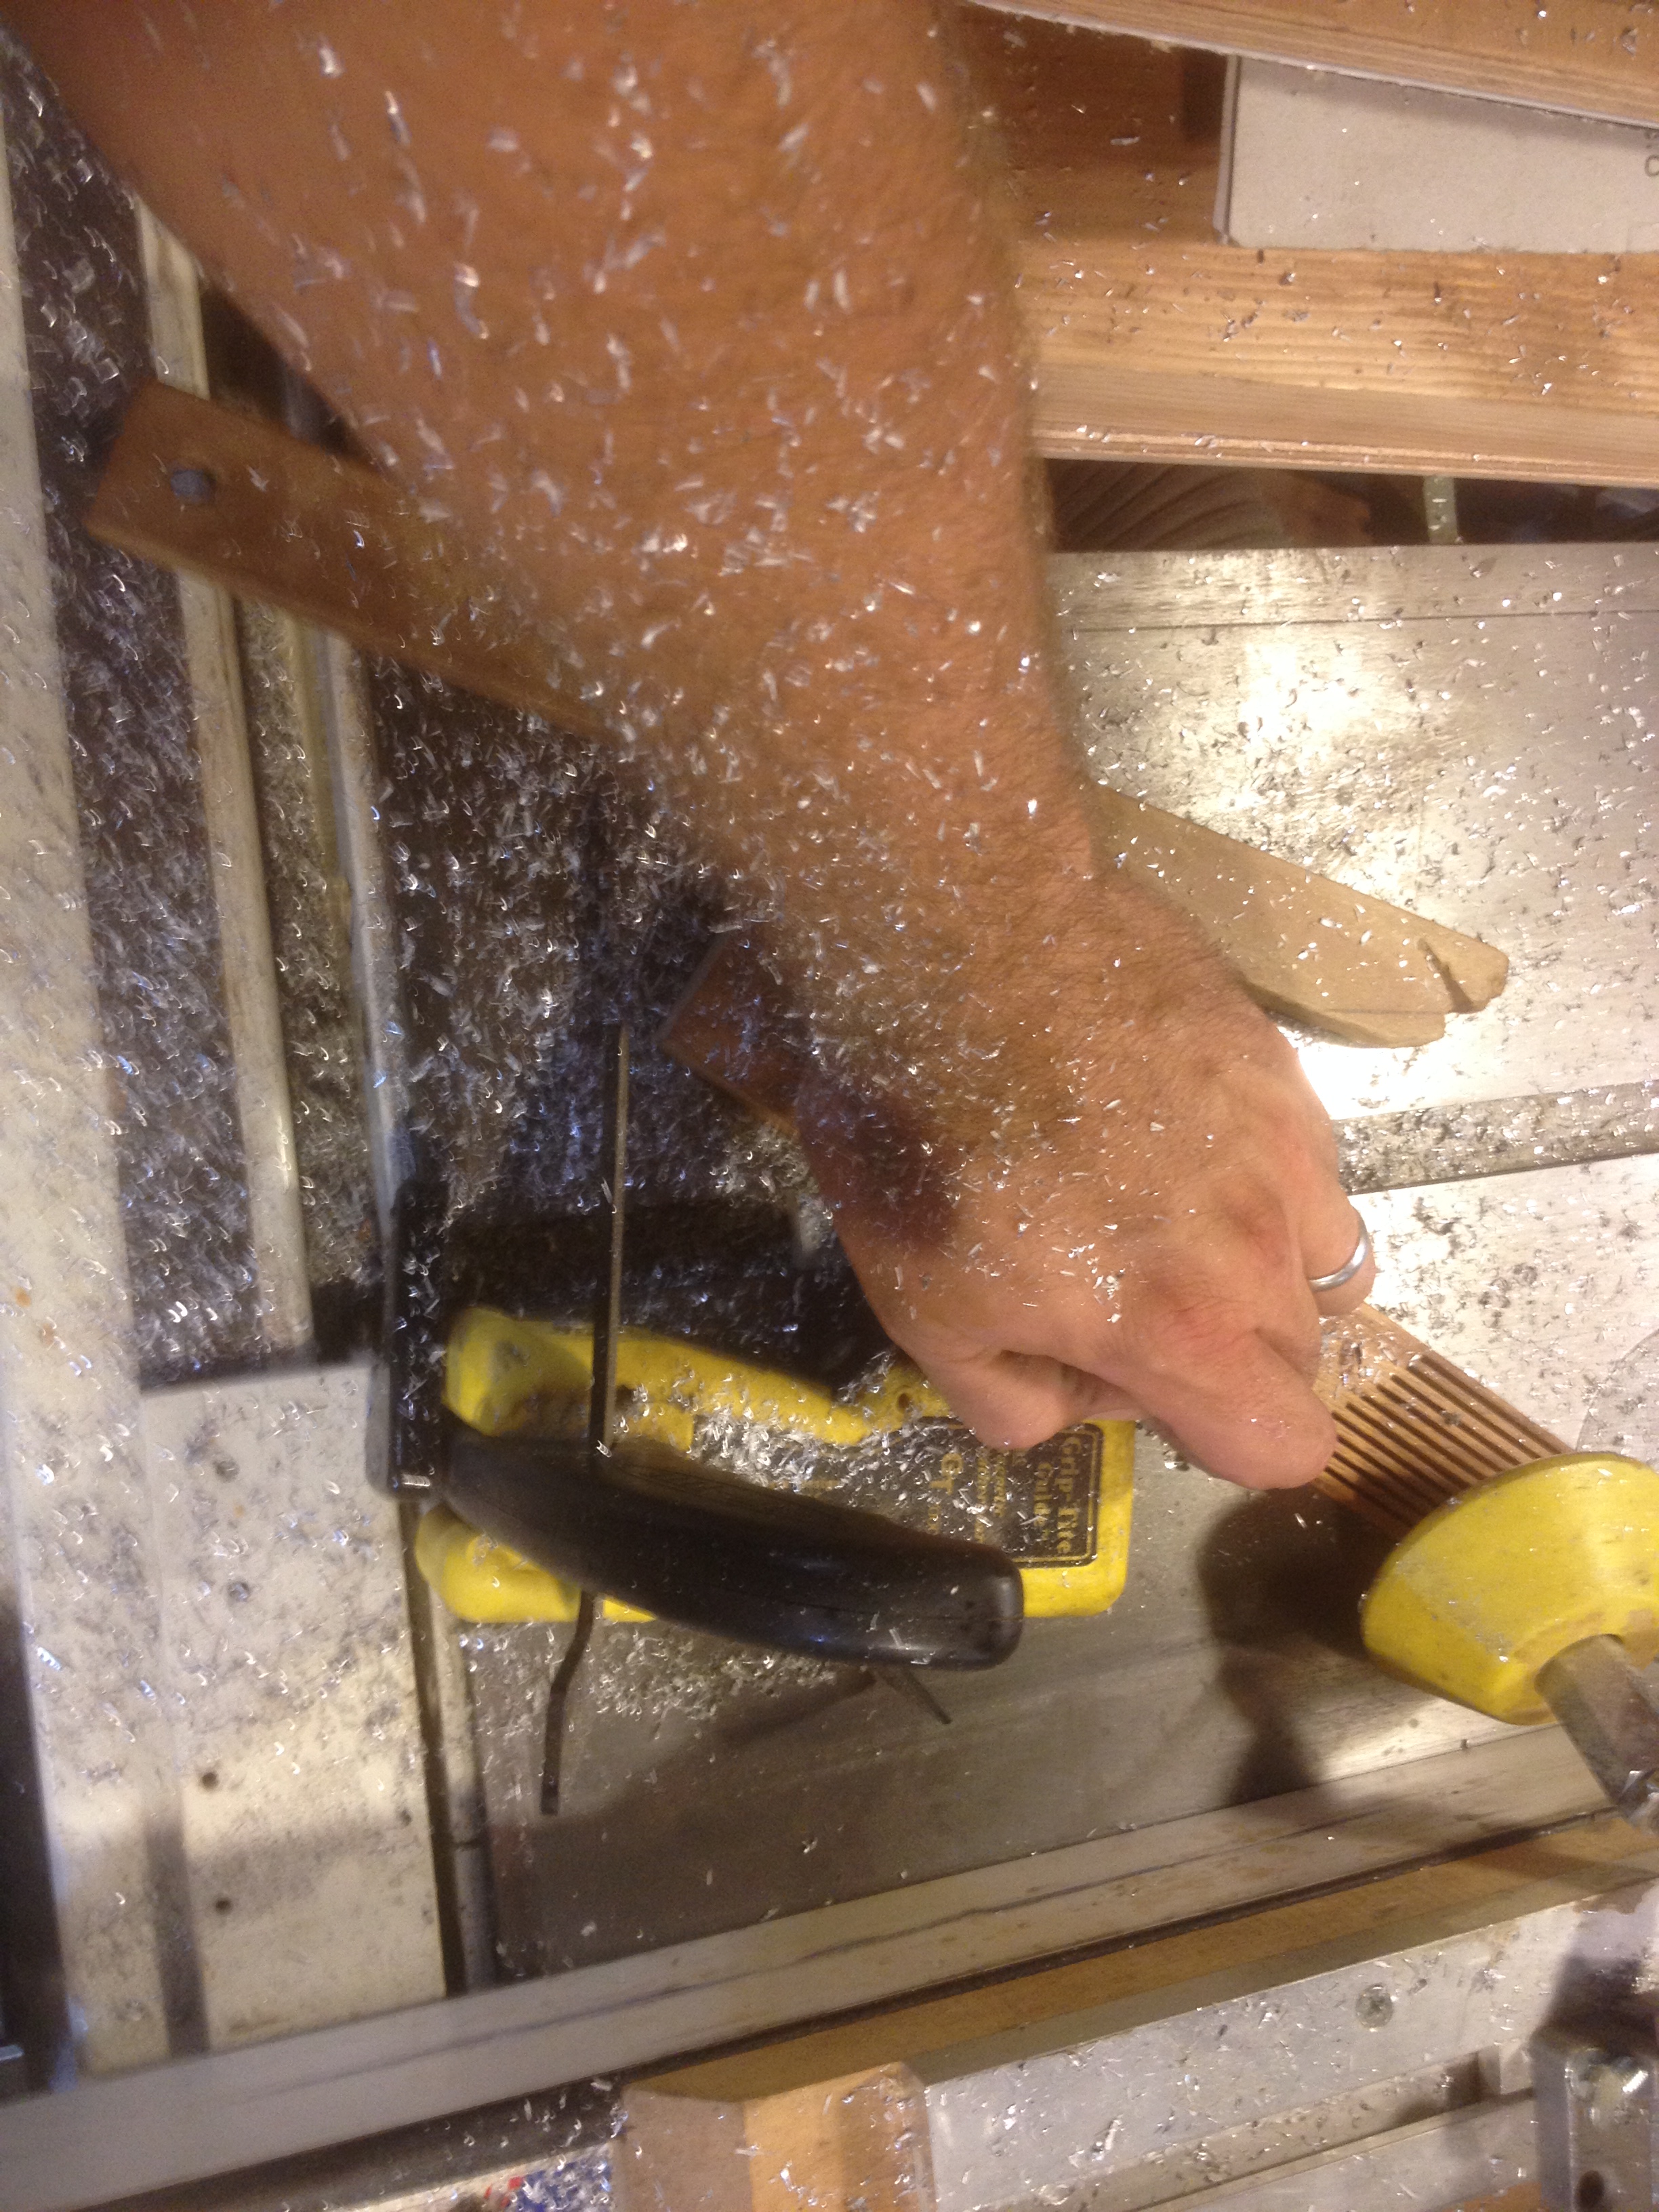
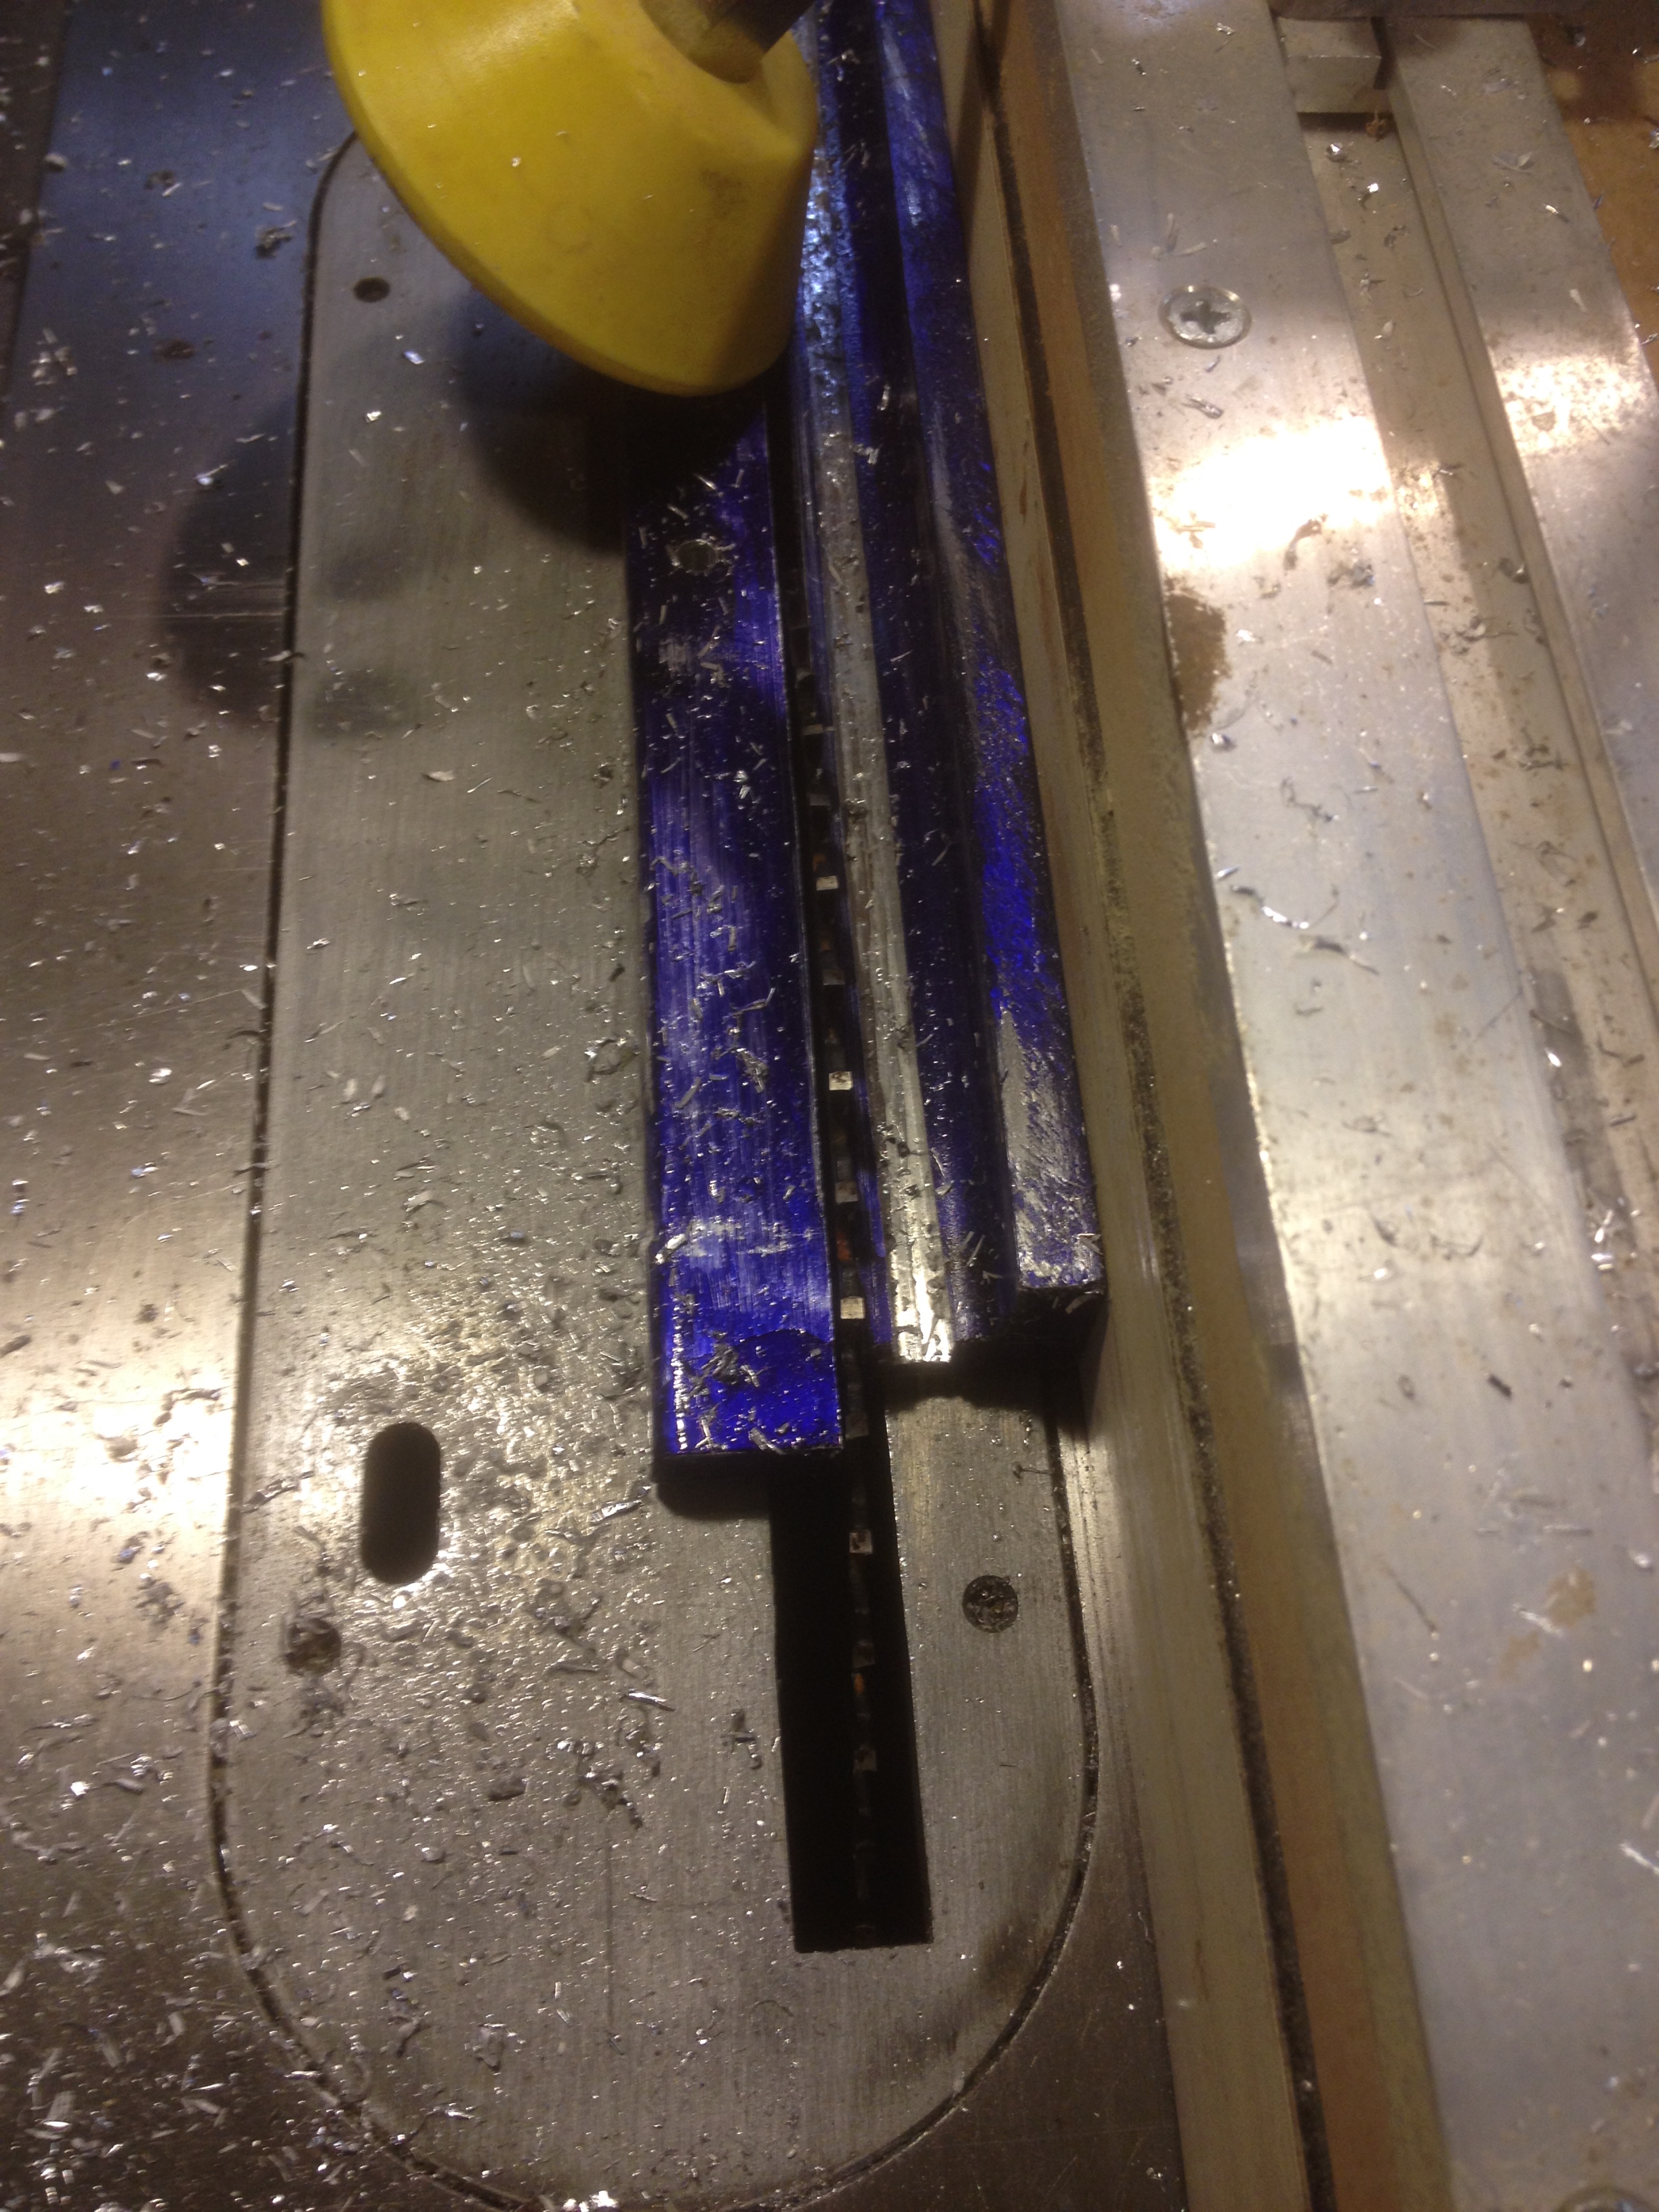
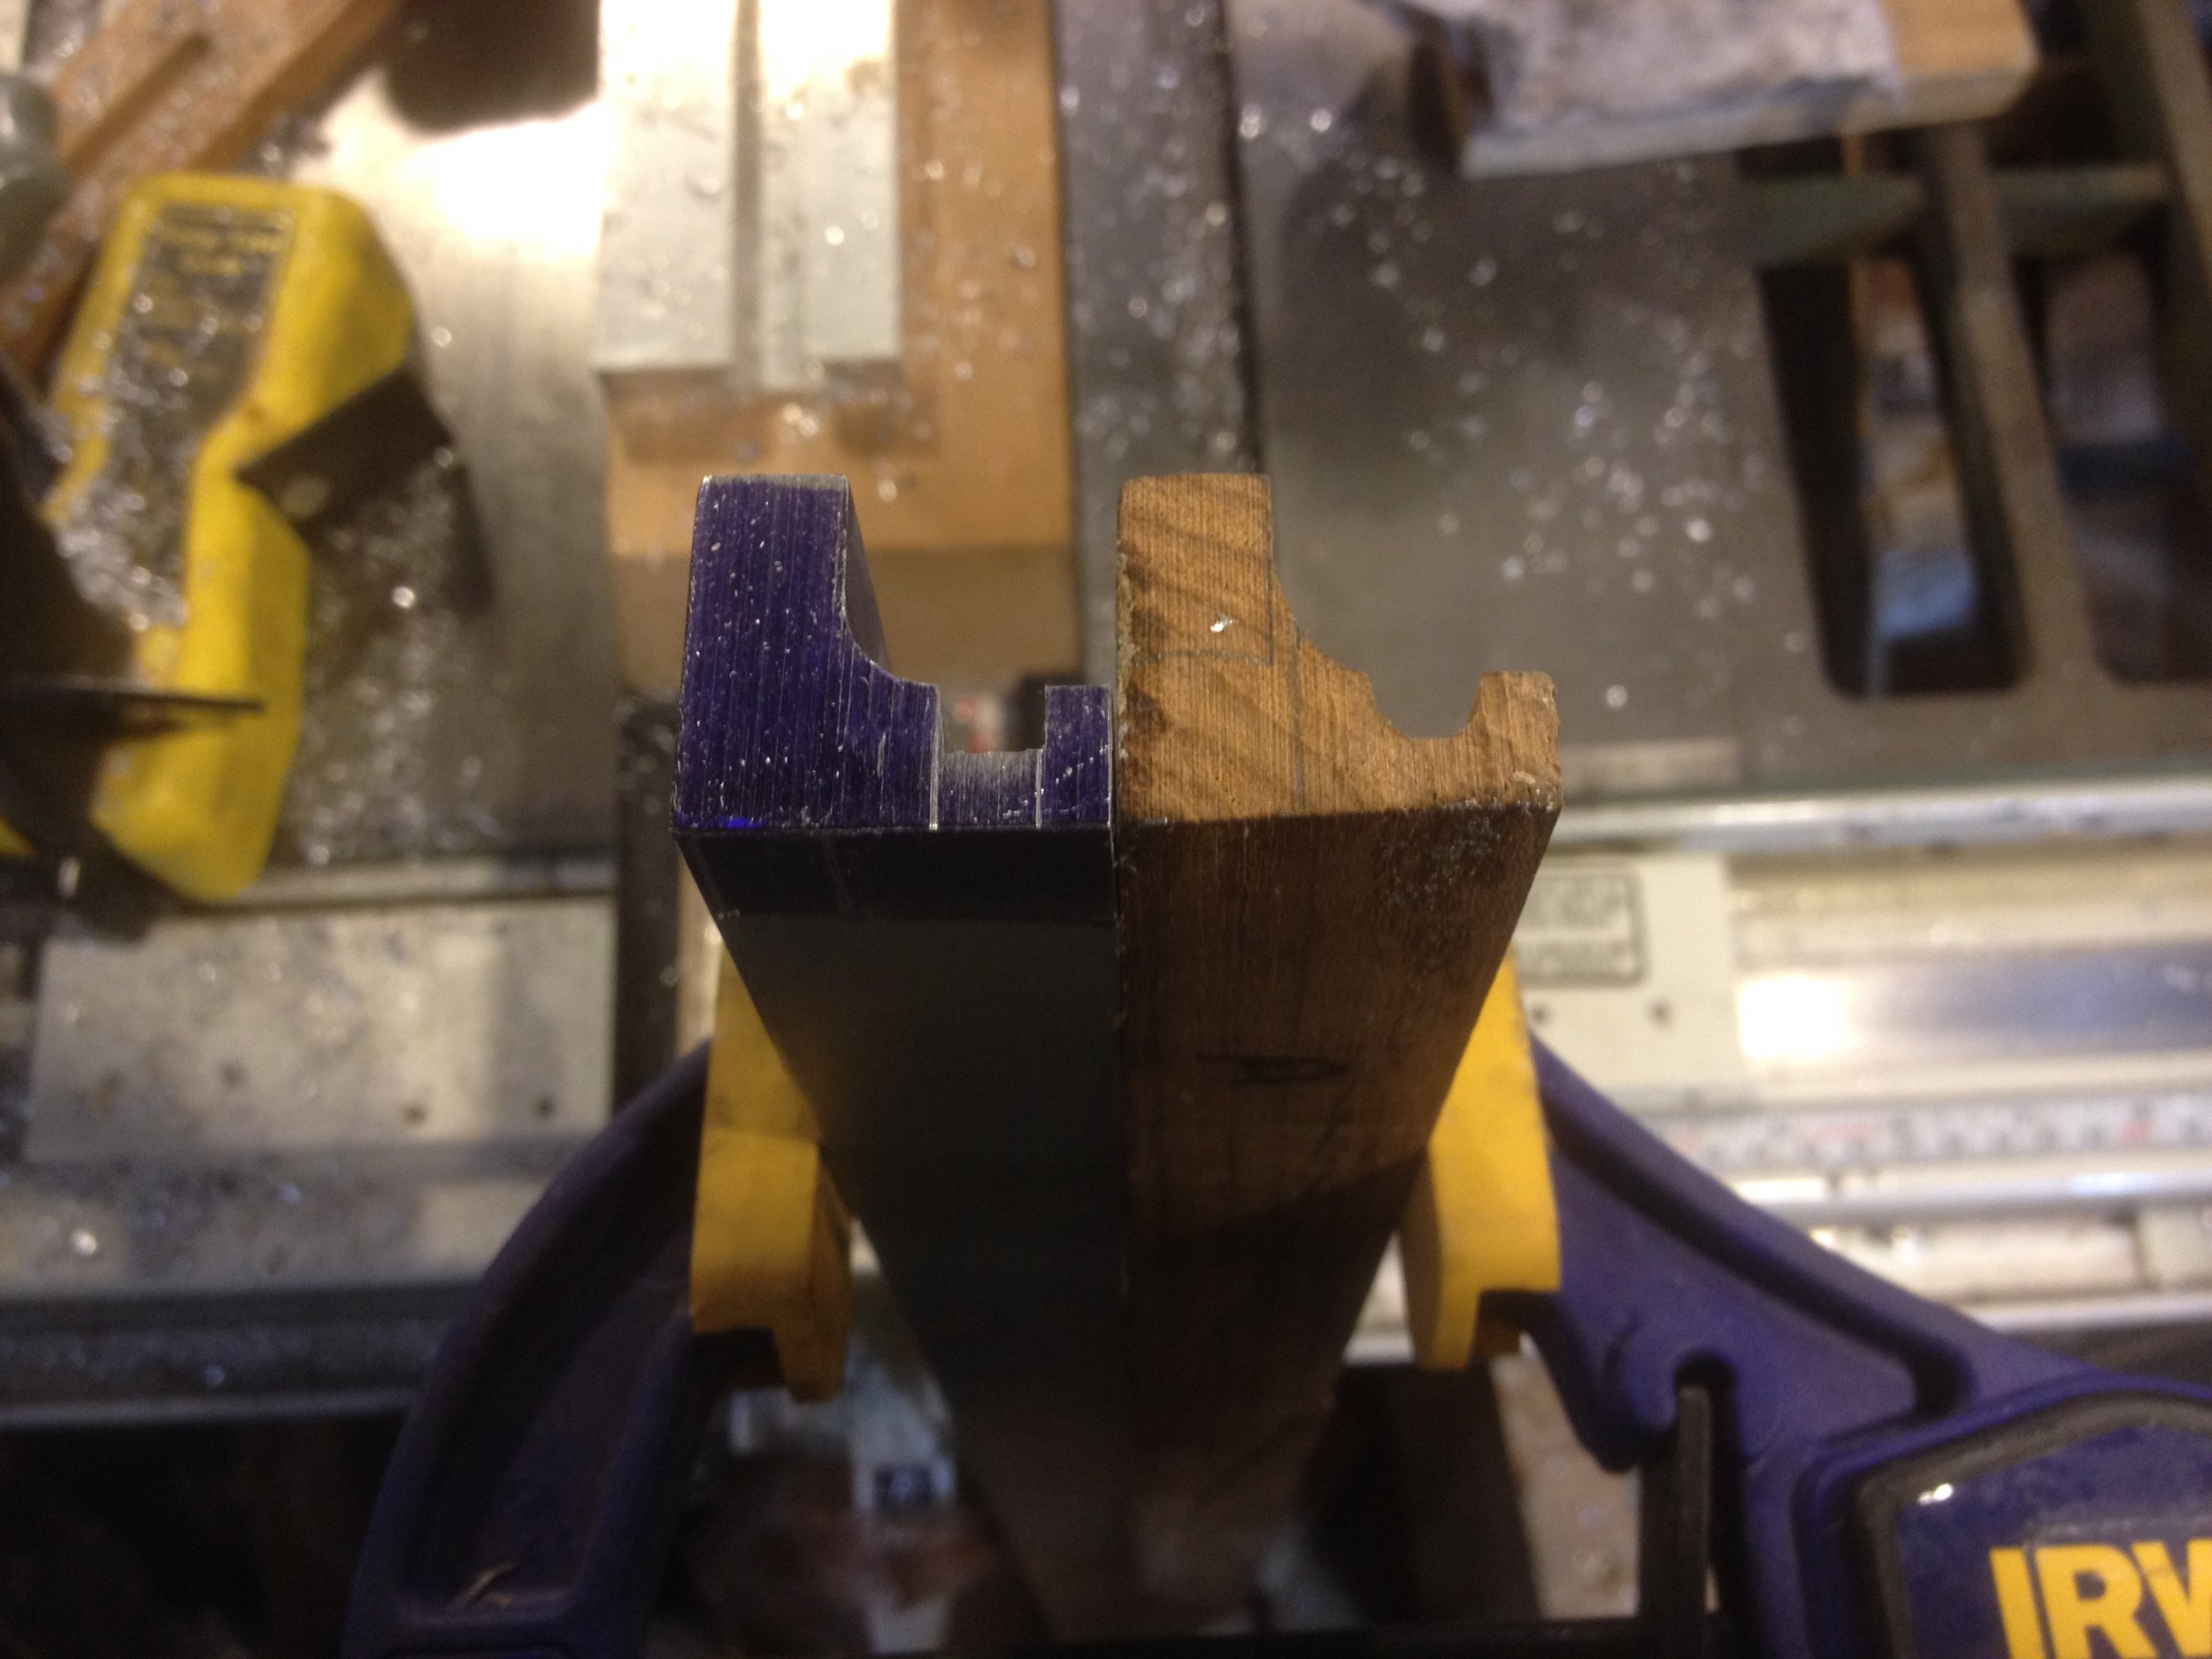
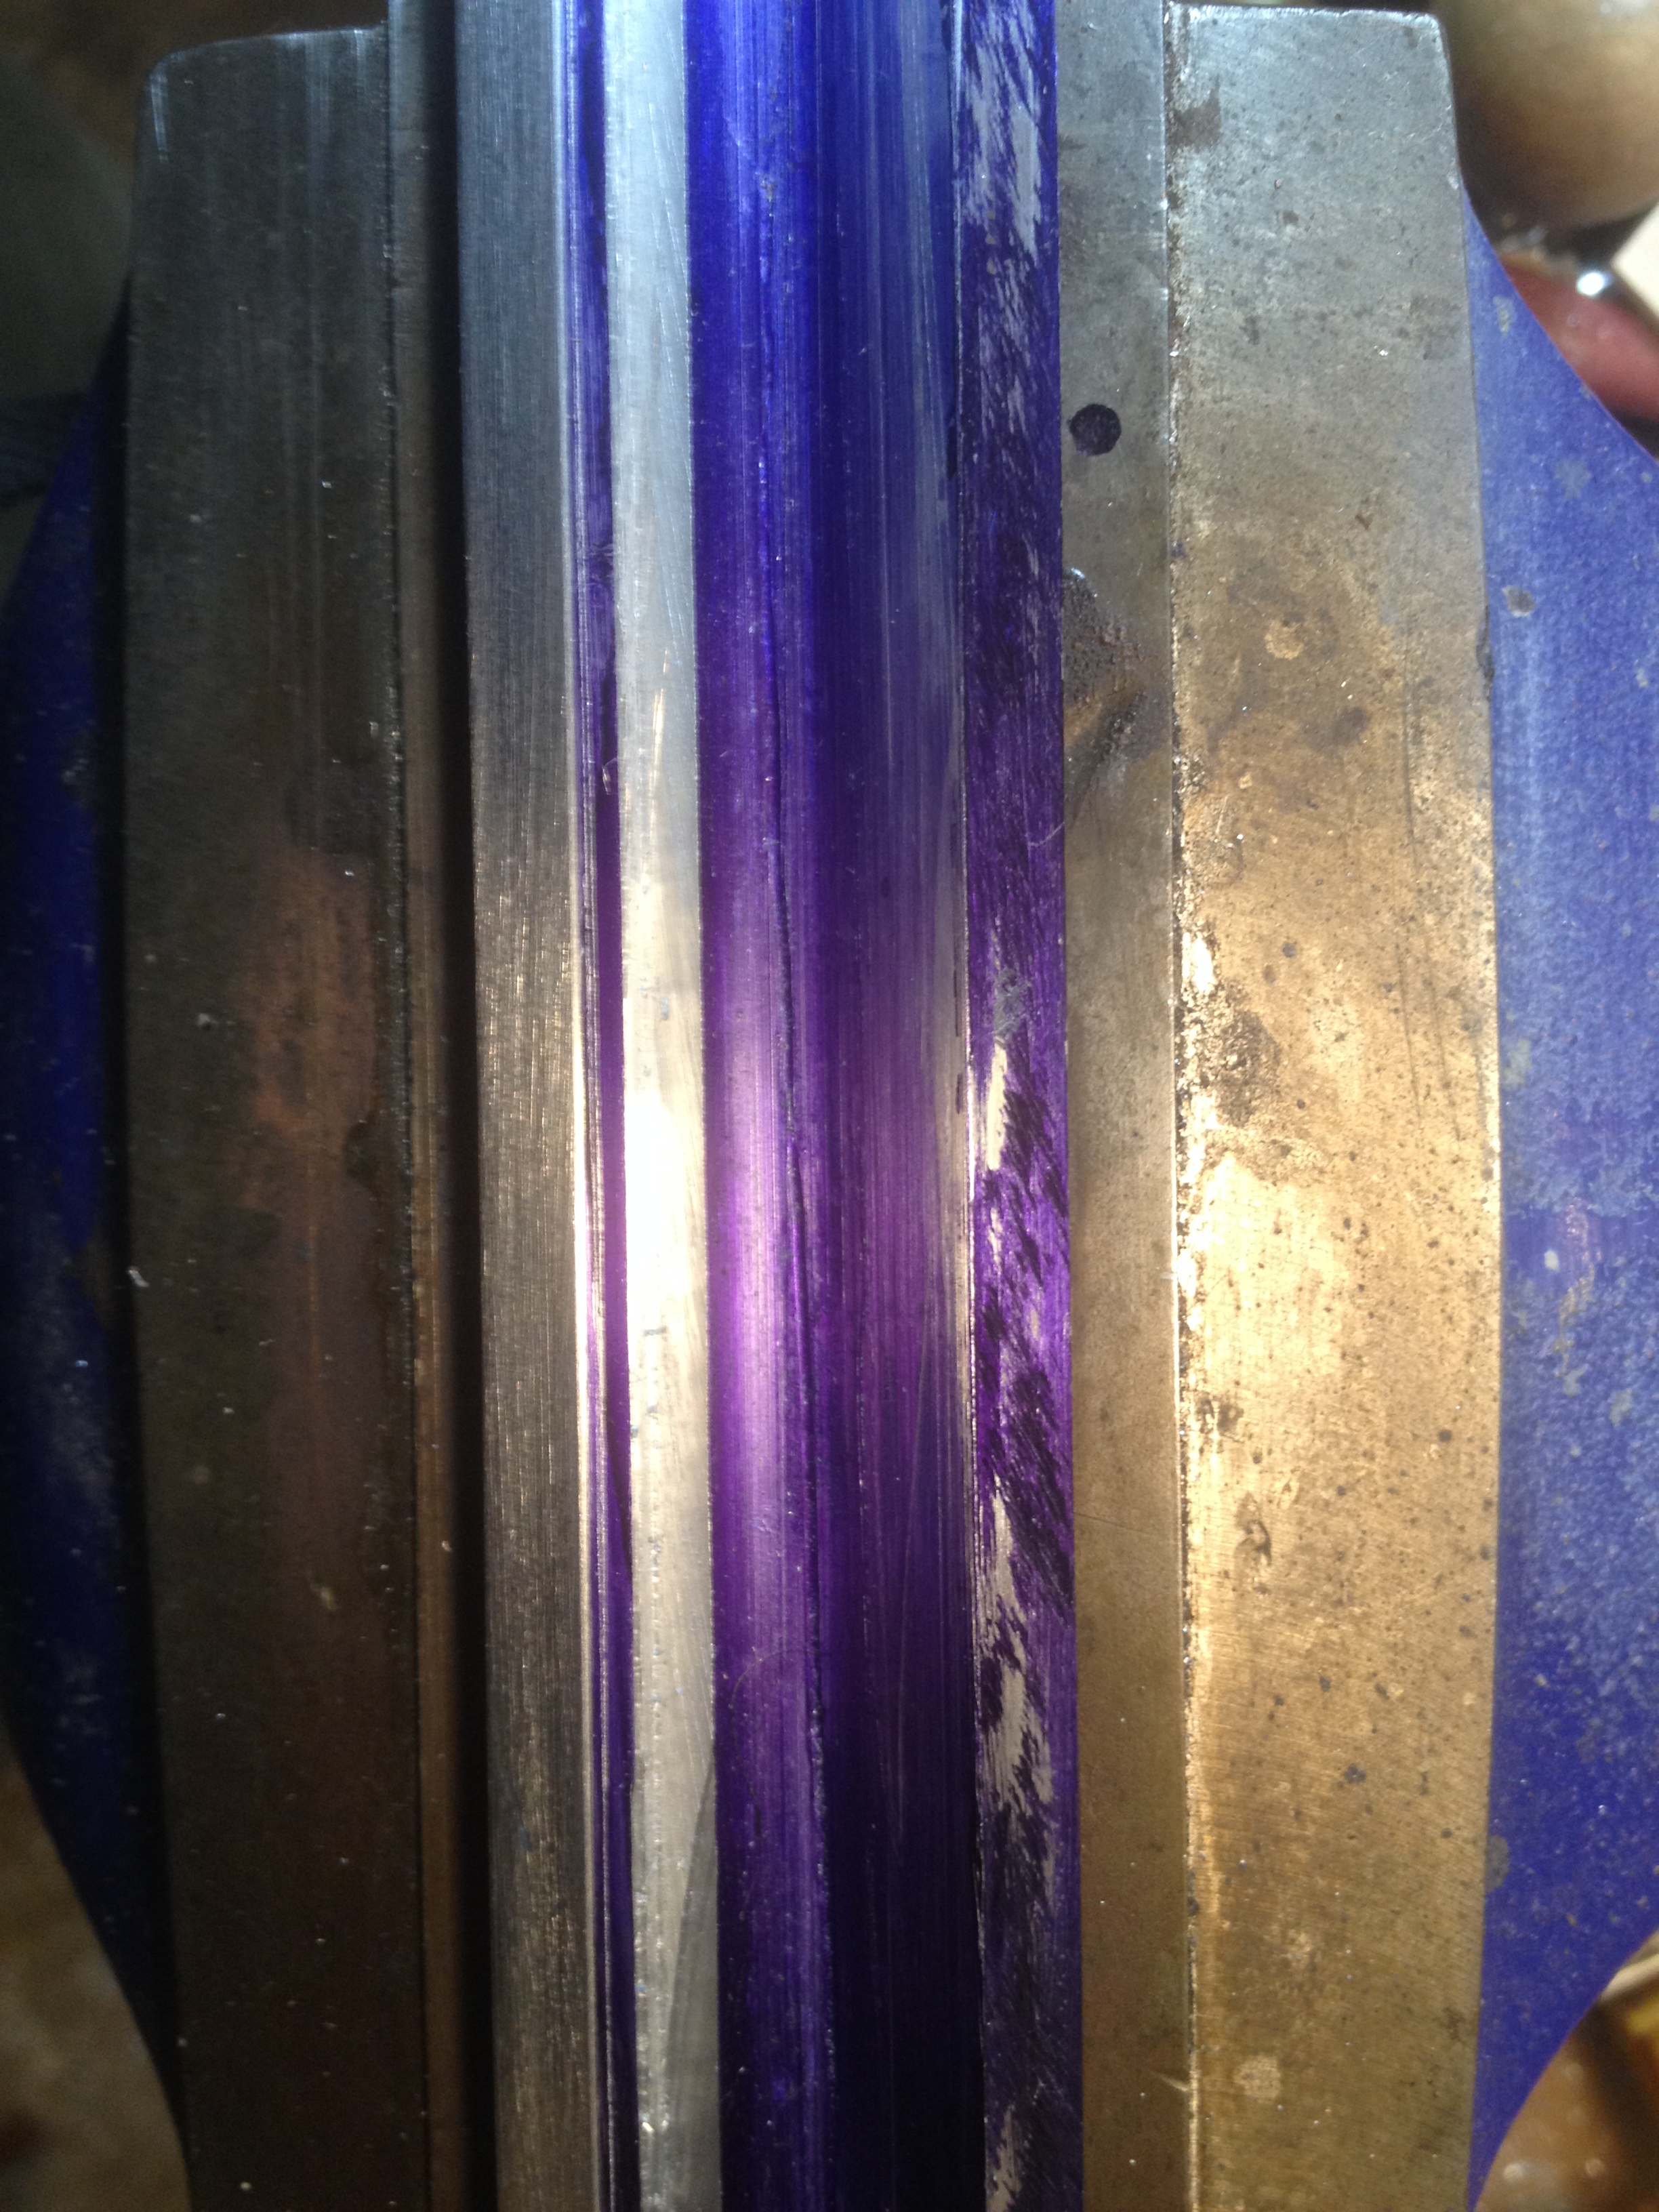
I couldn’t see any of the filter media inside to see how dirty it was so I cut the filter open to have a look. The filter cartridge inside is very similar to a Racor element, except the end caps are steel. (The filter was very dirty)

An Interesting Pump Arrangement

This is the combination raw water / engine coolant pump on the Albin AD21 diesel. Most engines have a raw water pump, either direct drive or belt drive and then a circulating pump in the engine that is belt driven but with a metal impeller. This engine combined both of those pumps into a single pump with two impellers on a shared shaft with a wear plate in between. Rubber impeller pumps are a nonstop source of trouble for boaters, adding a second to an engine doesn't seem like a good idea and this isn't an idea that became popular. Some boats used to have gear pumps for water, all metal without rubber impellers. They exist for other applications, for example:

http://www.oberdorferpumps.com/pumps/gear-pumps/n2000/

Might have been an issue of lowering initial cost but impeller costs add up and on some boats the impeller change is also very time consuming.

Repairing a Heavily Damaged Hatch

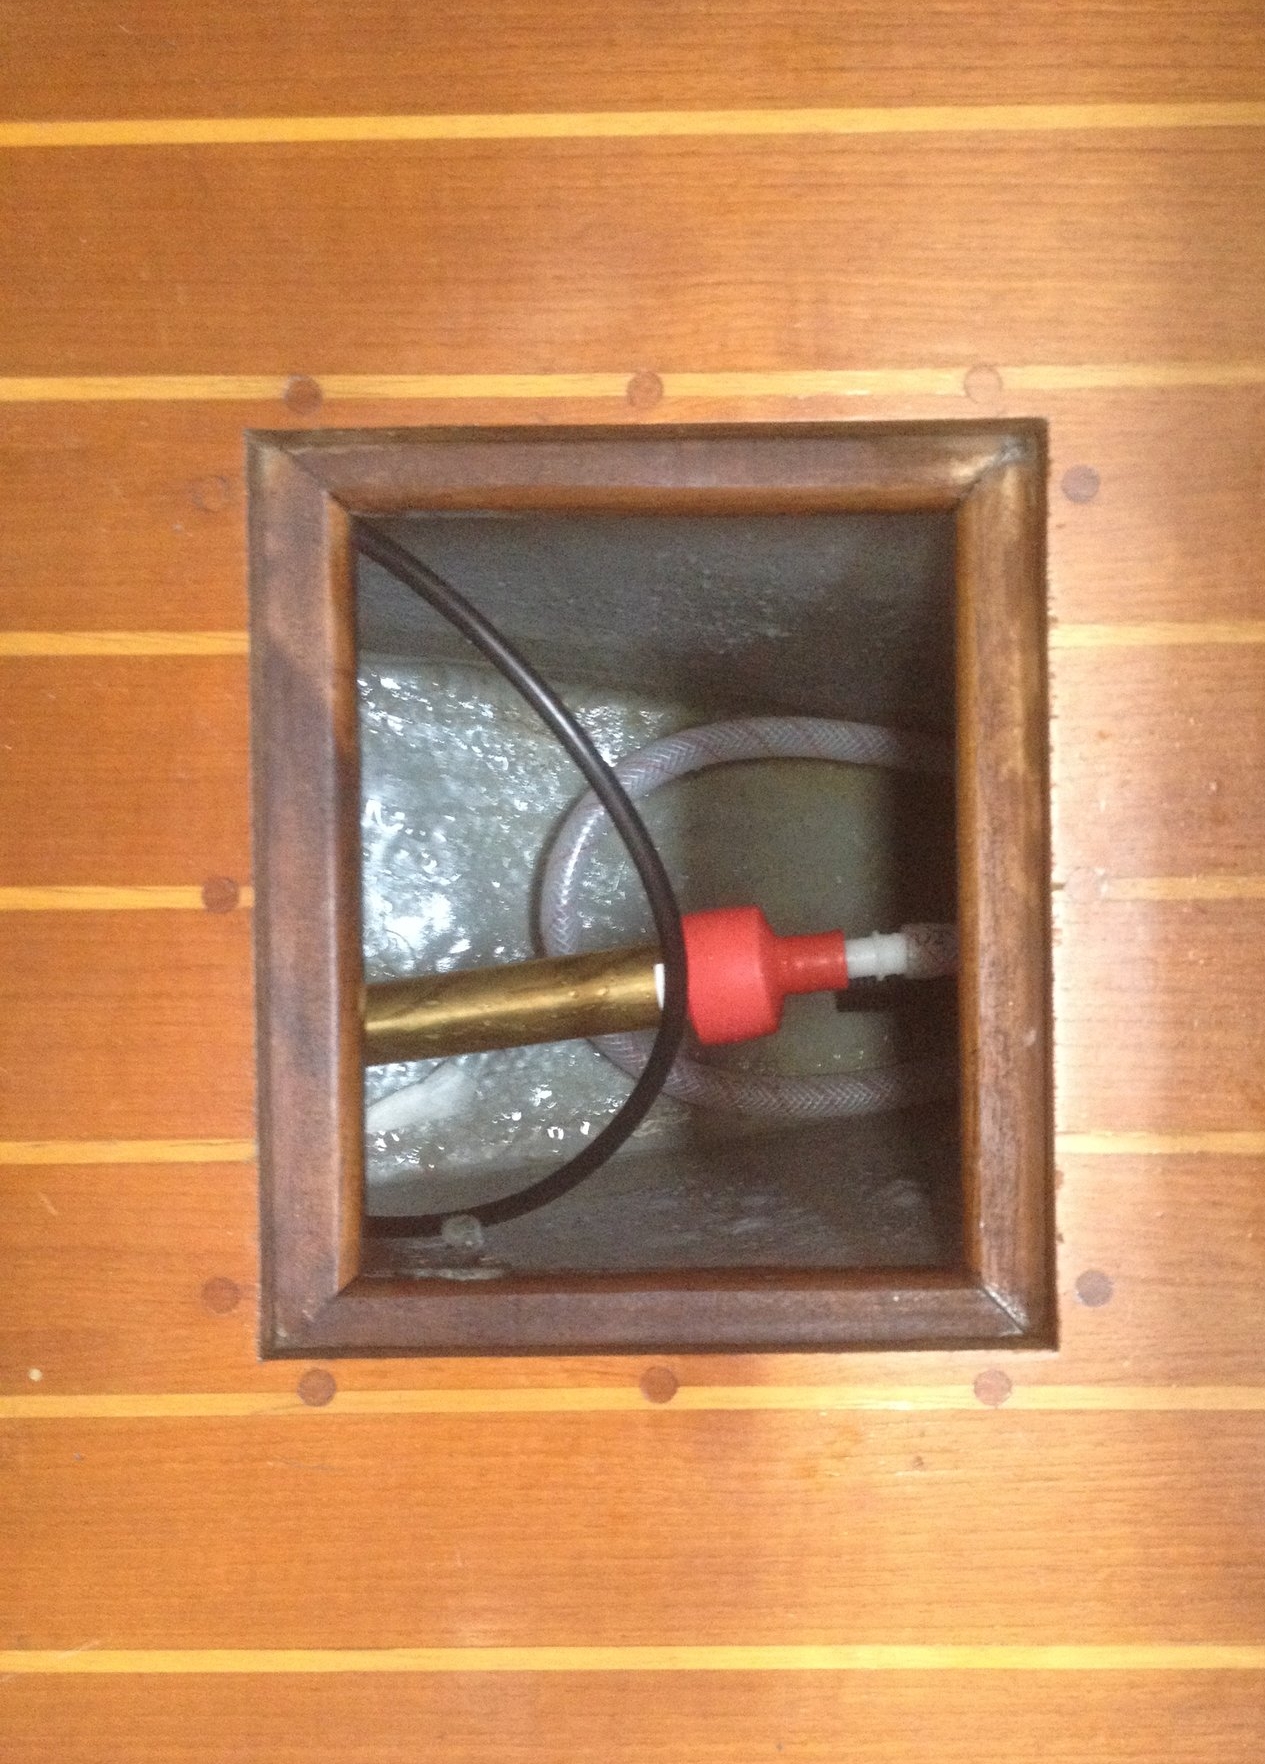
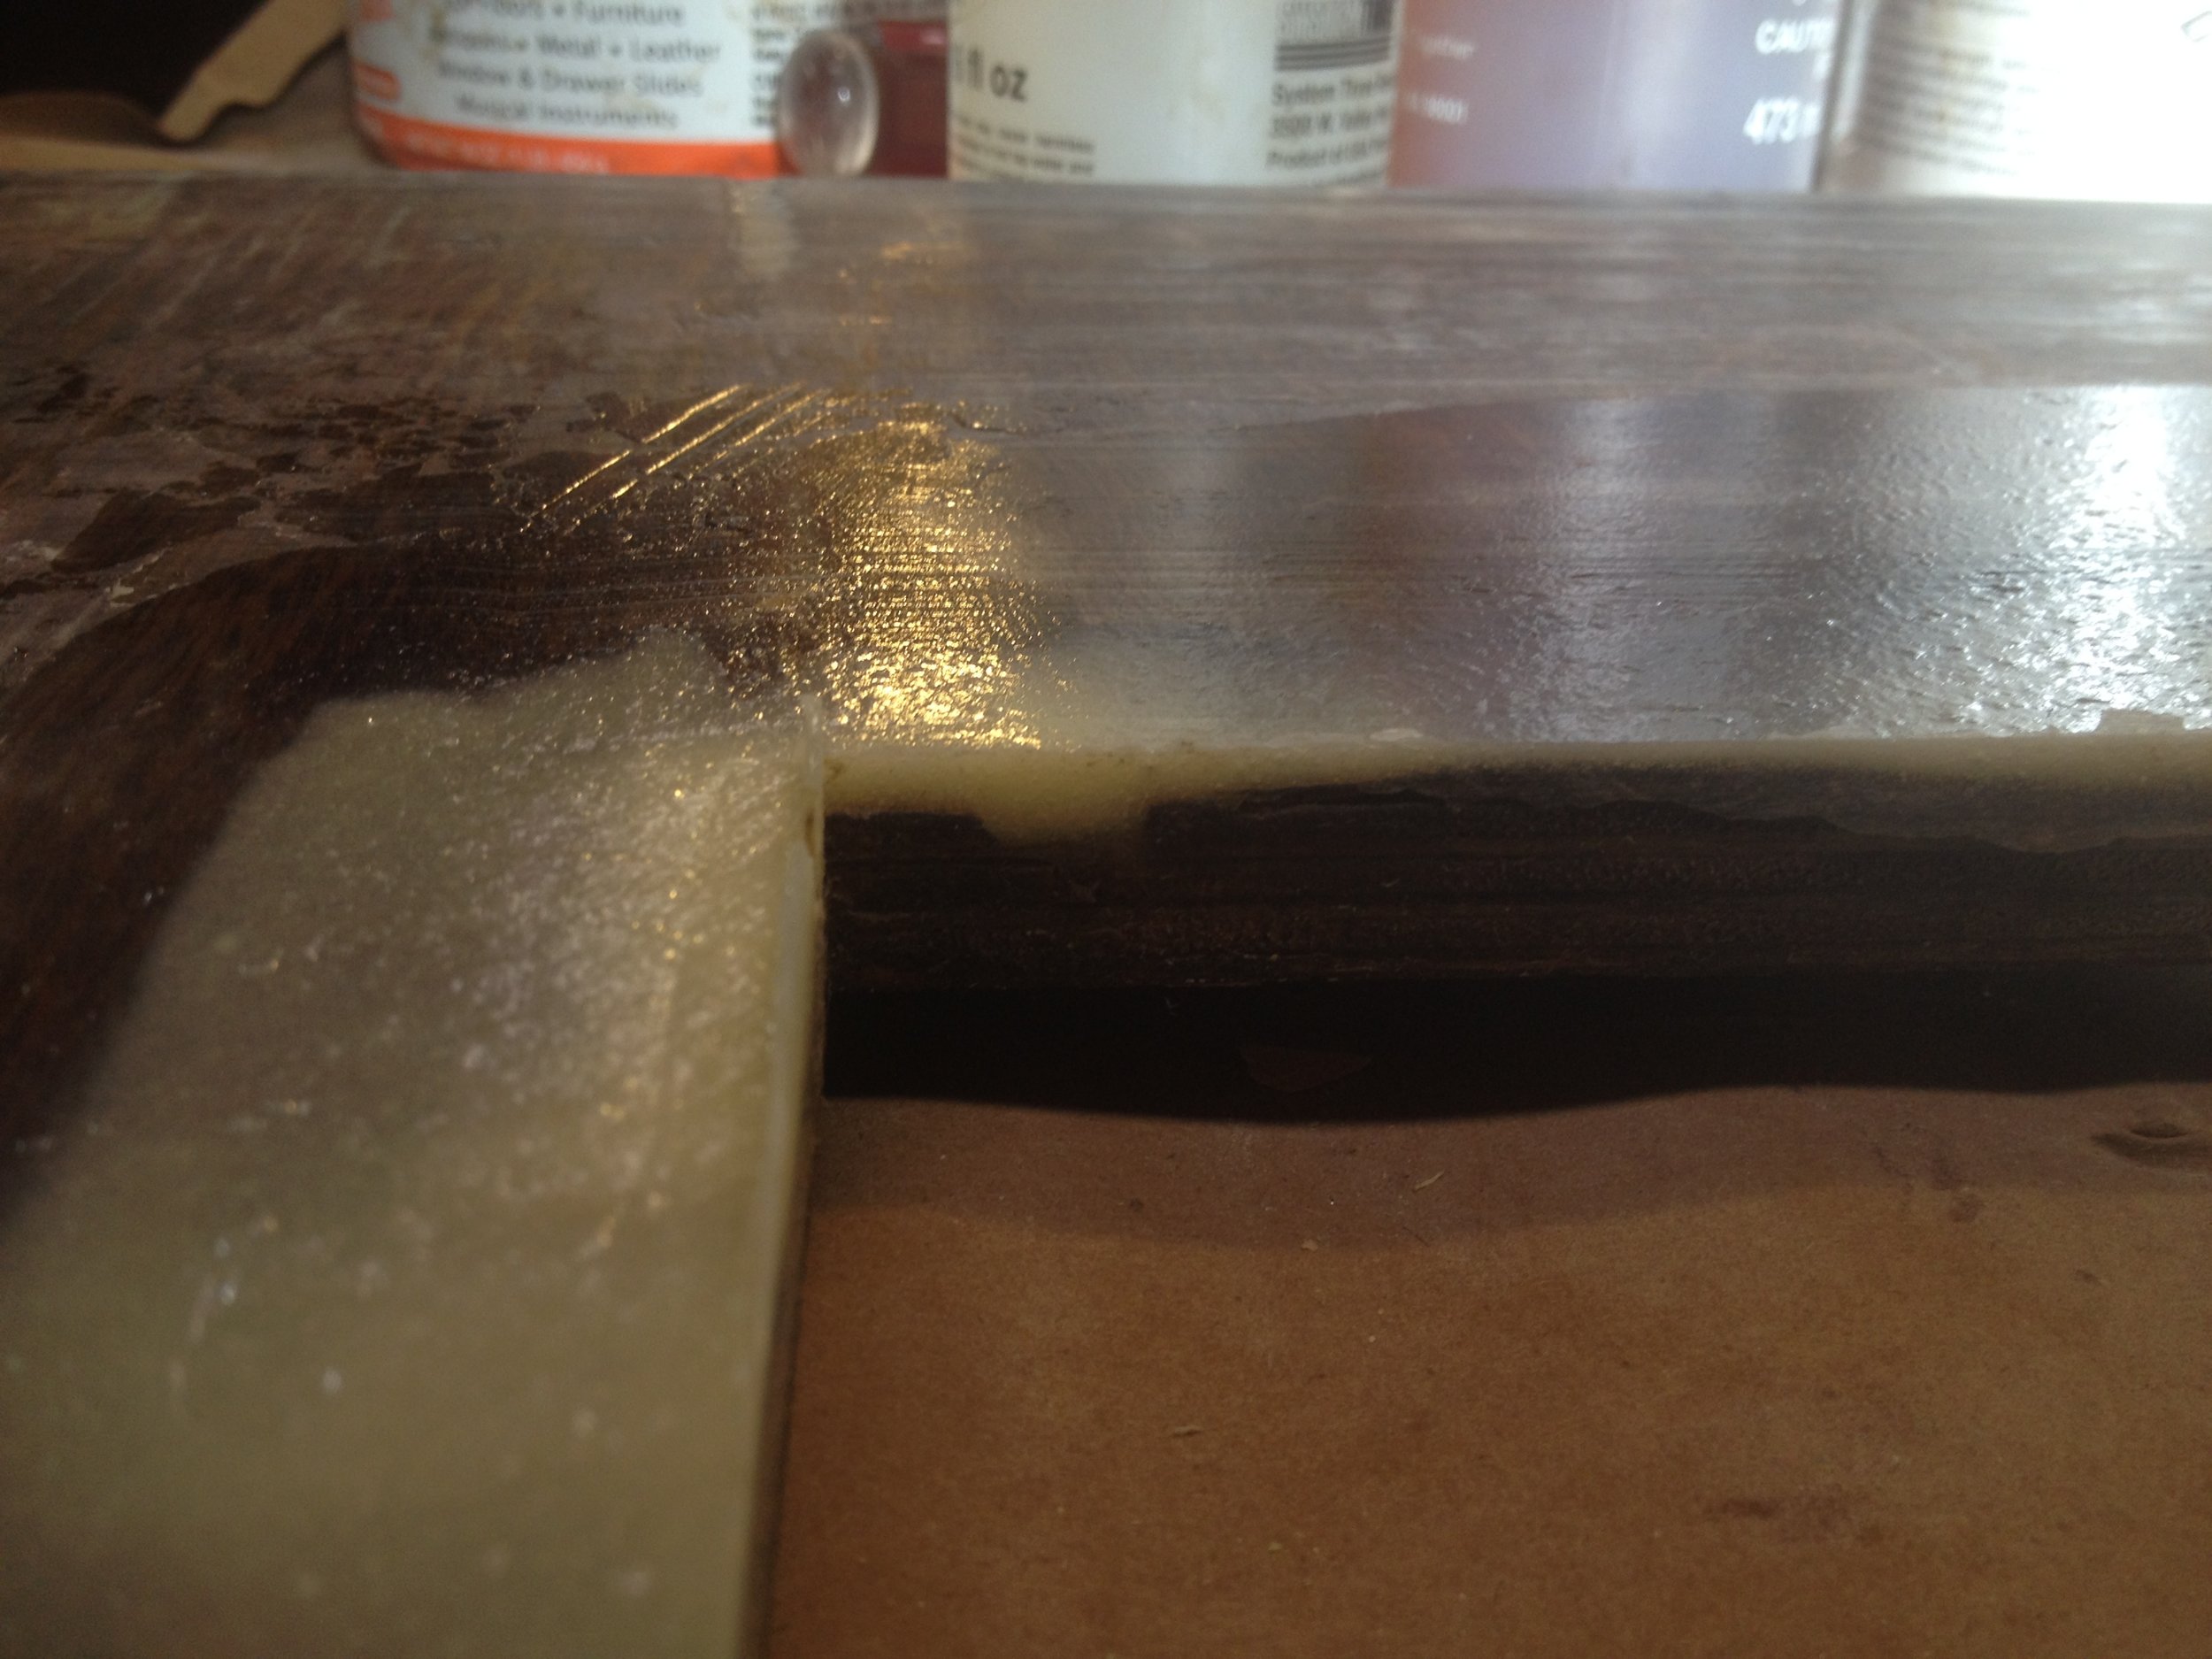
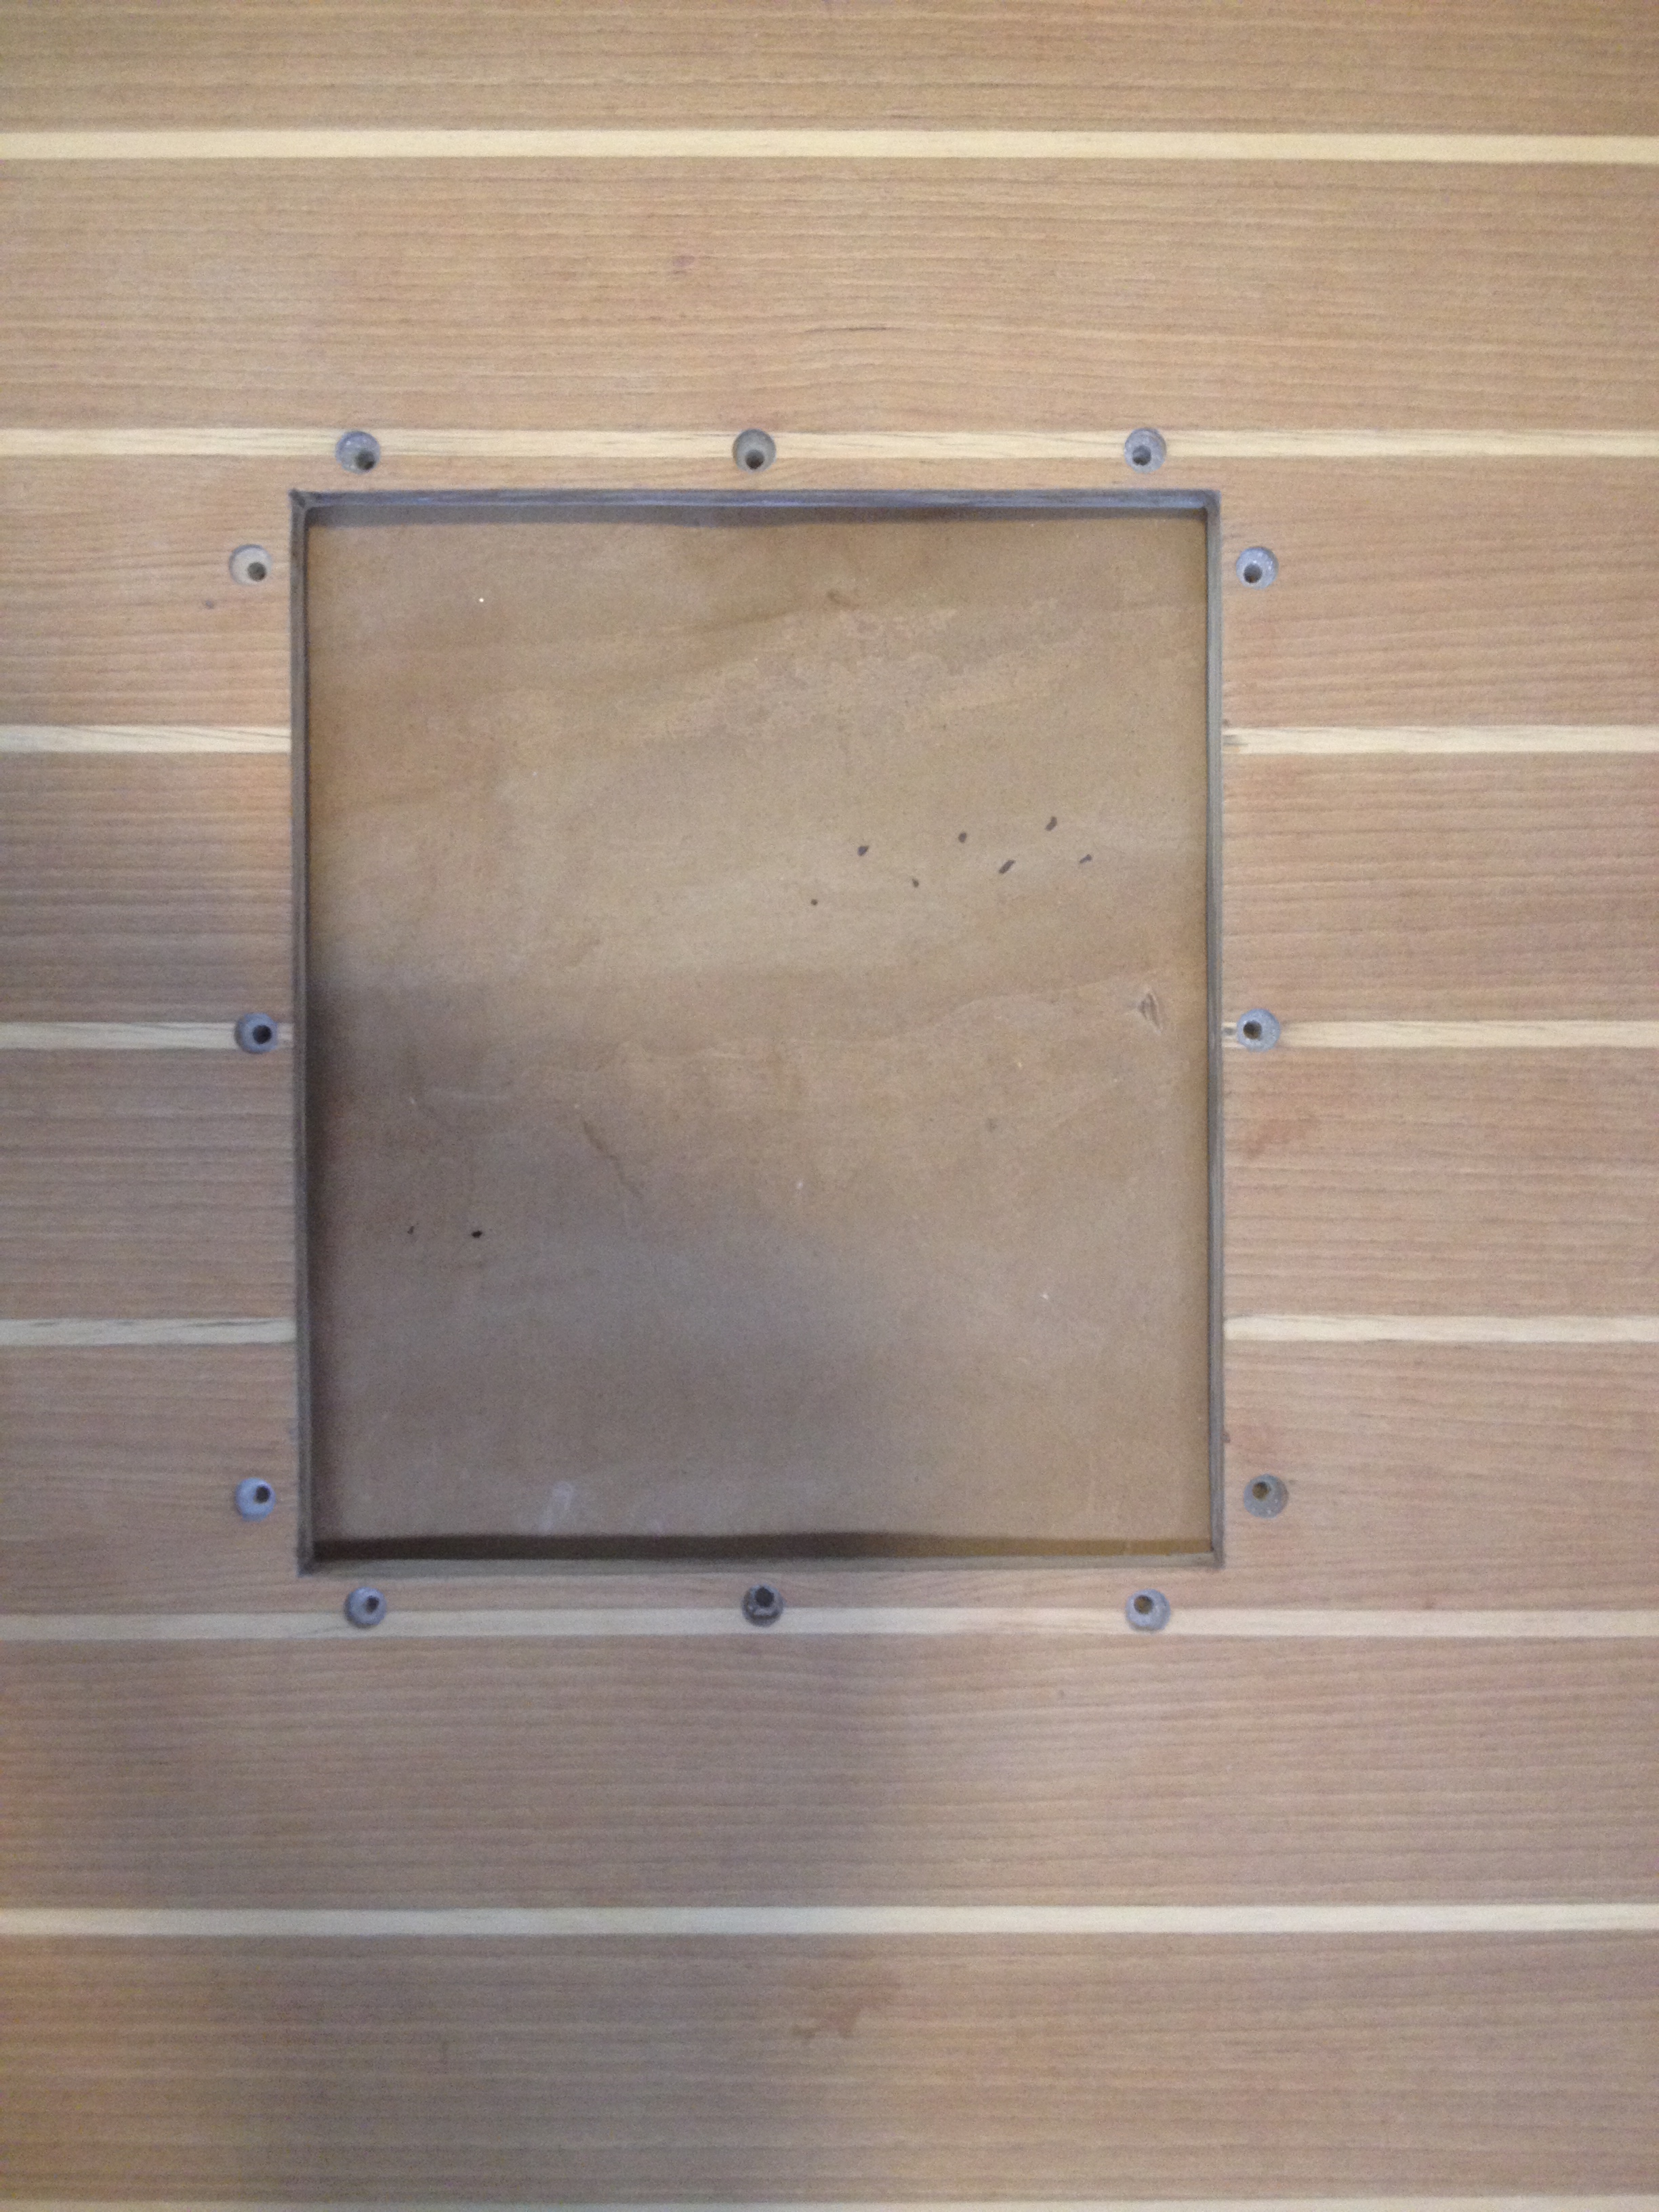
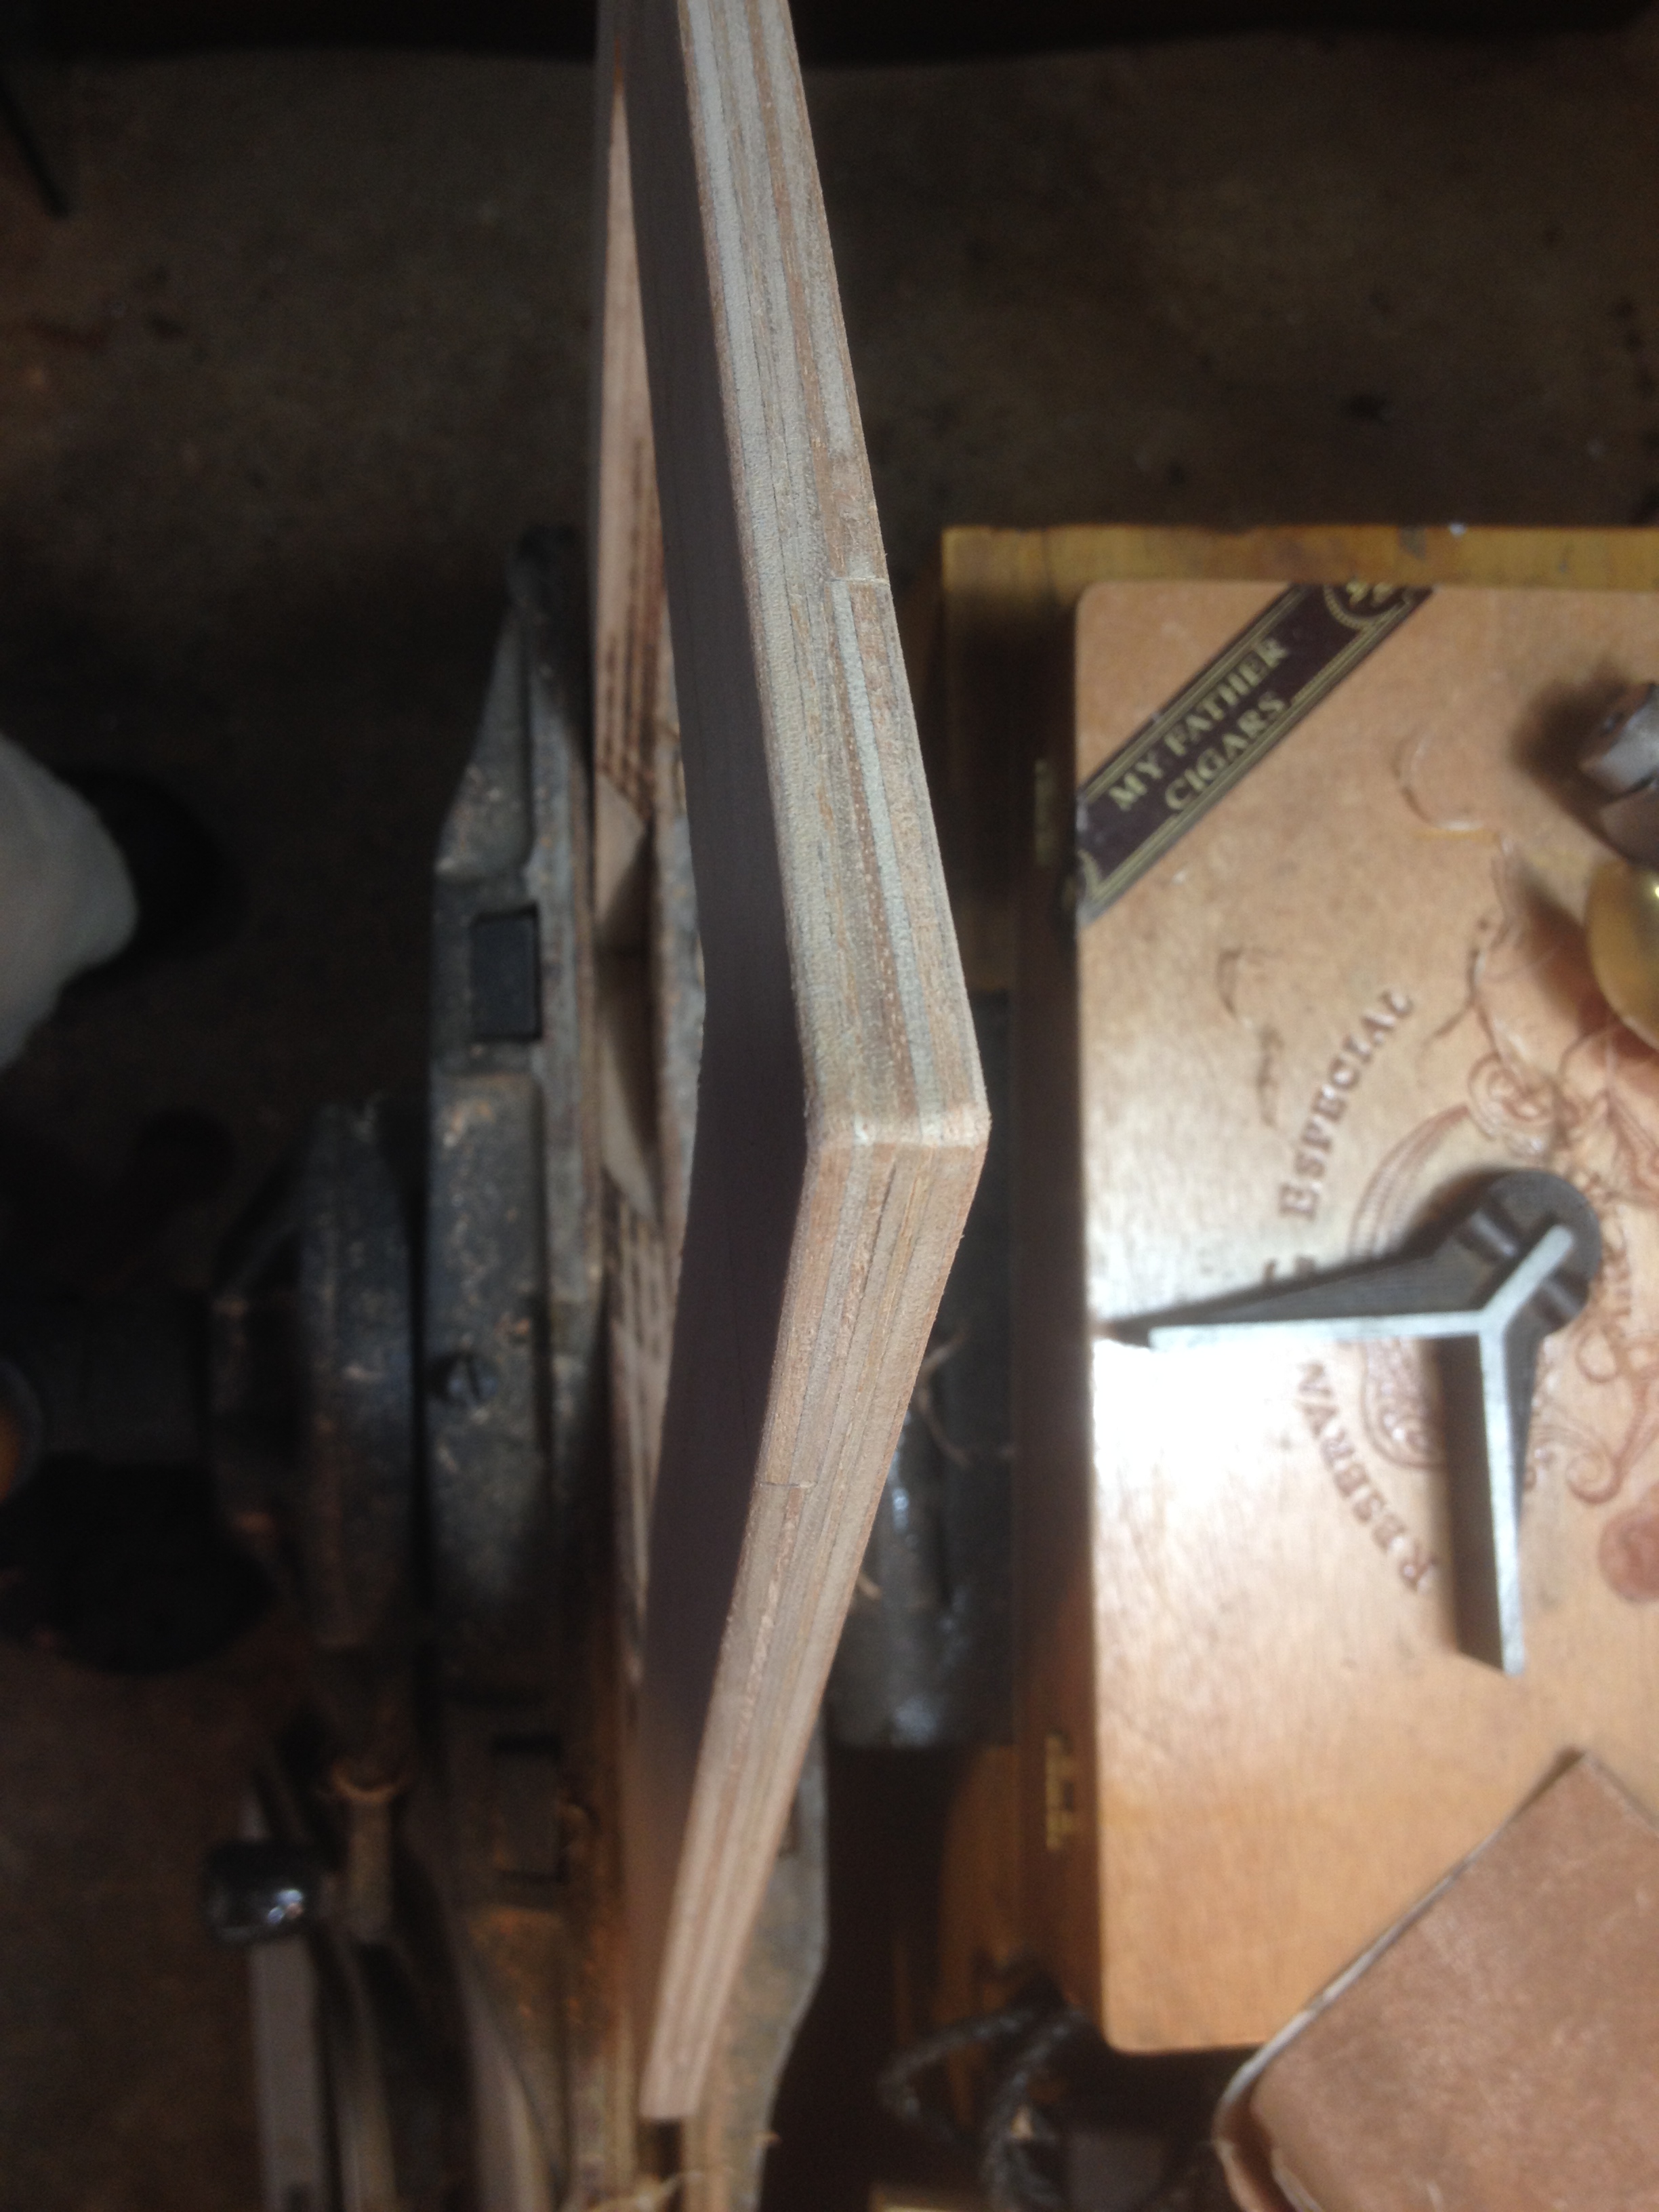
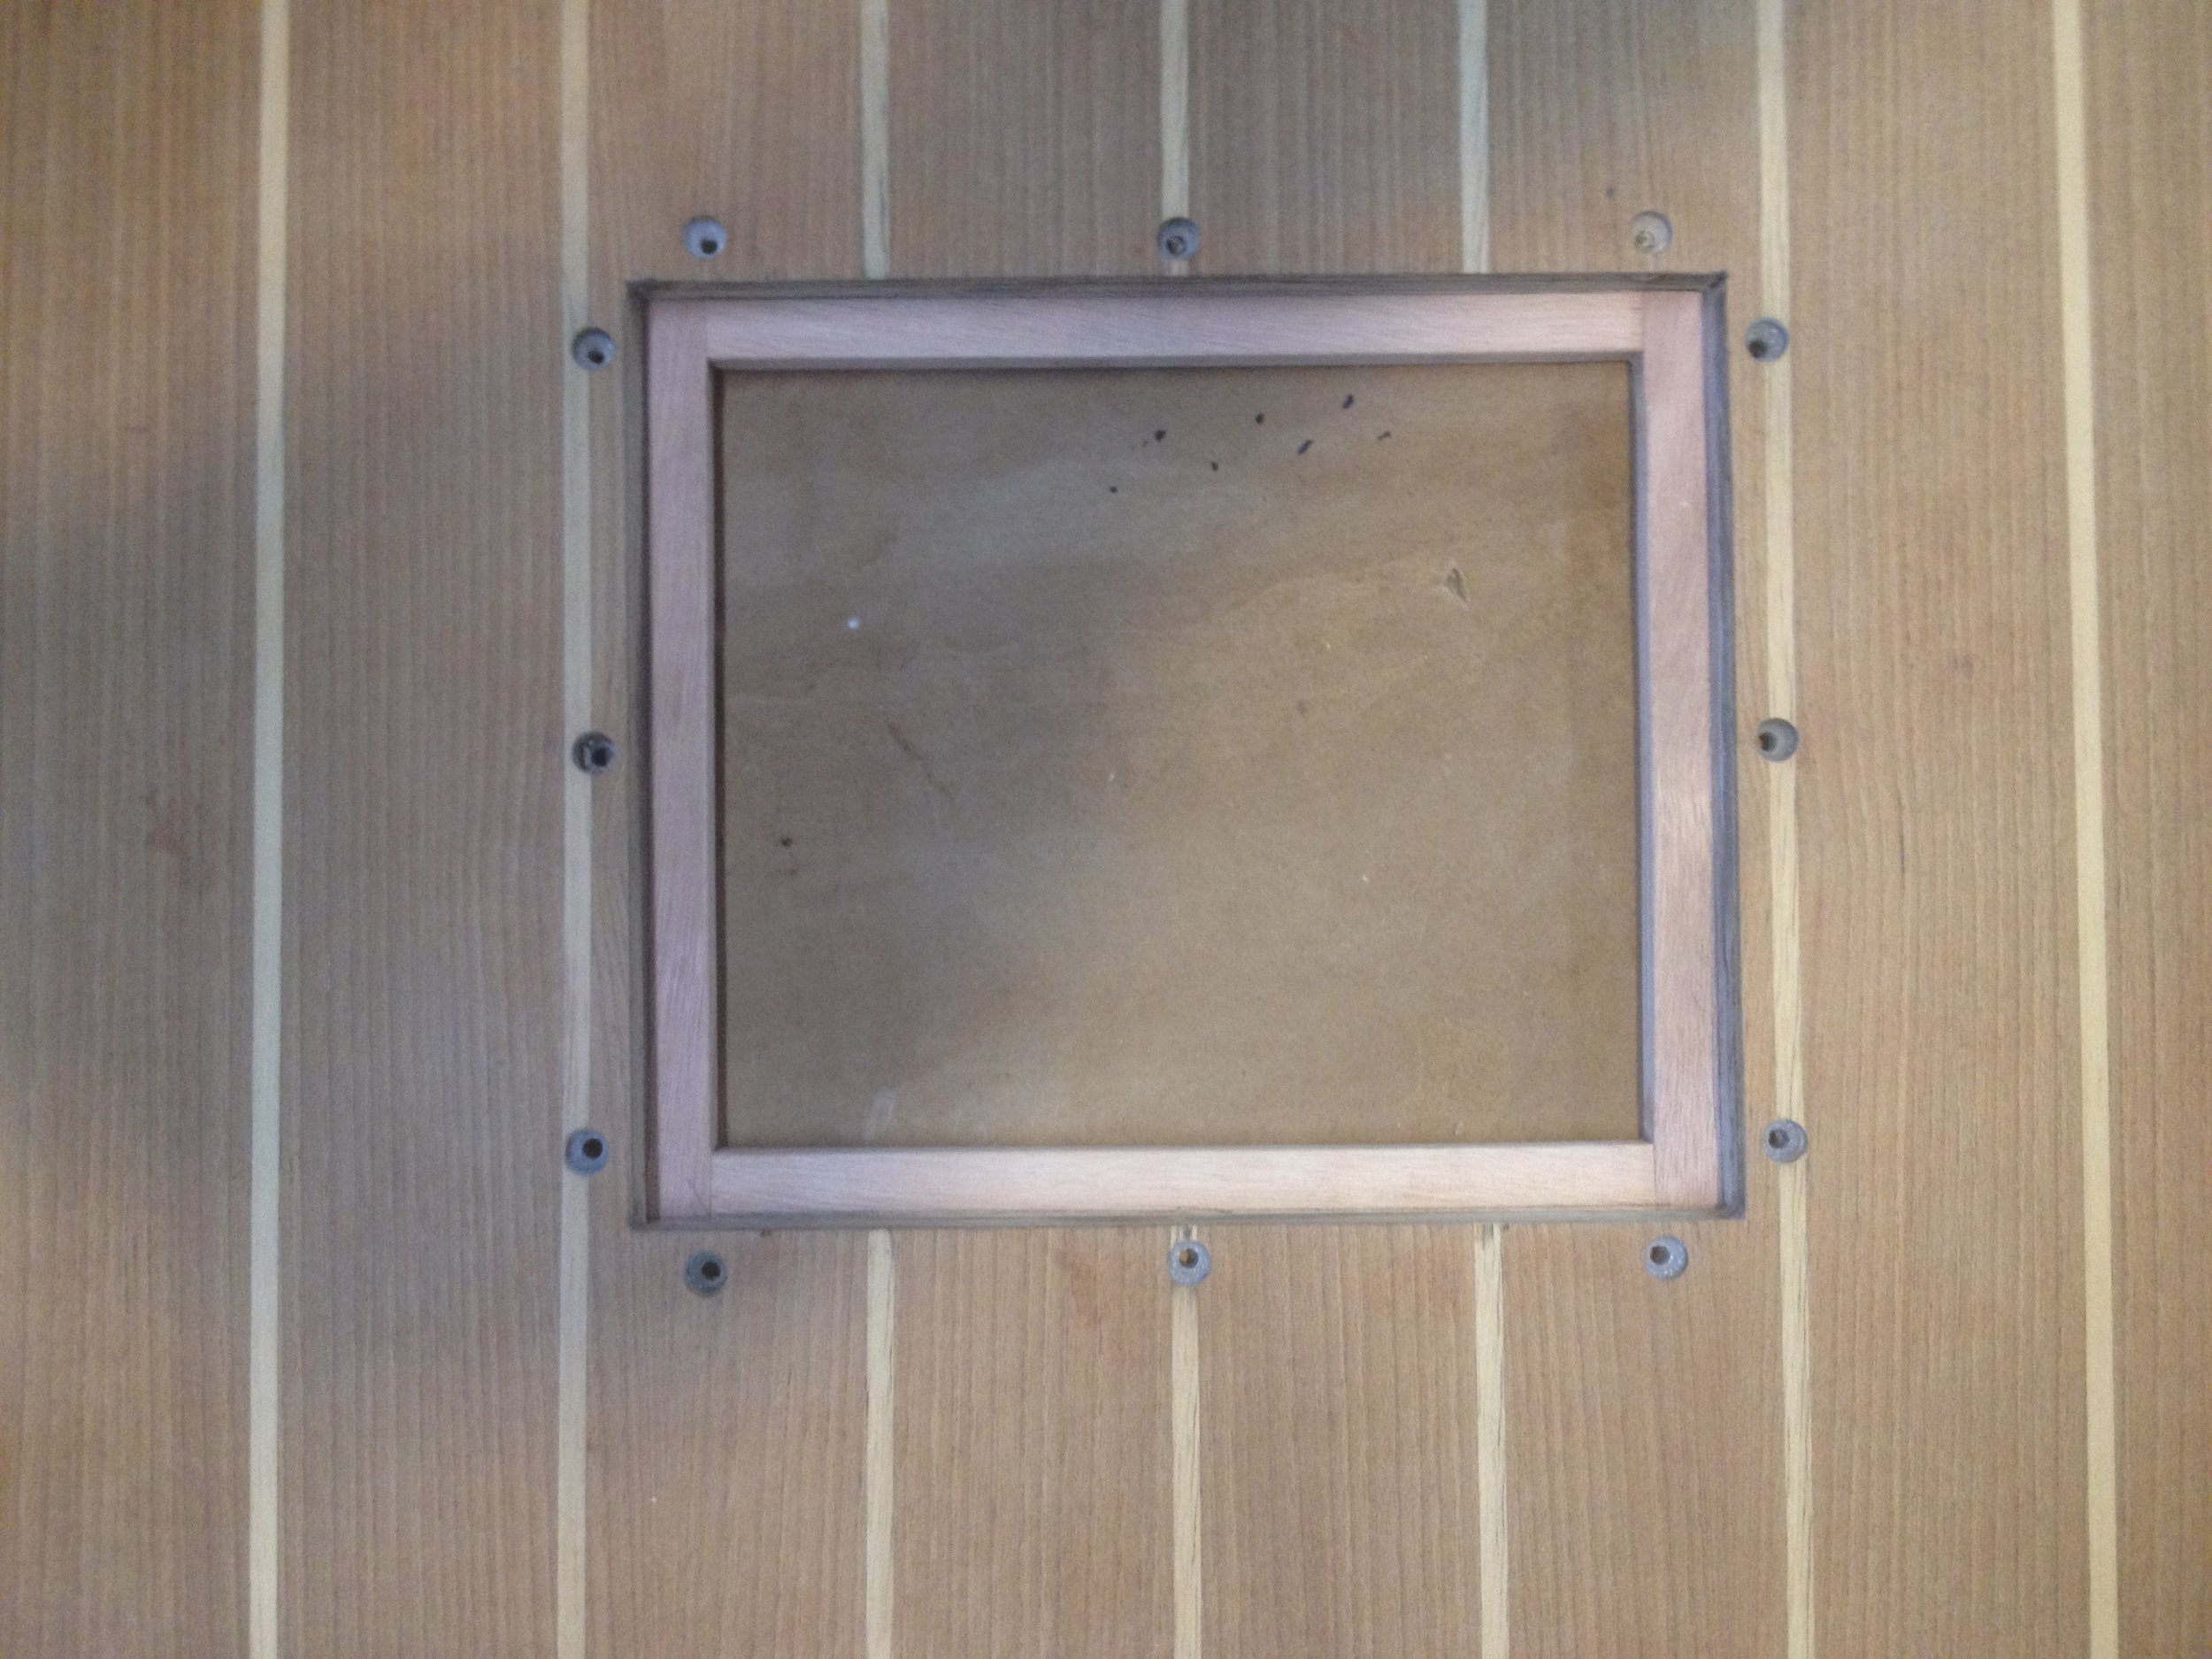
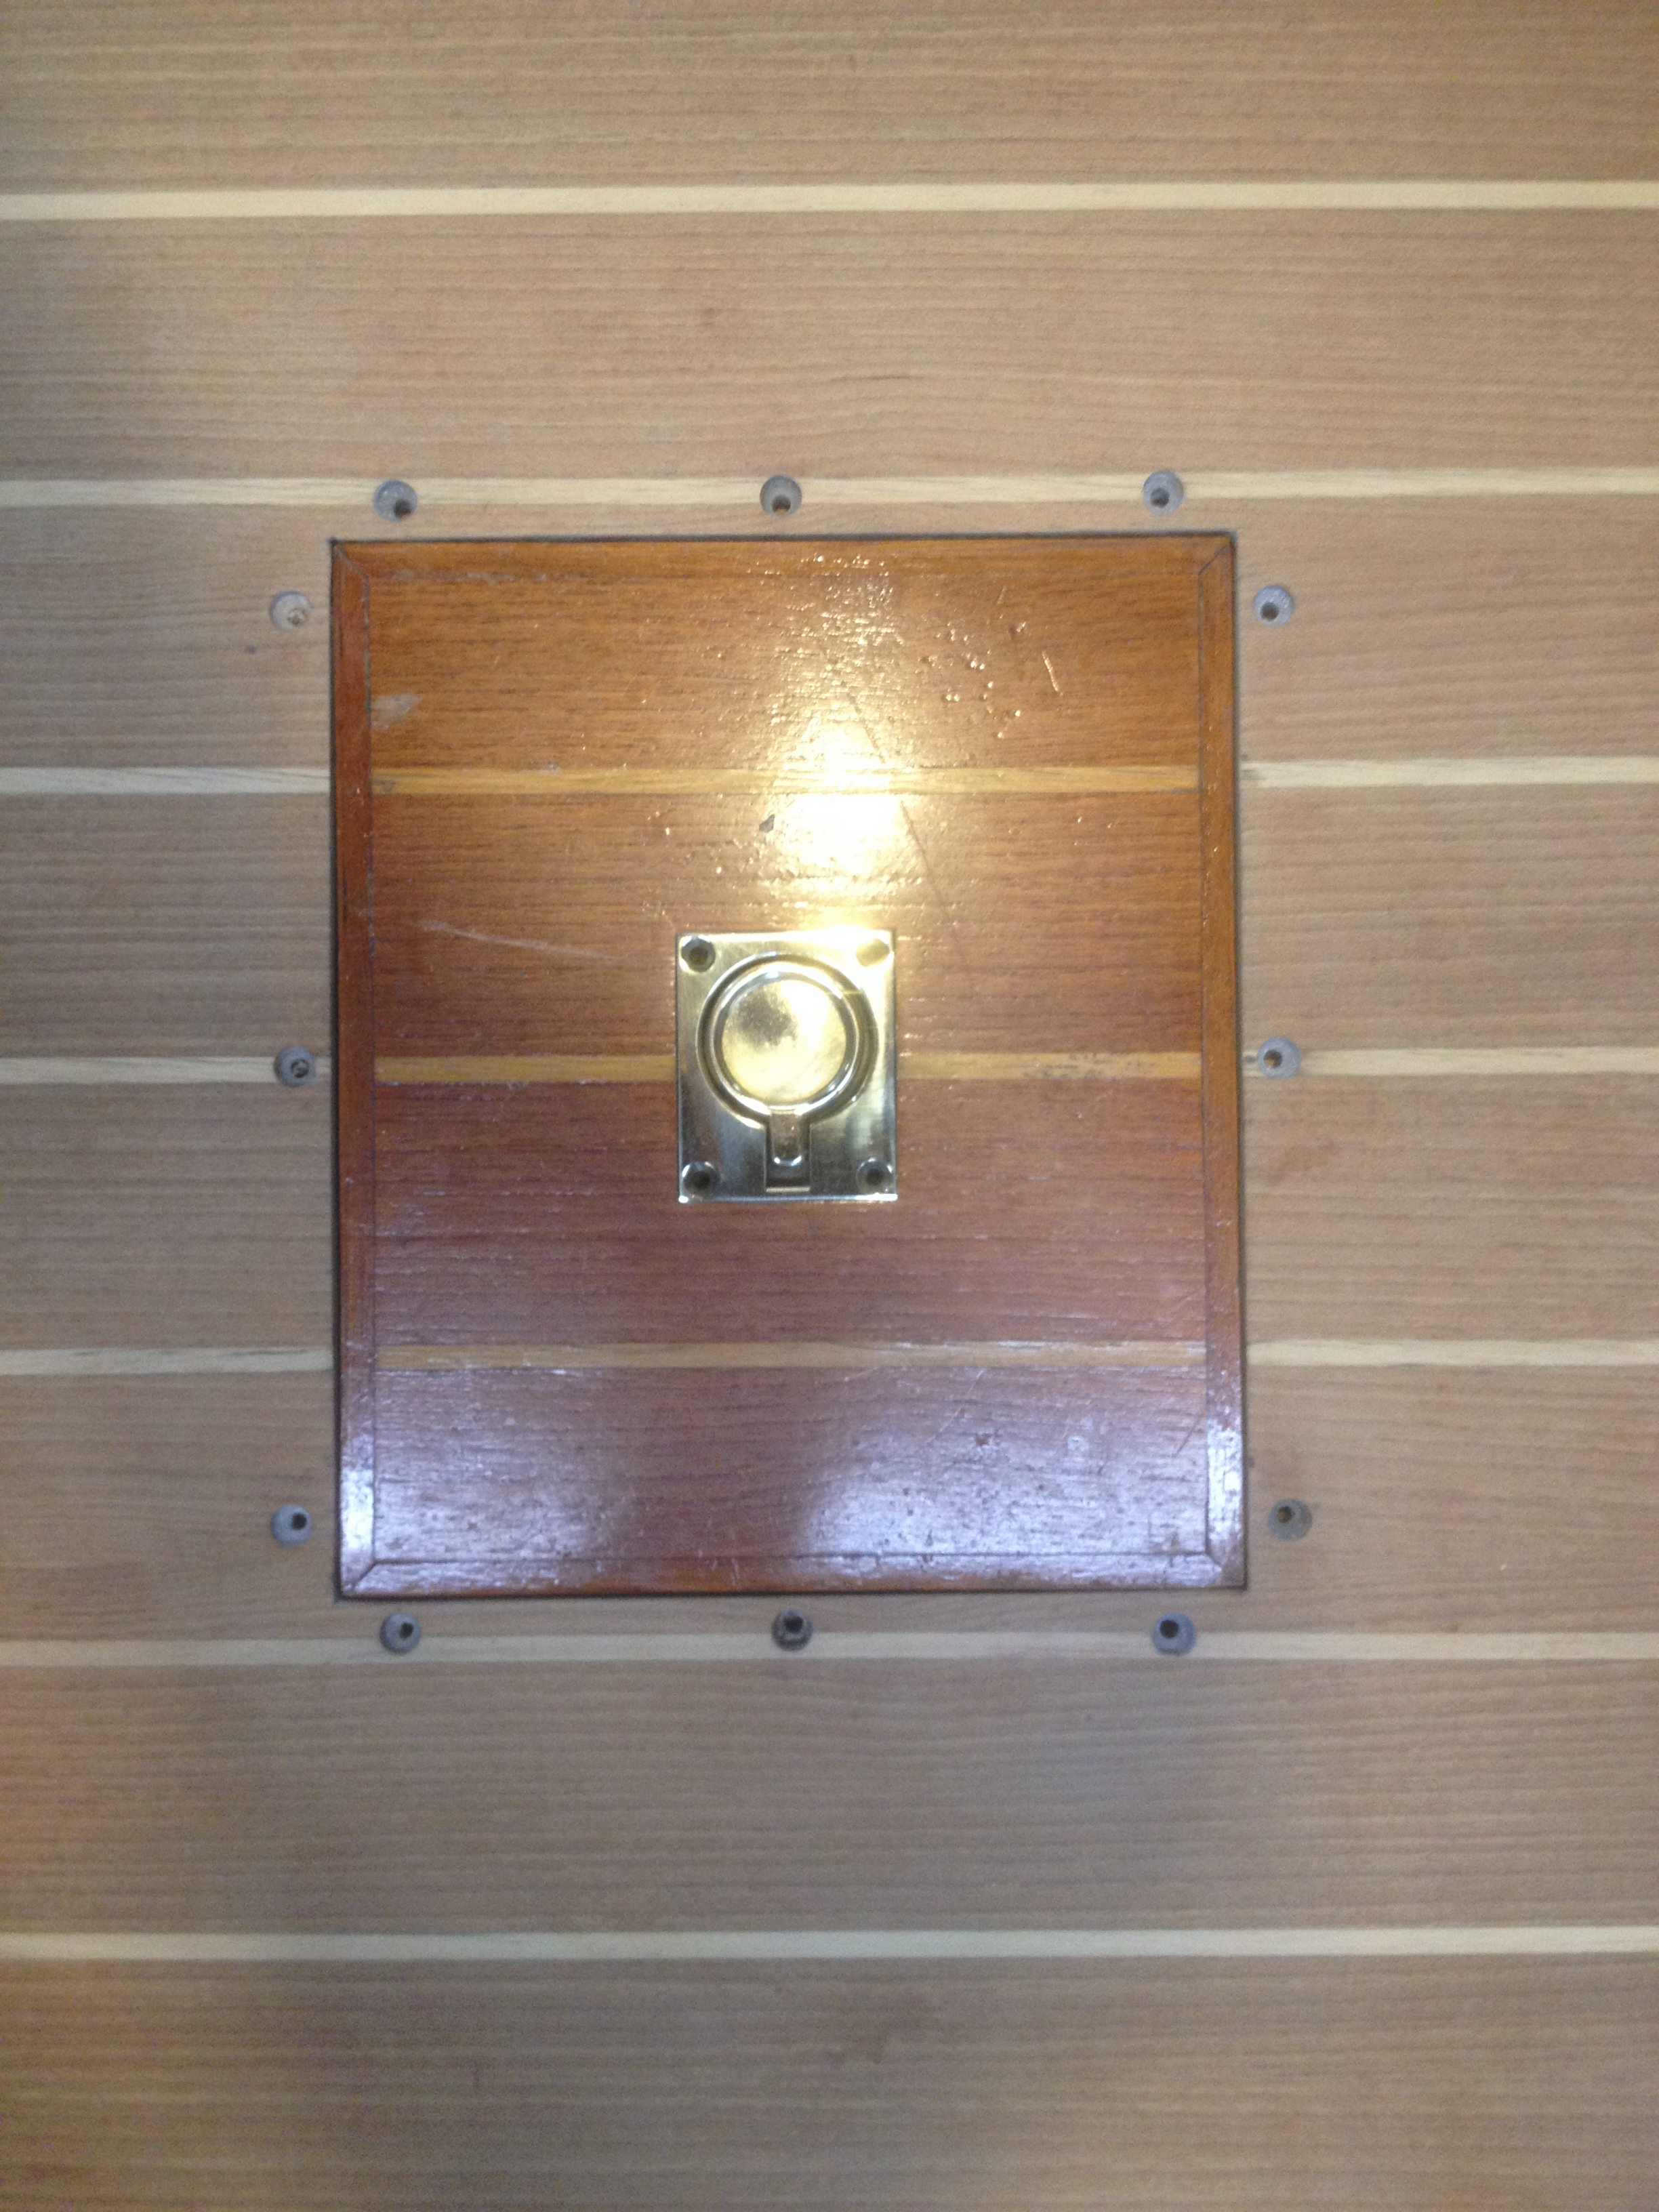
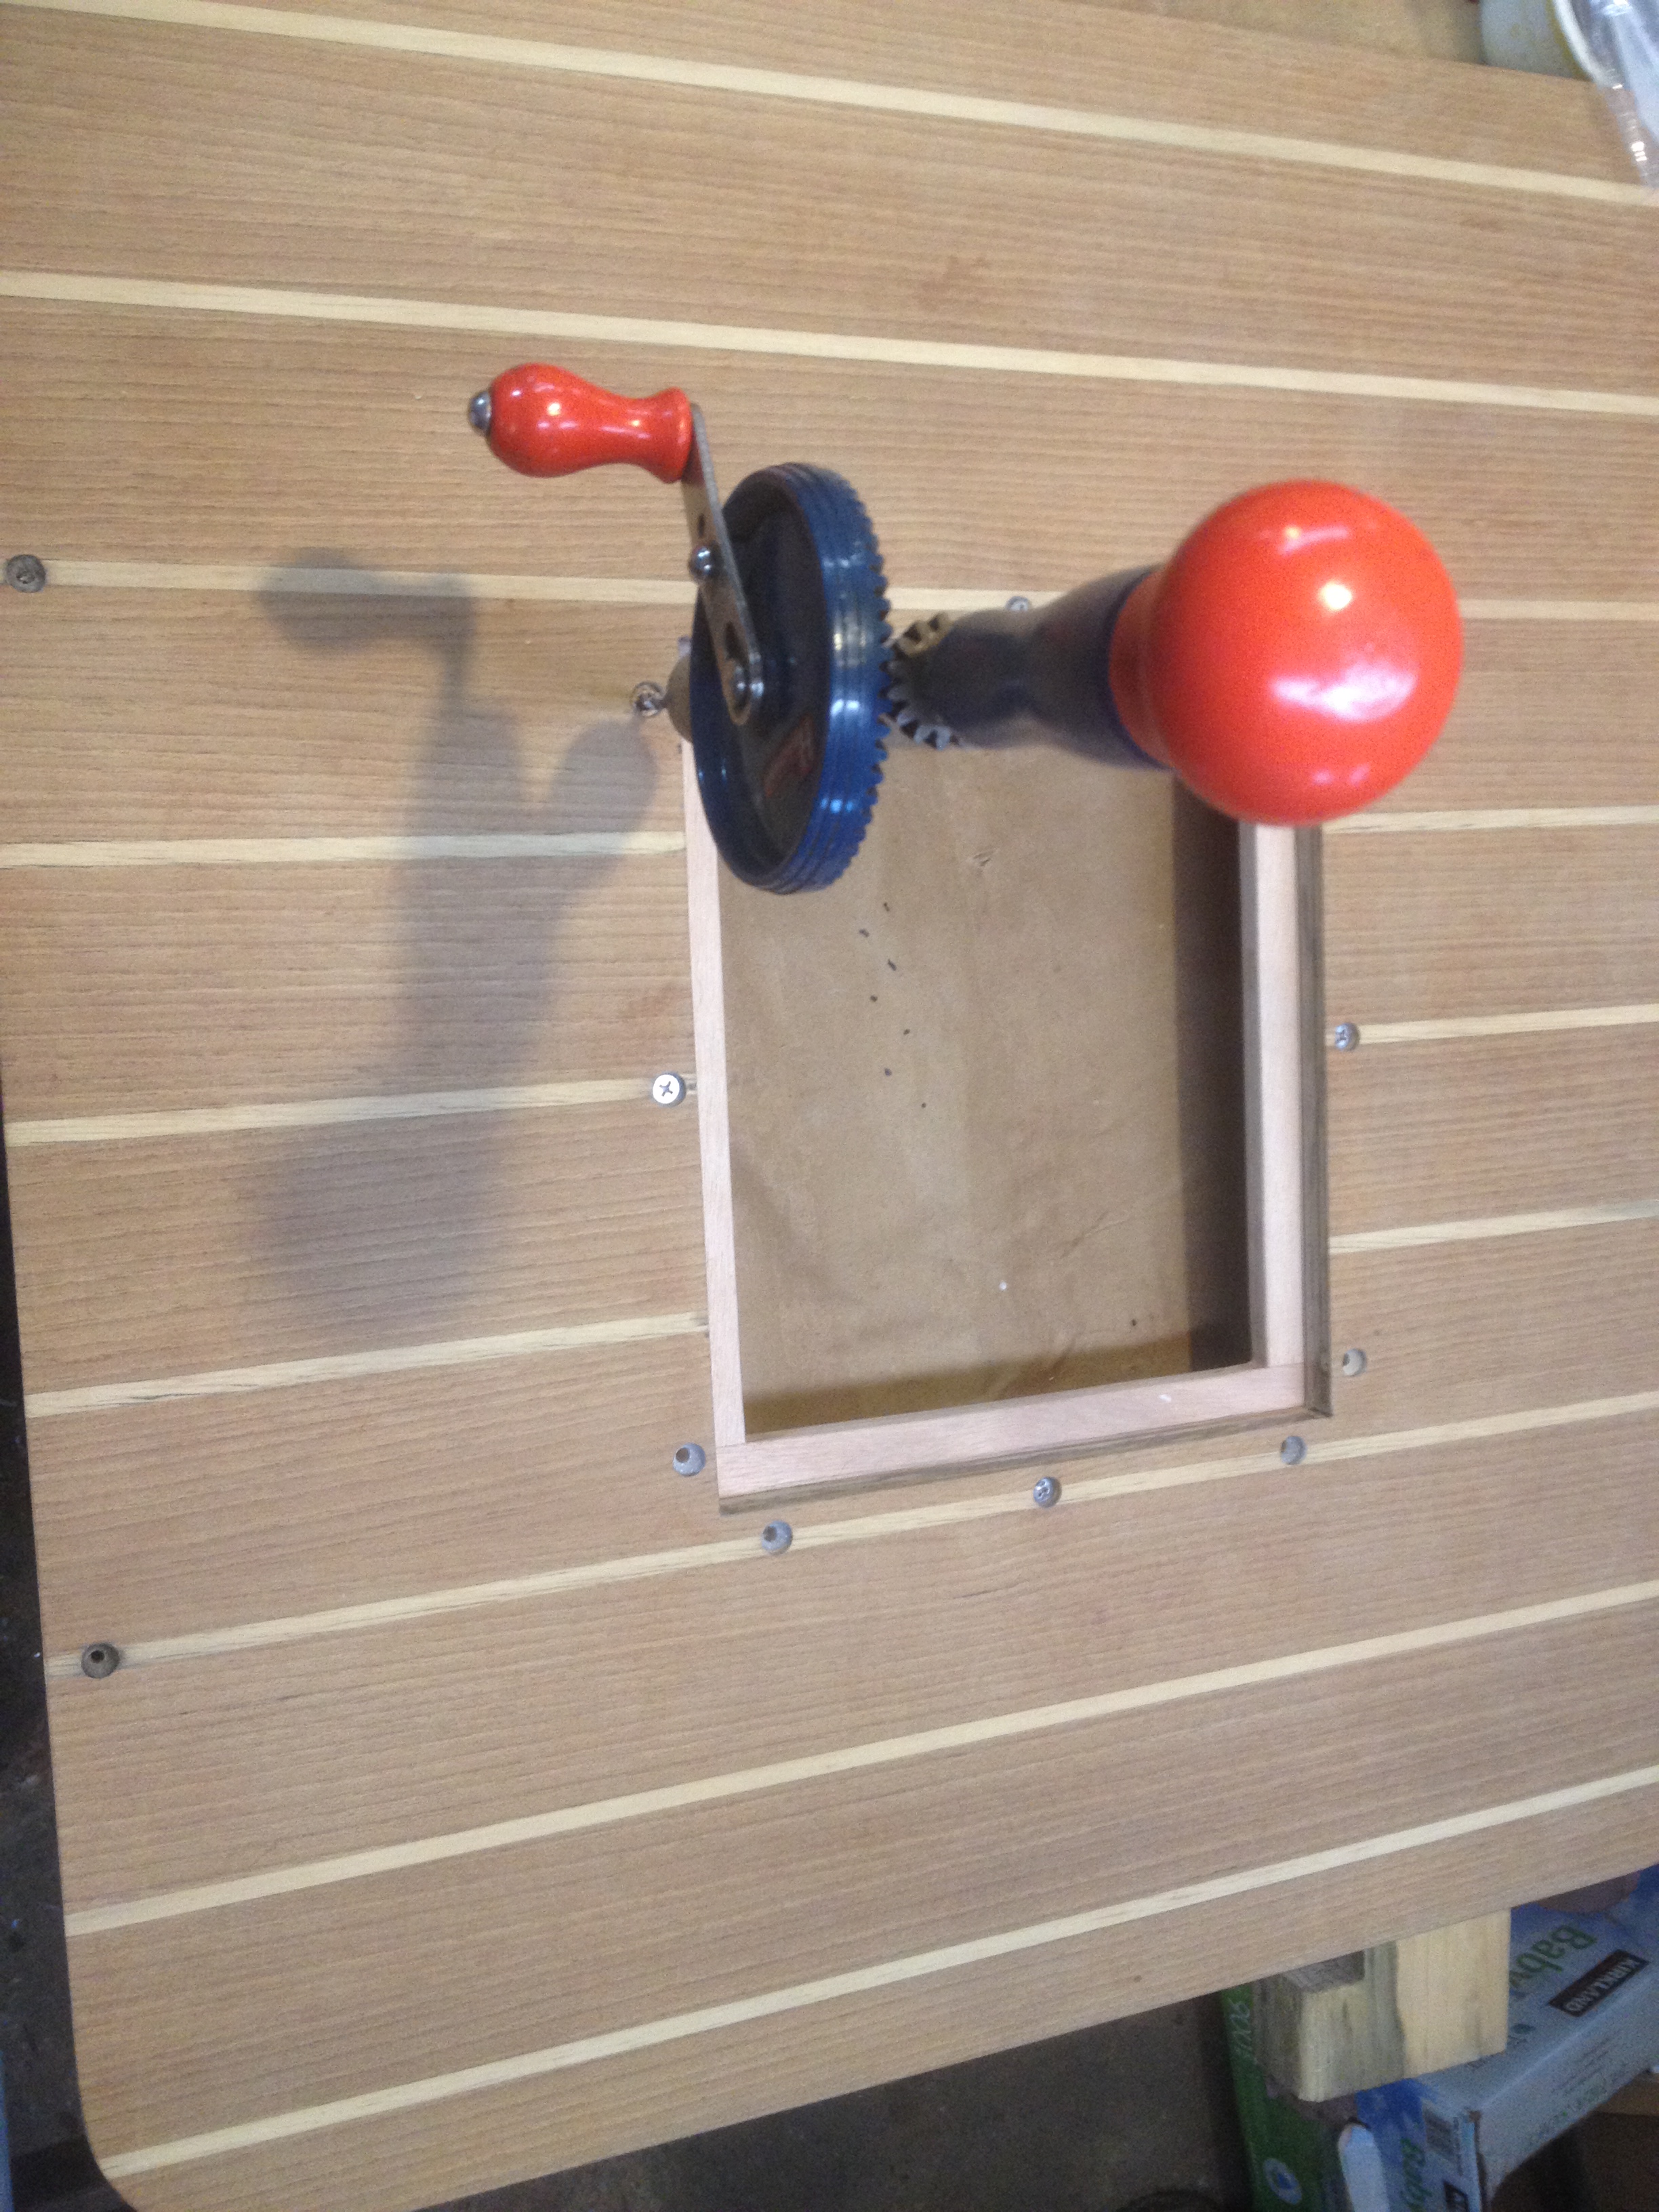
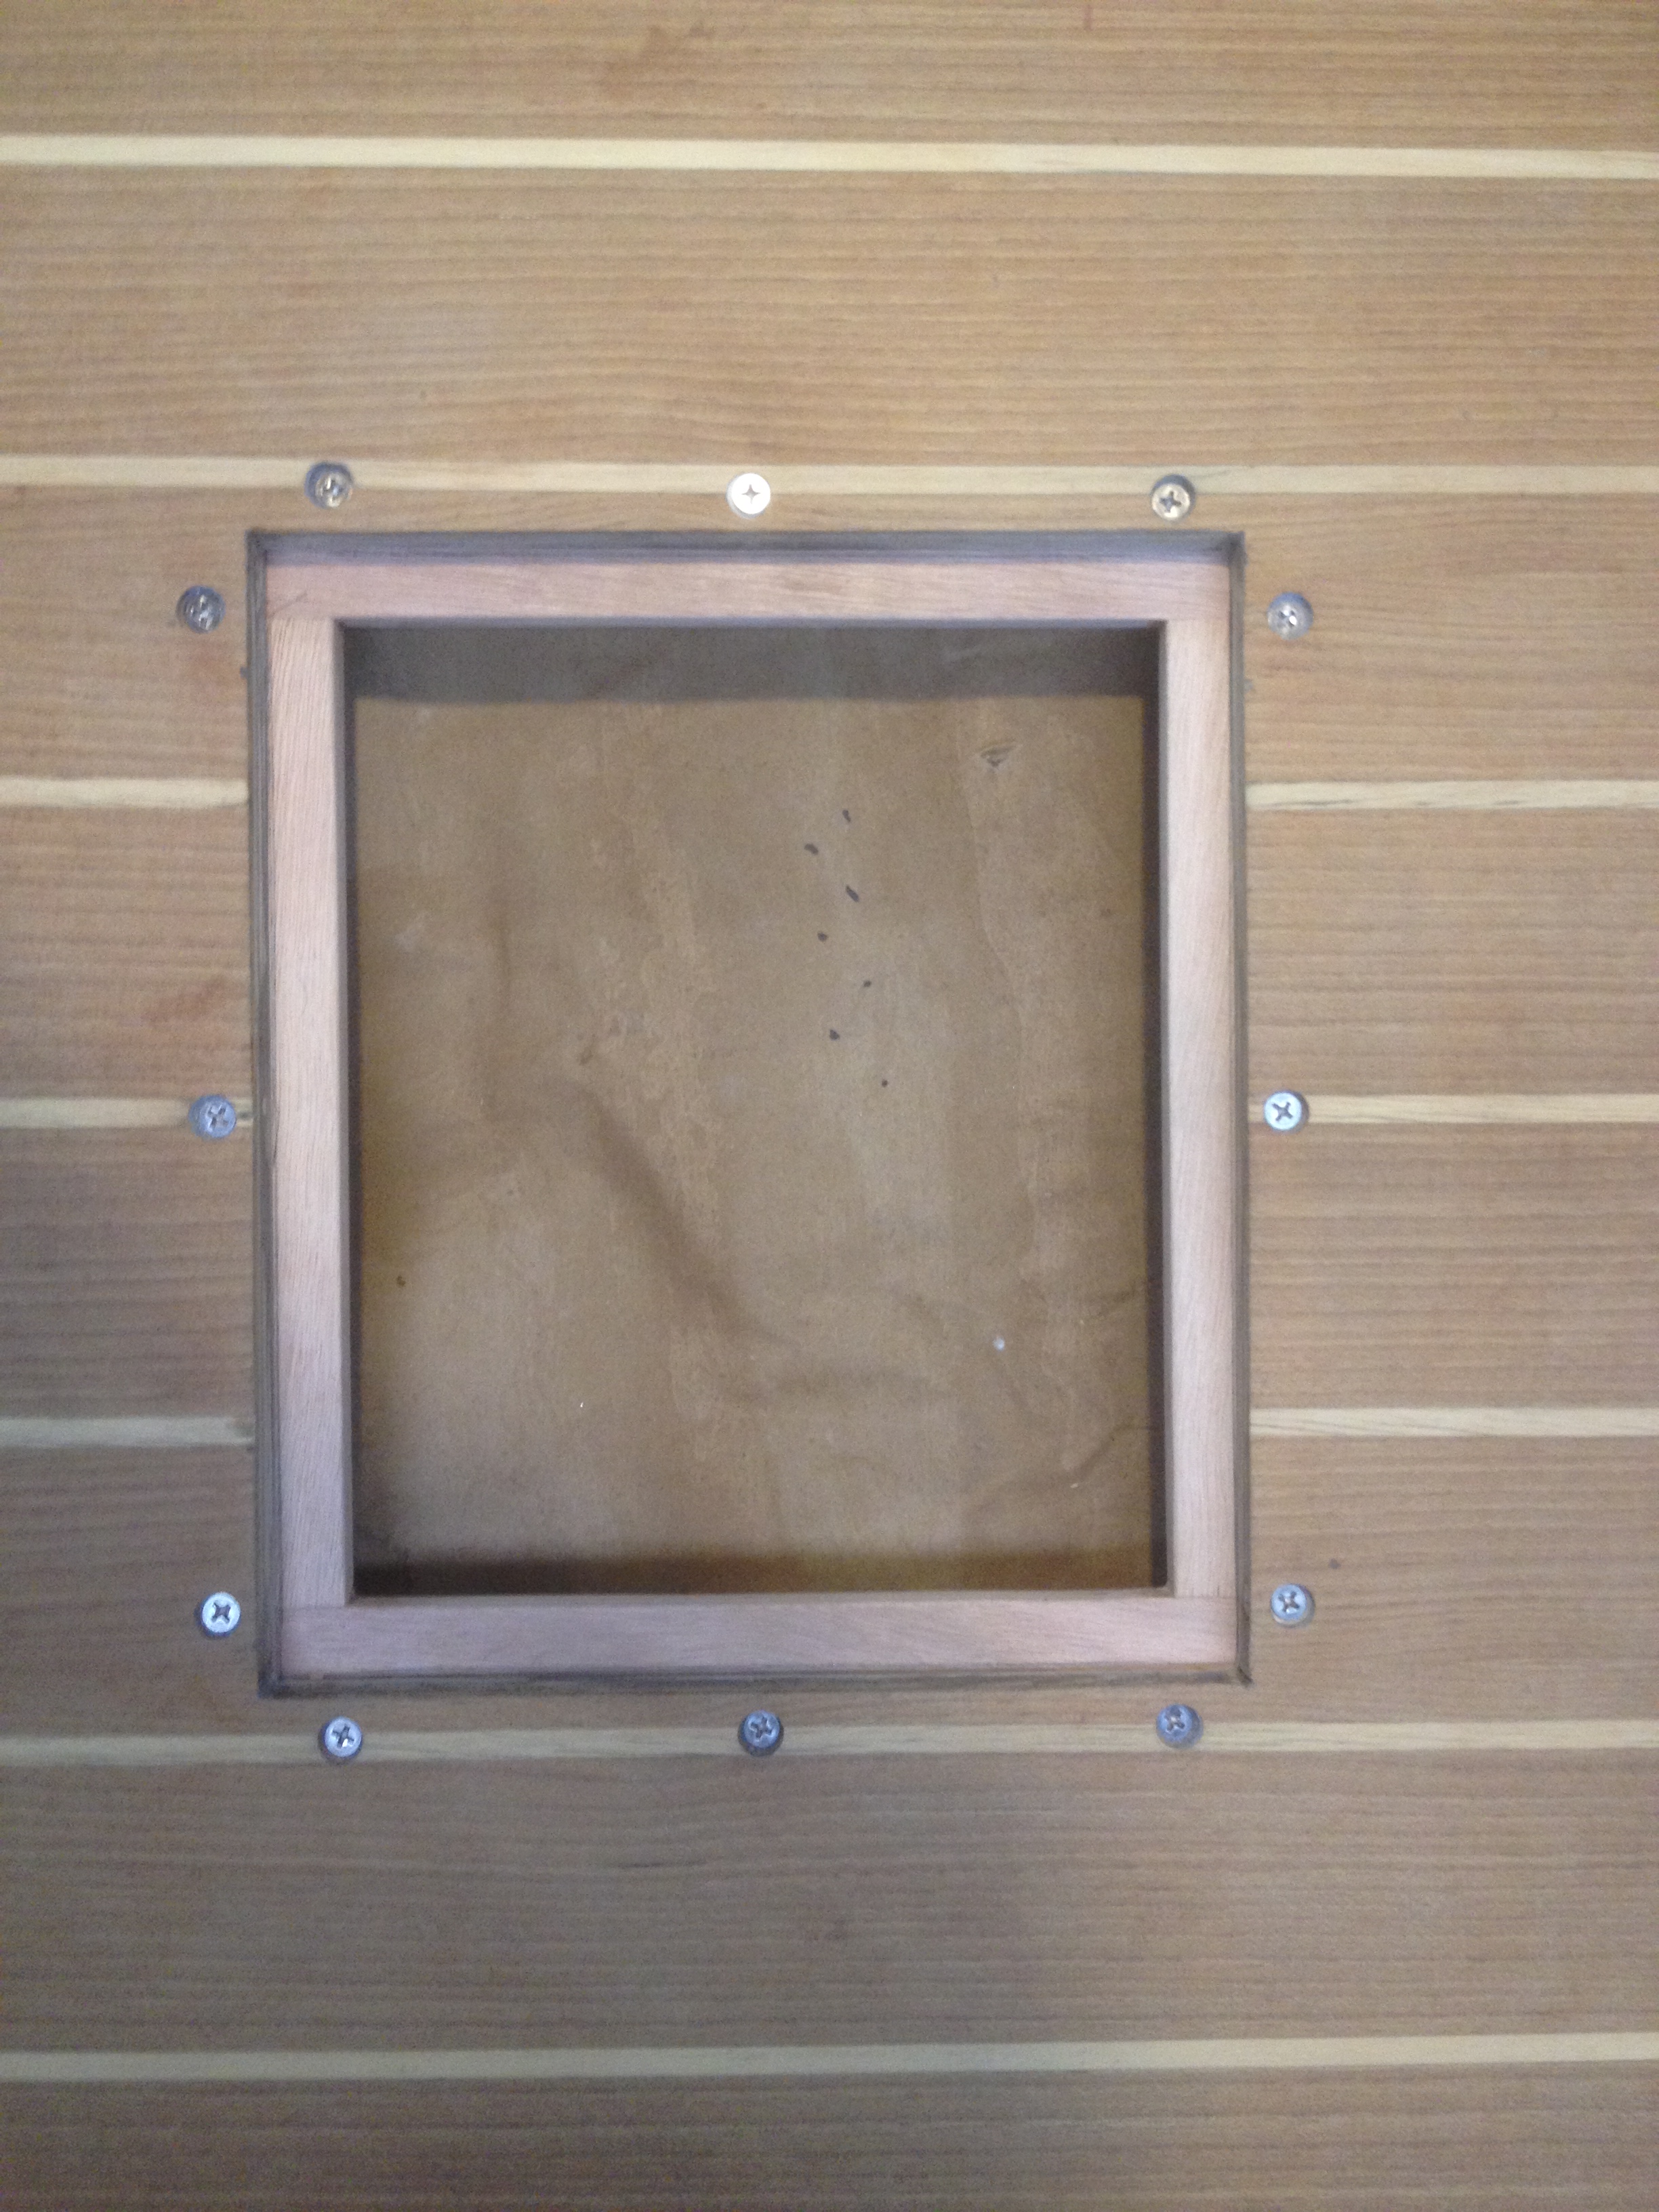
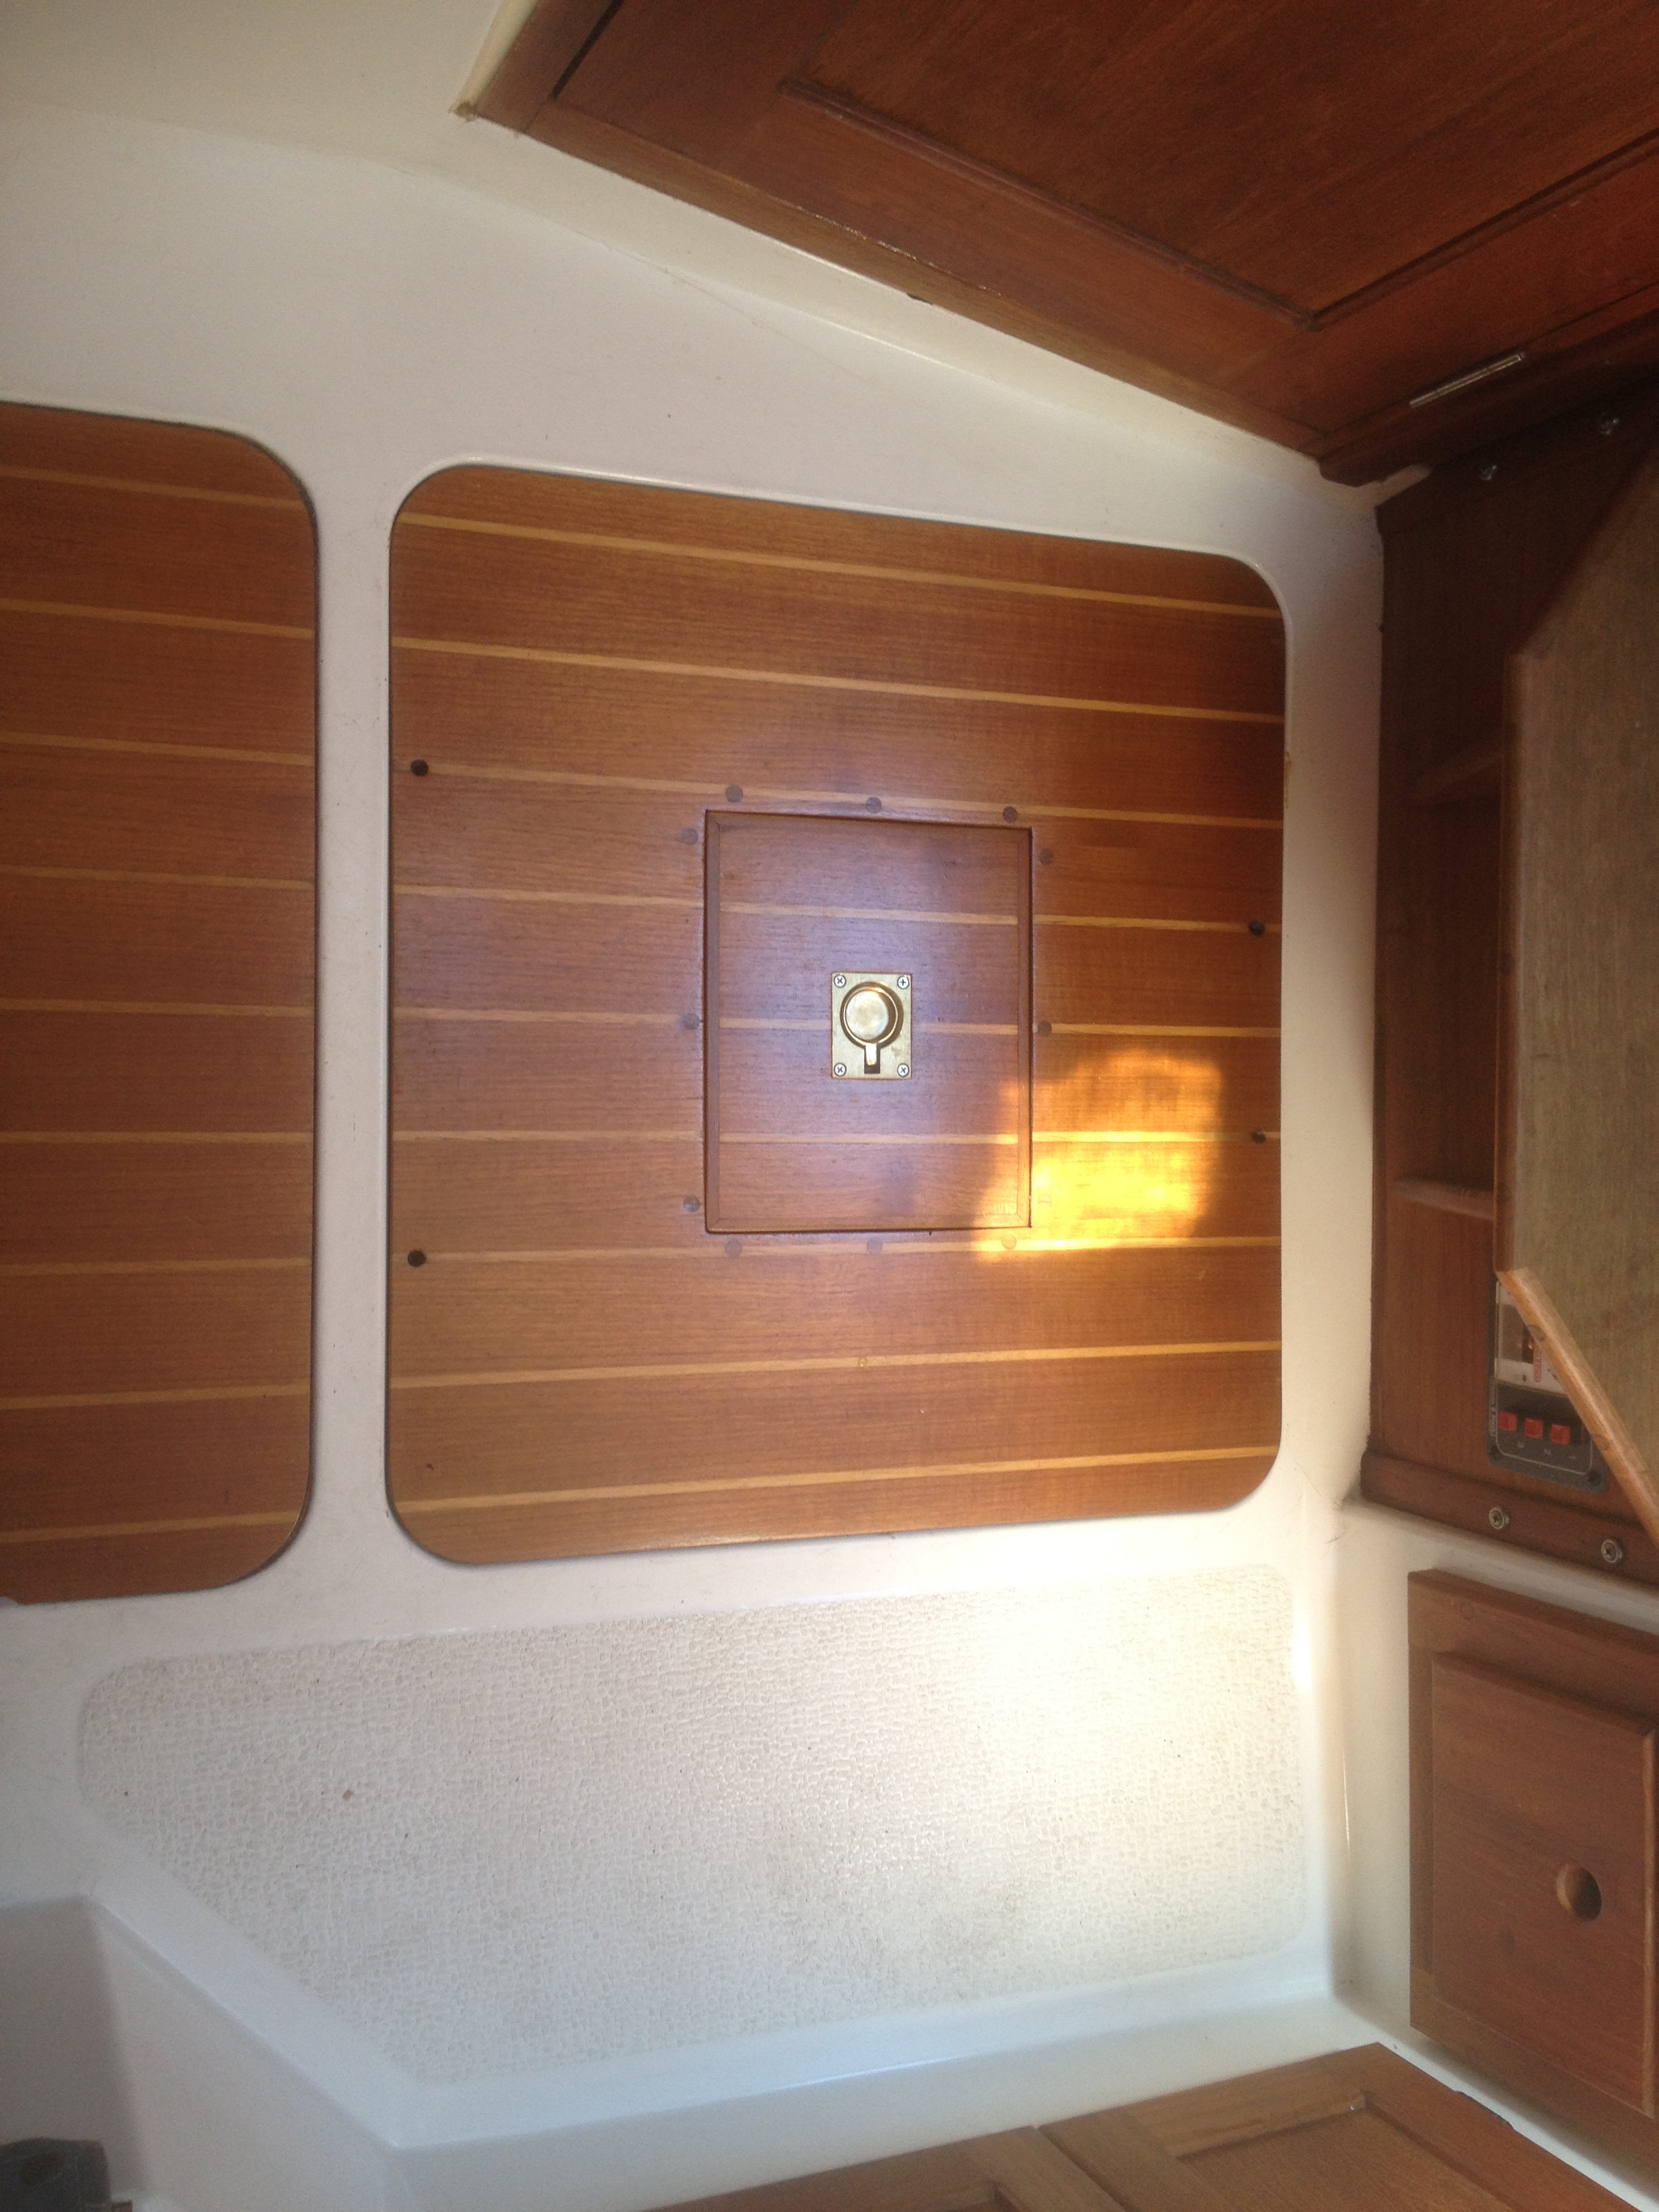
This is hatch over a bilge that had an unsealed plywood edge in the center opening. The plywood around the opening completely delaminated and the screws on the support cleats pulled through.

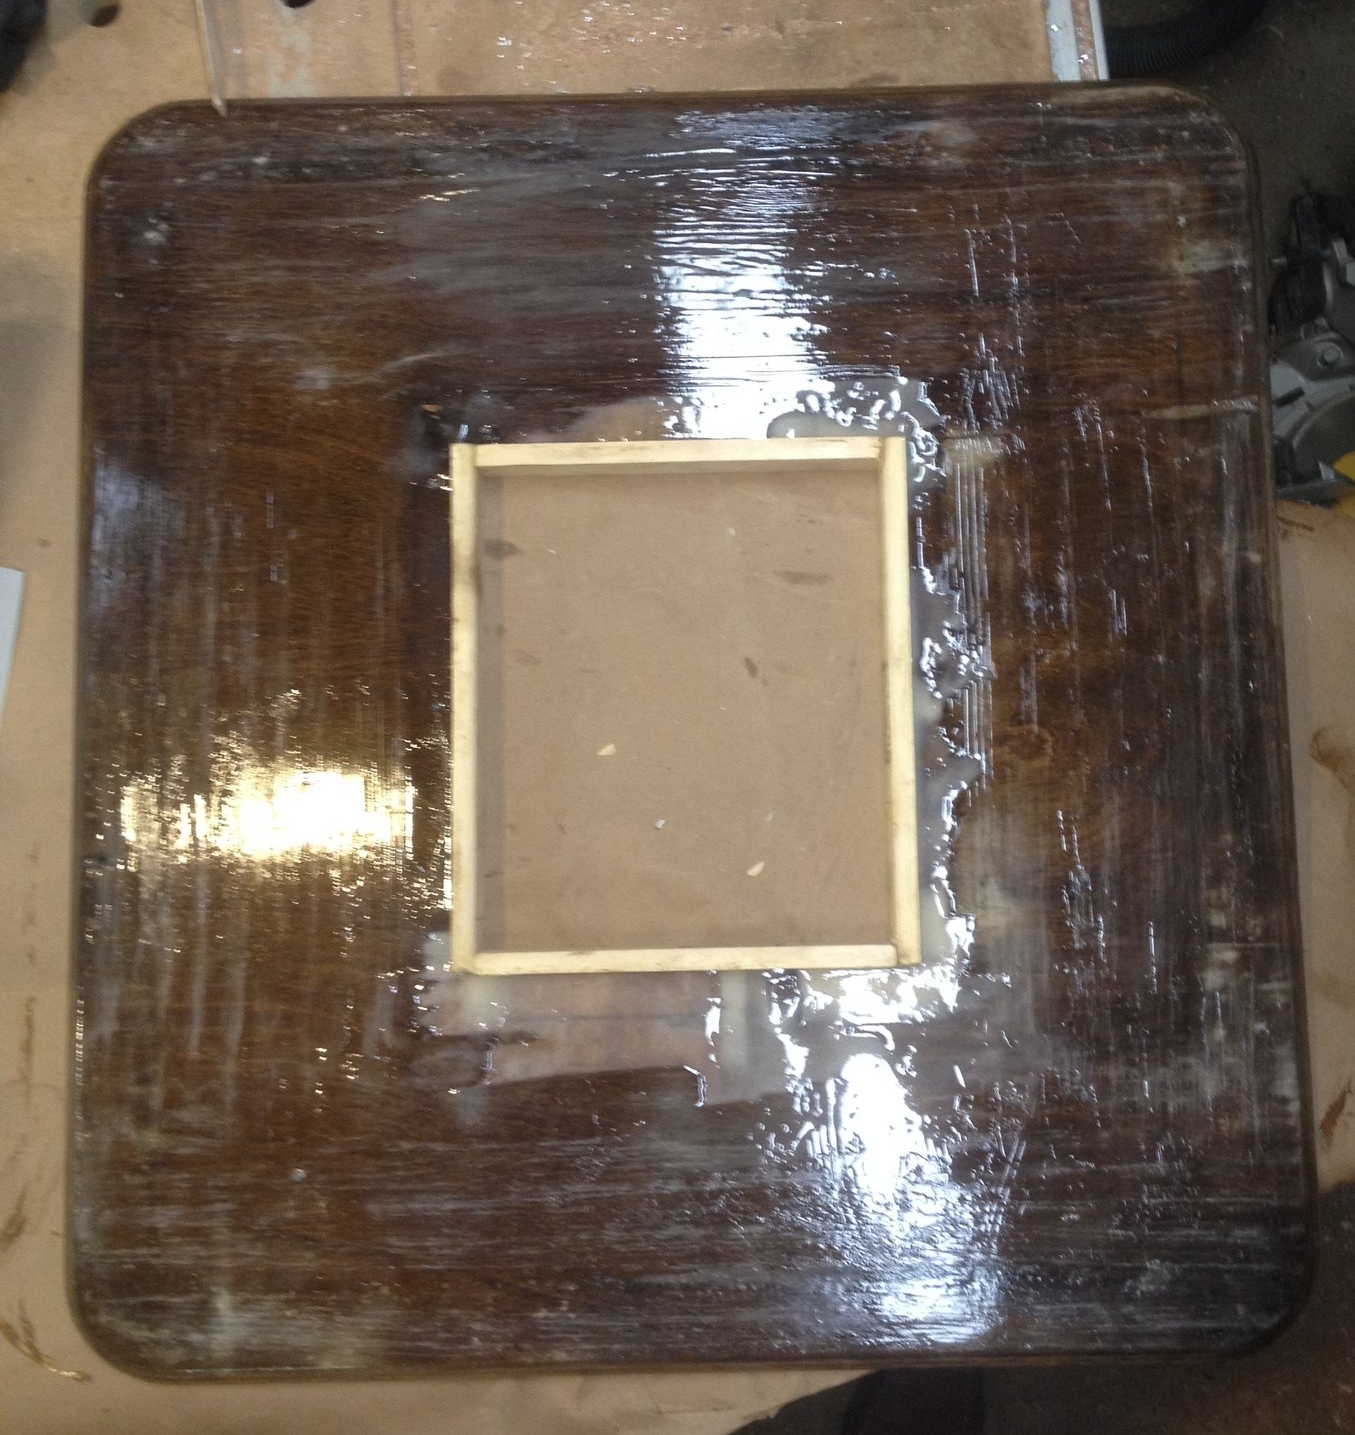
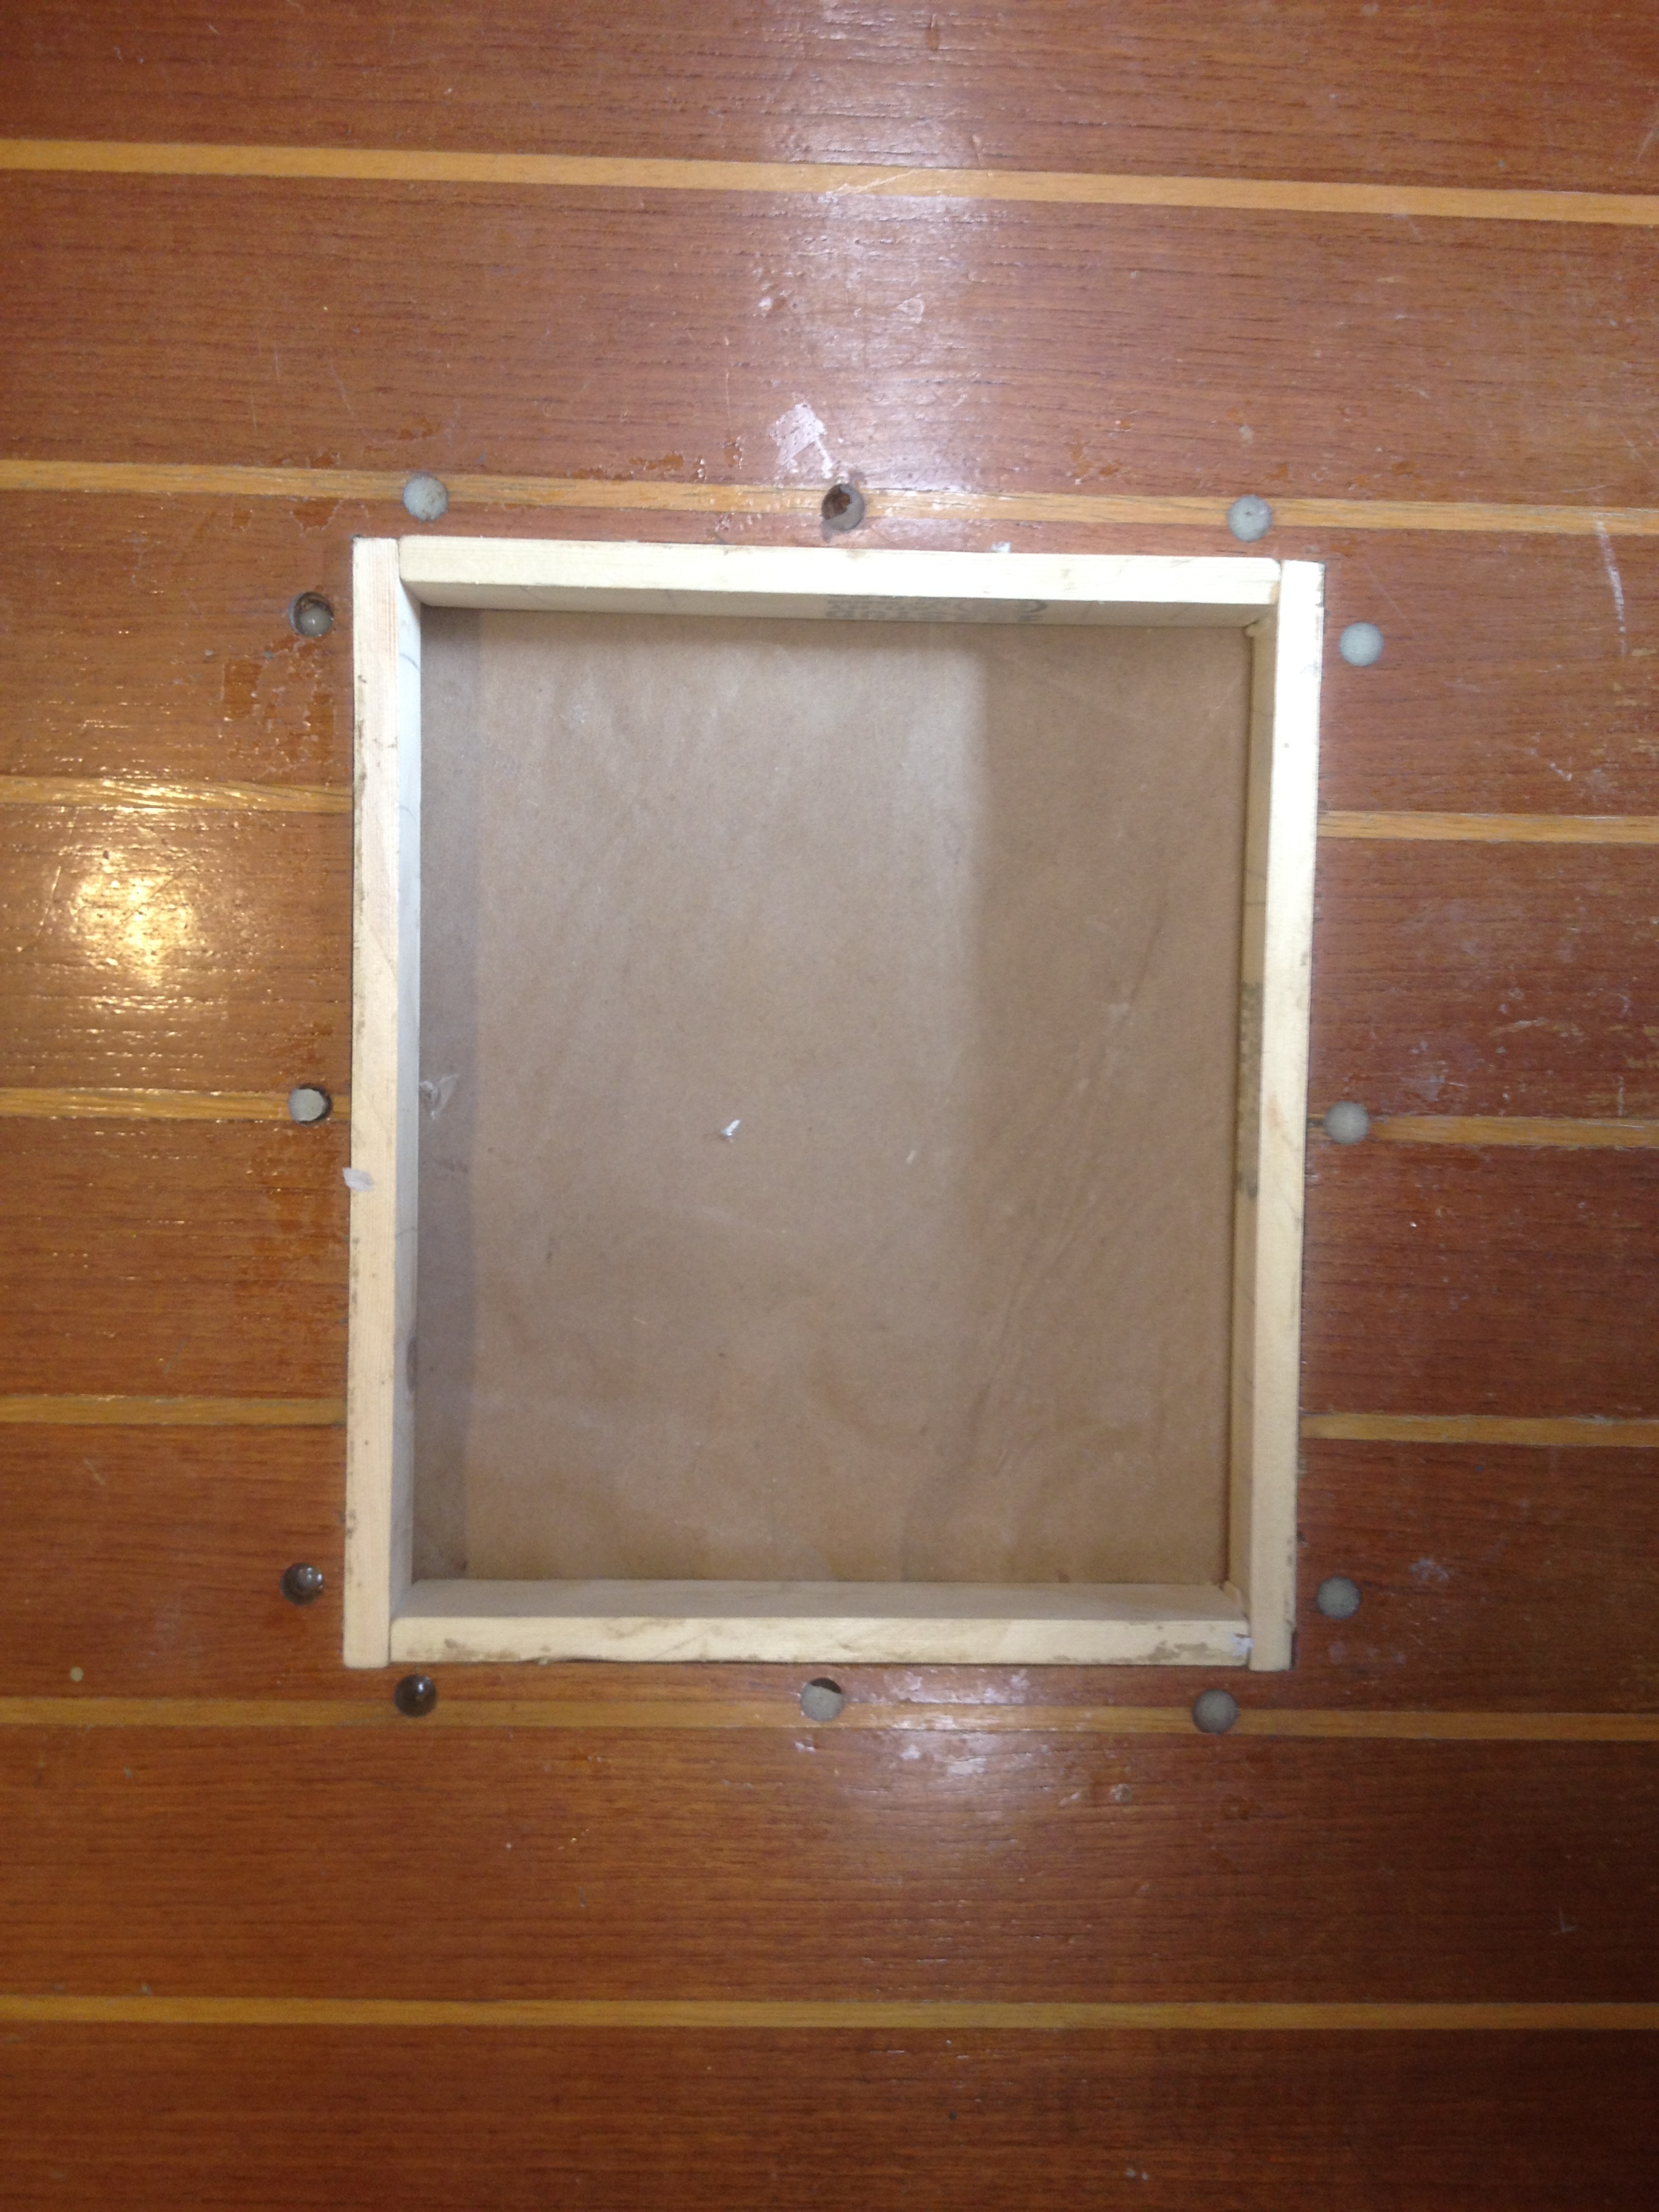
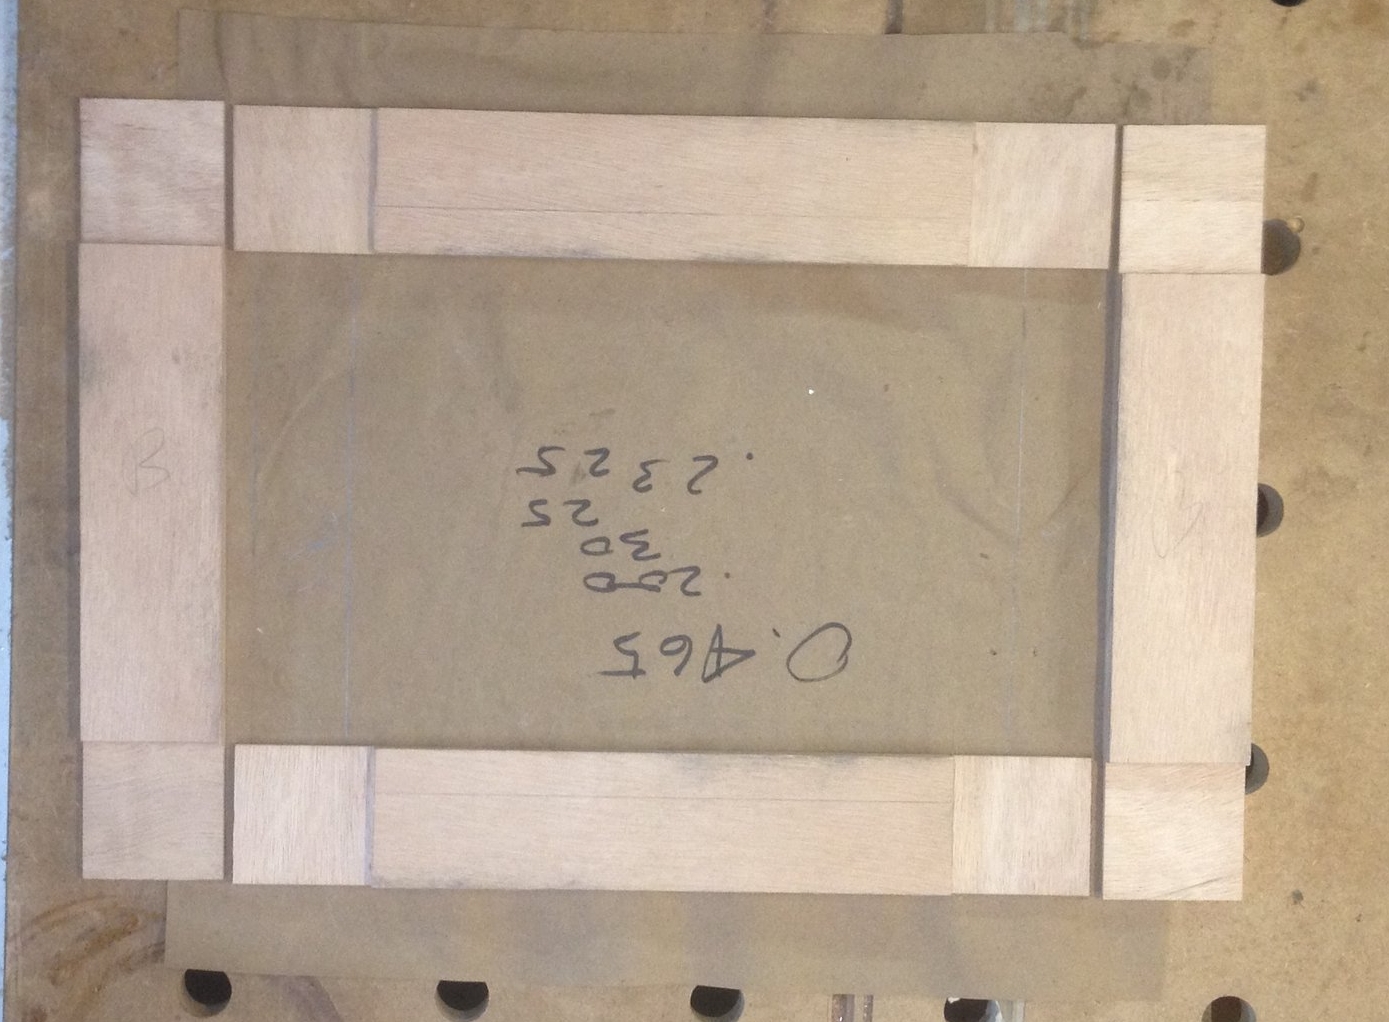
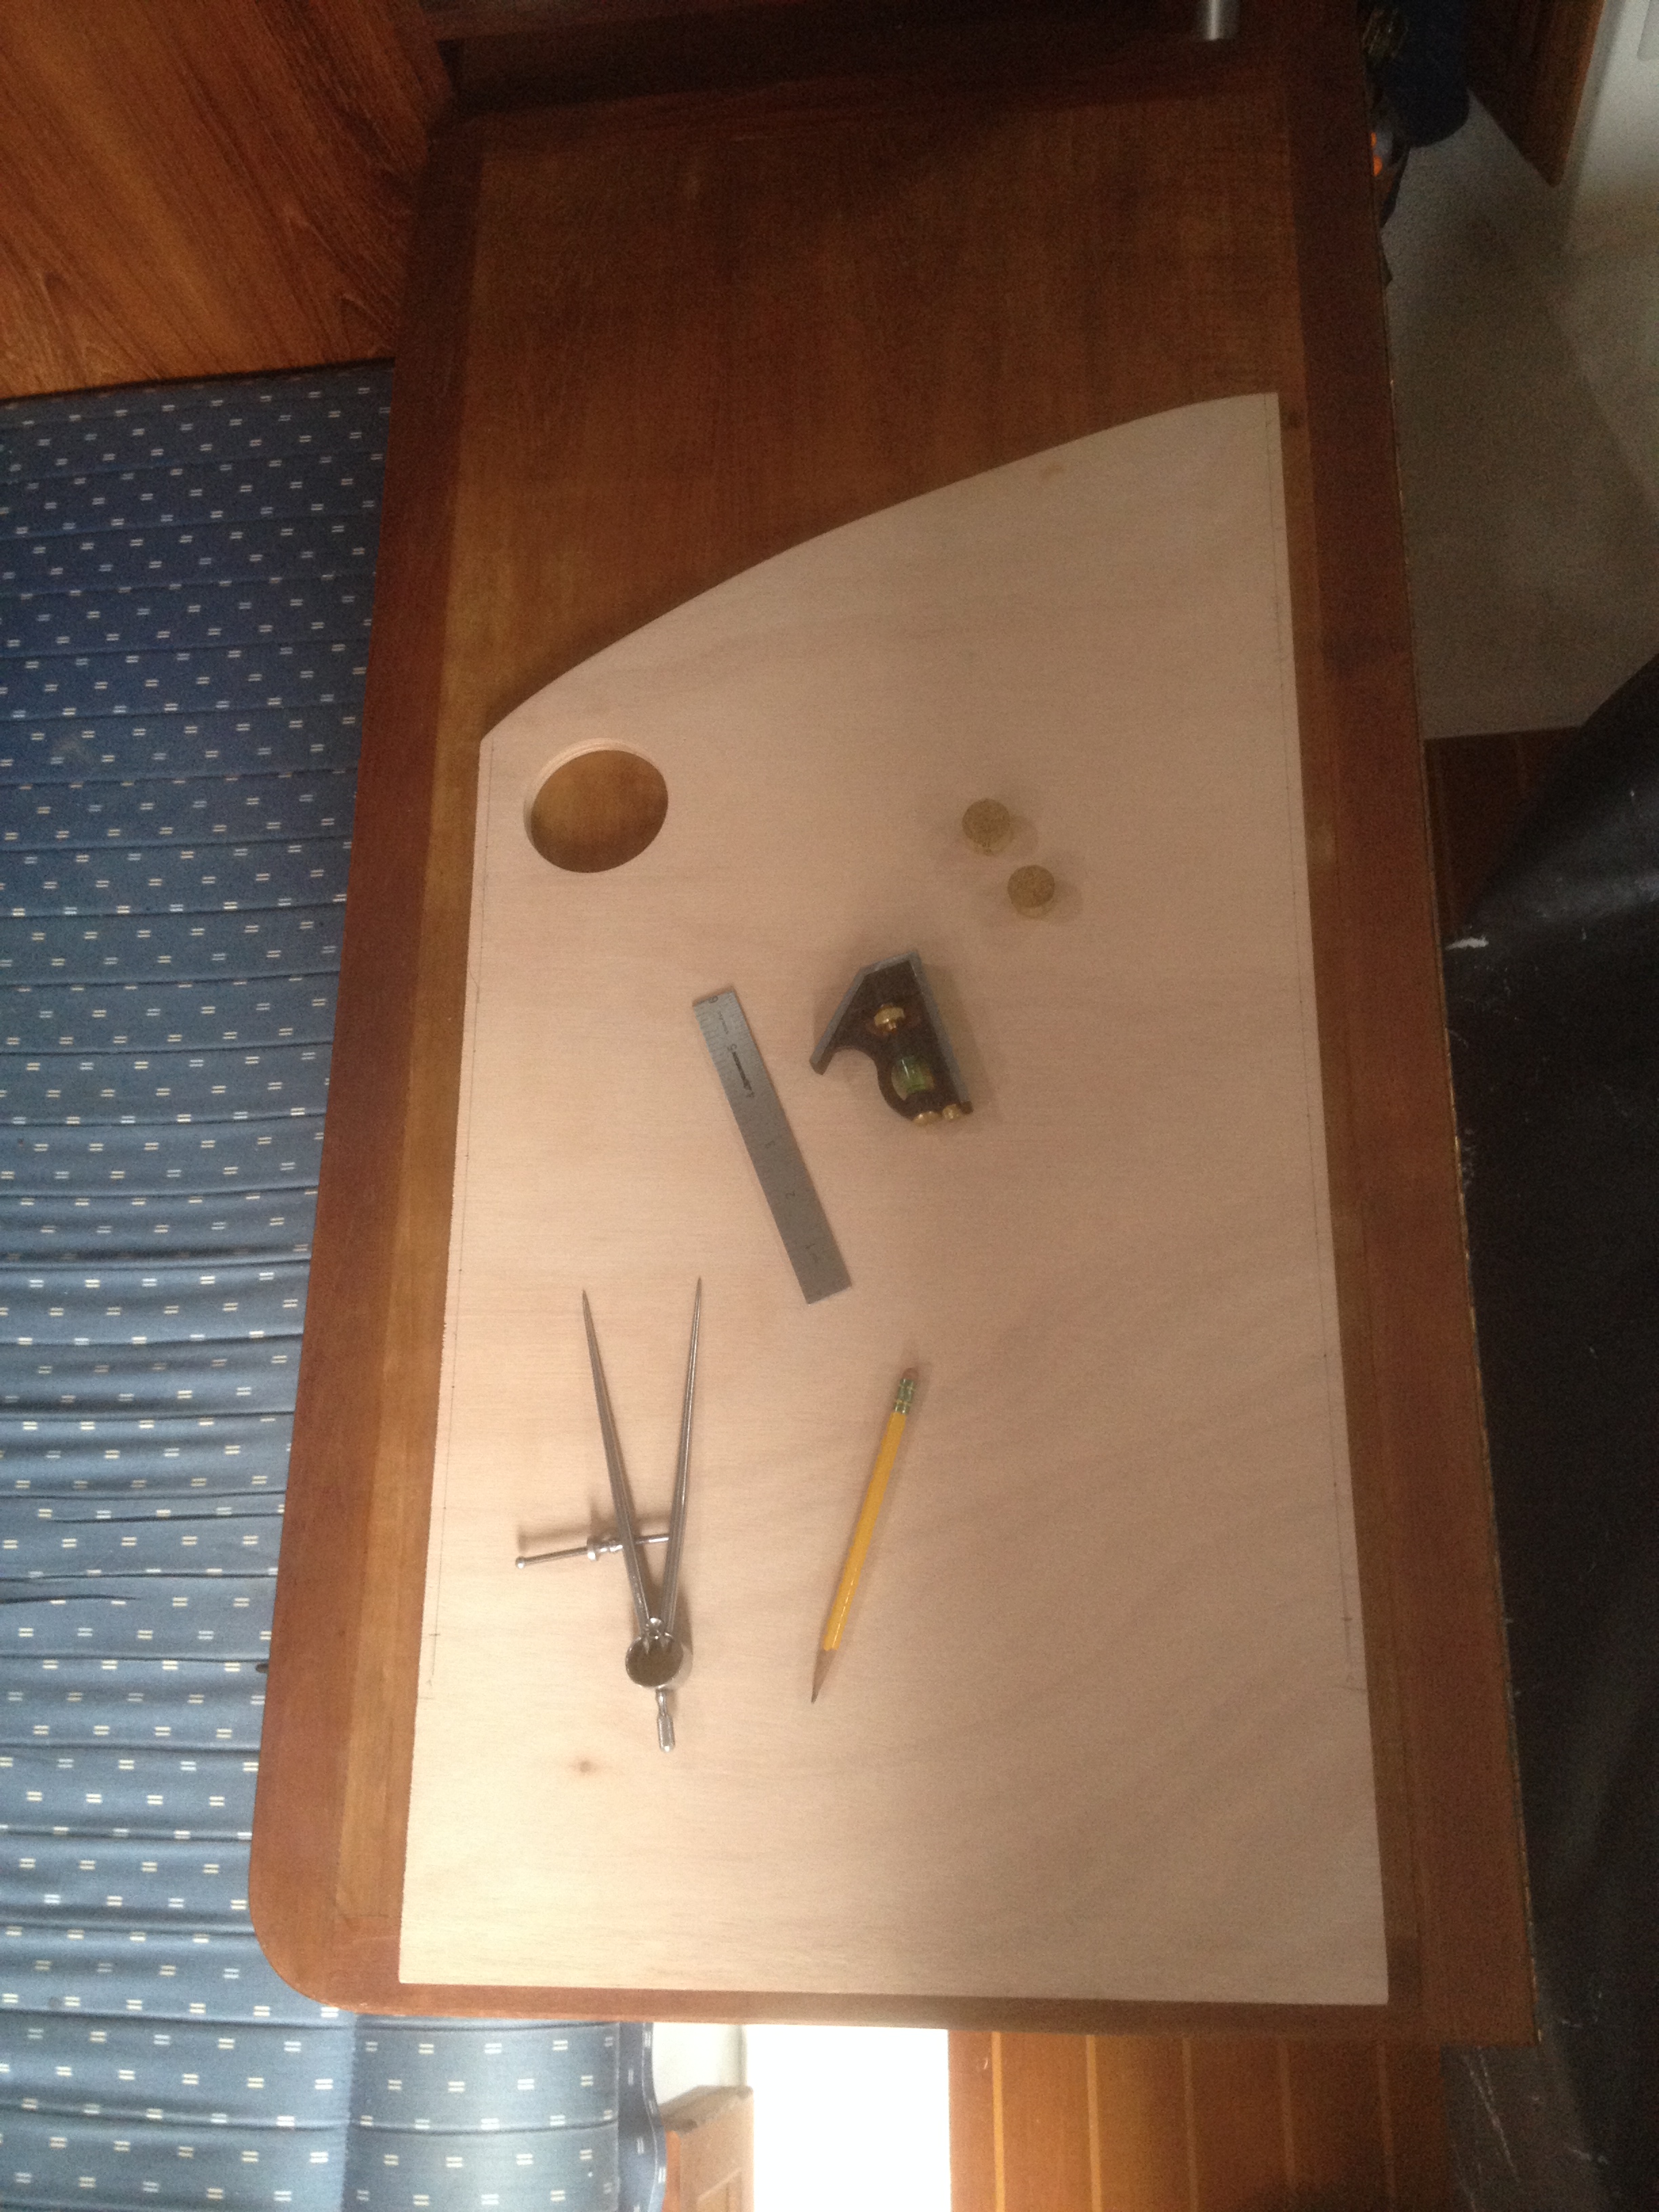
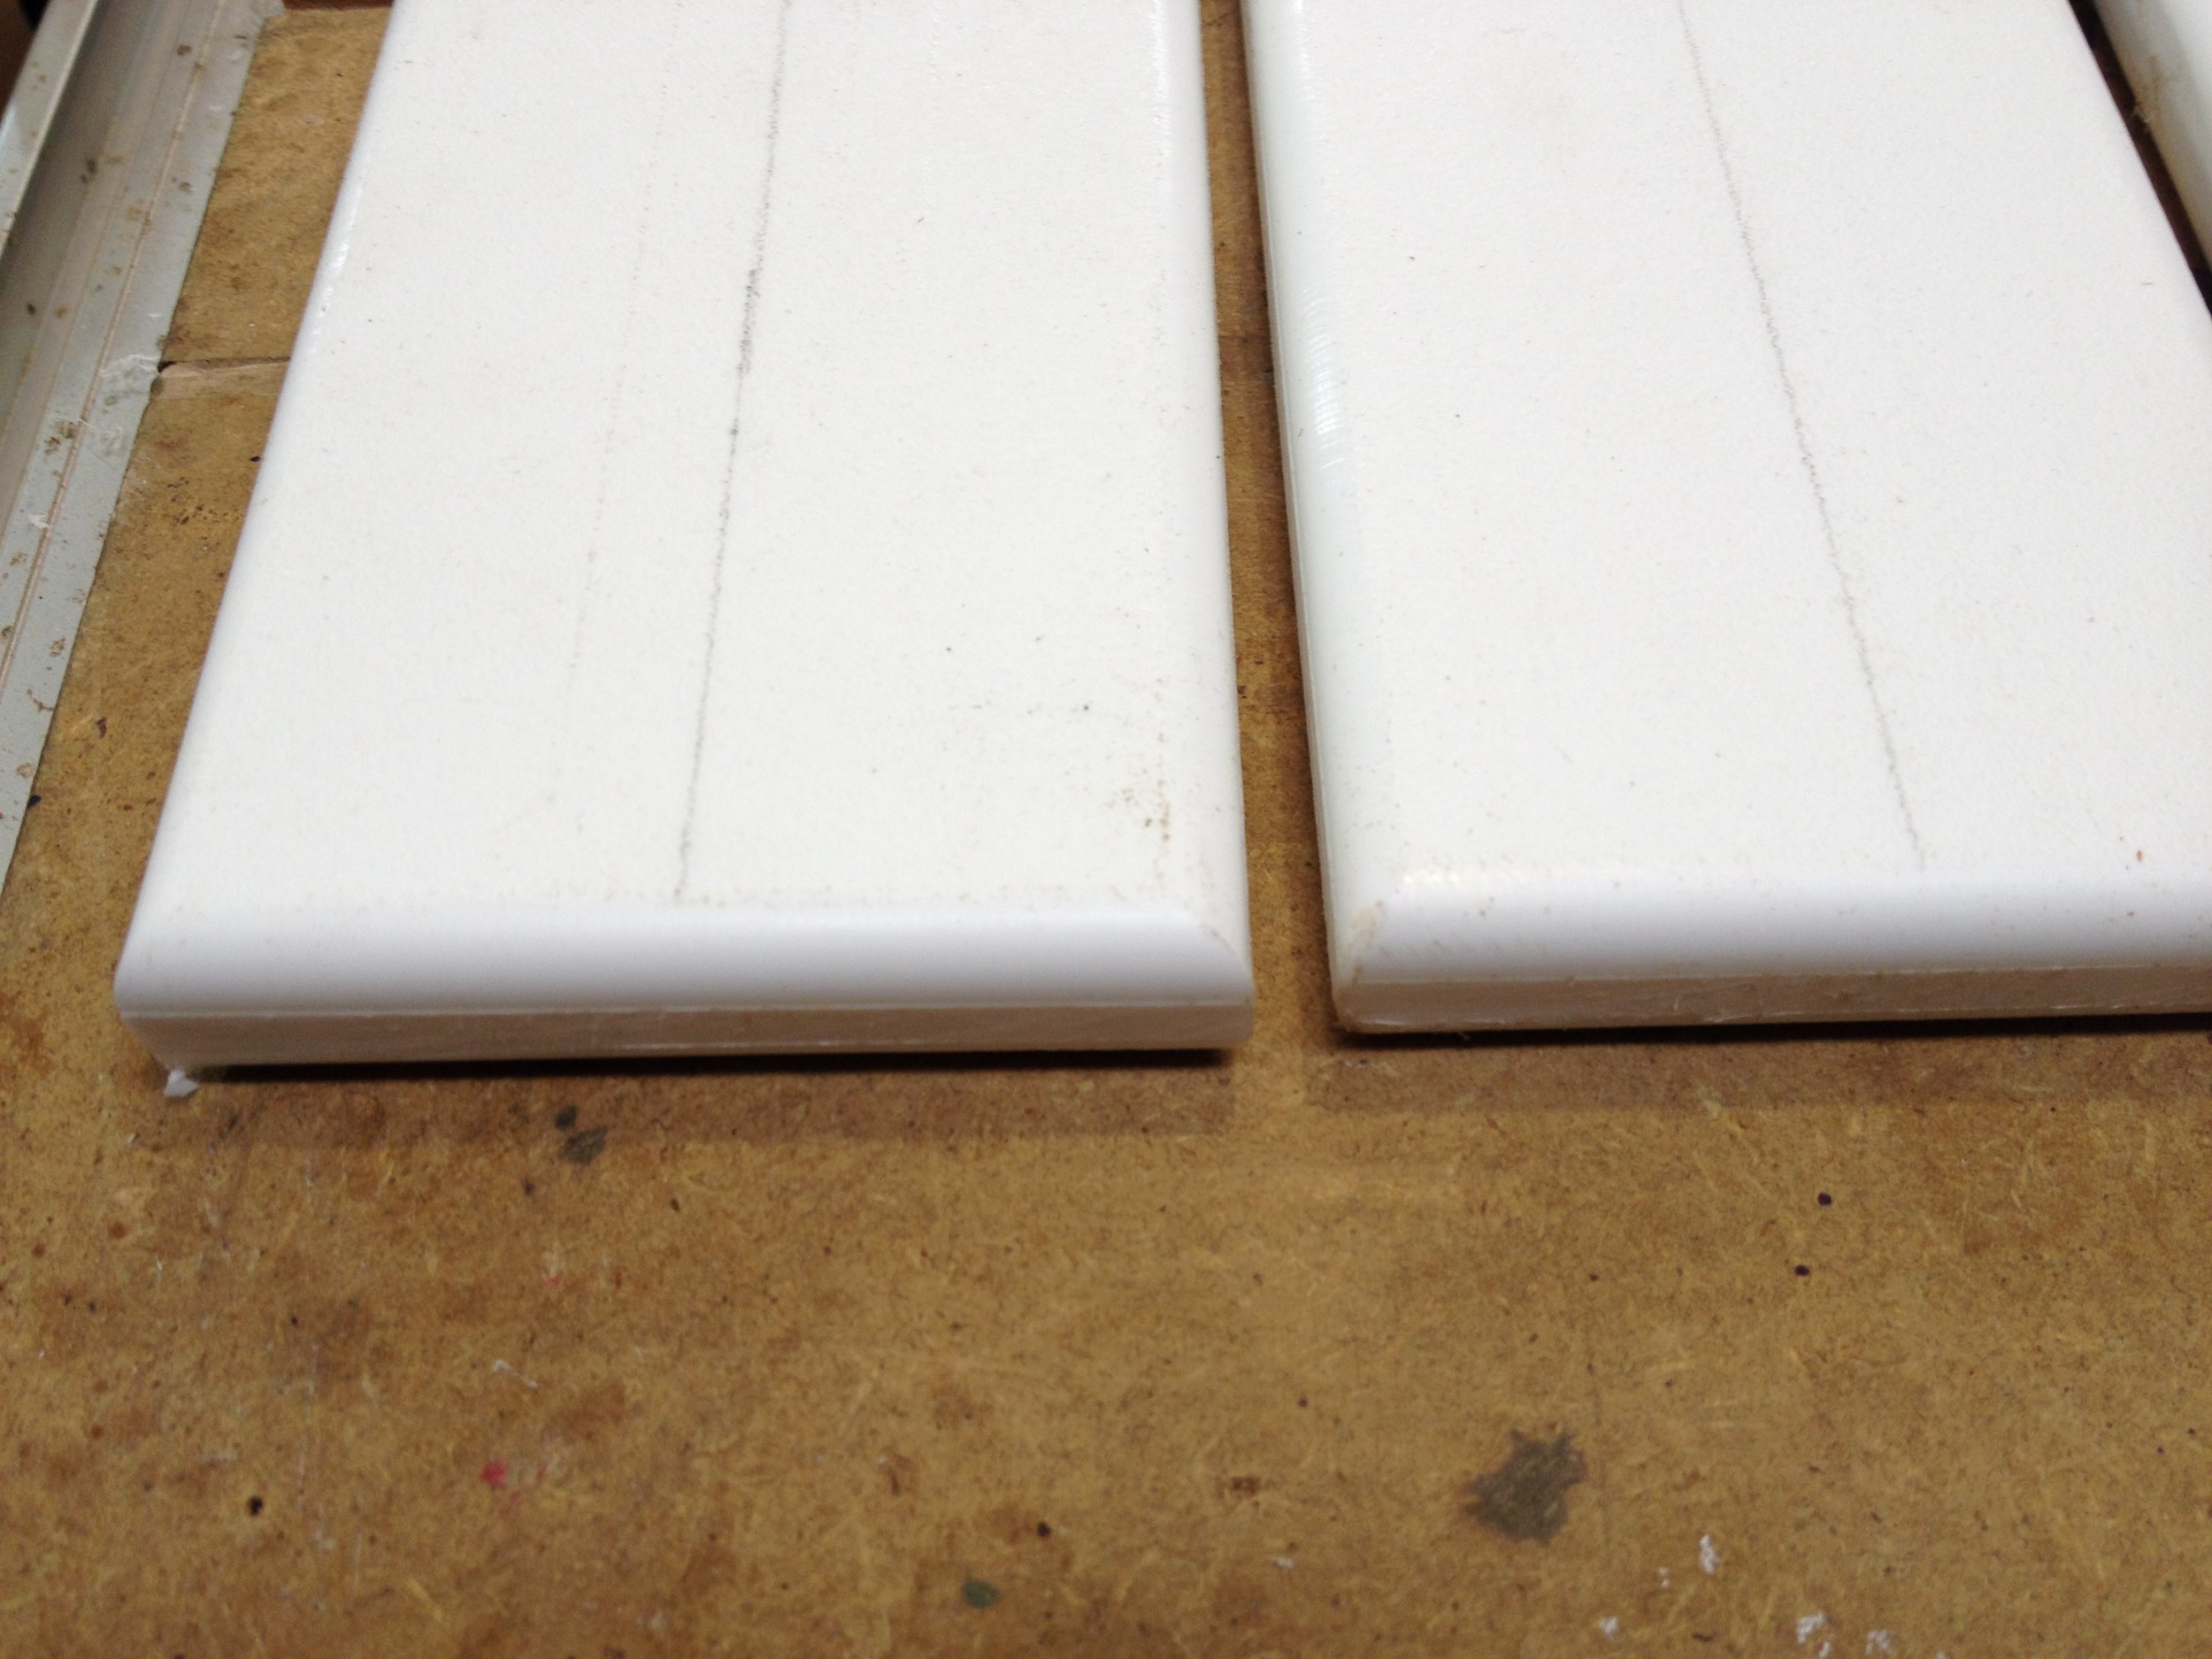
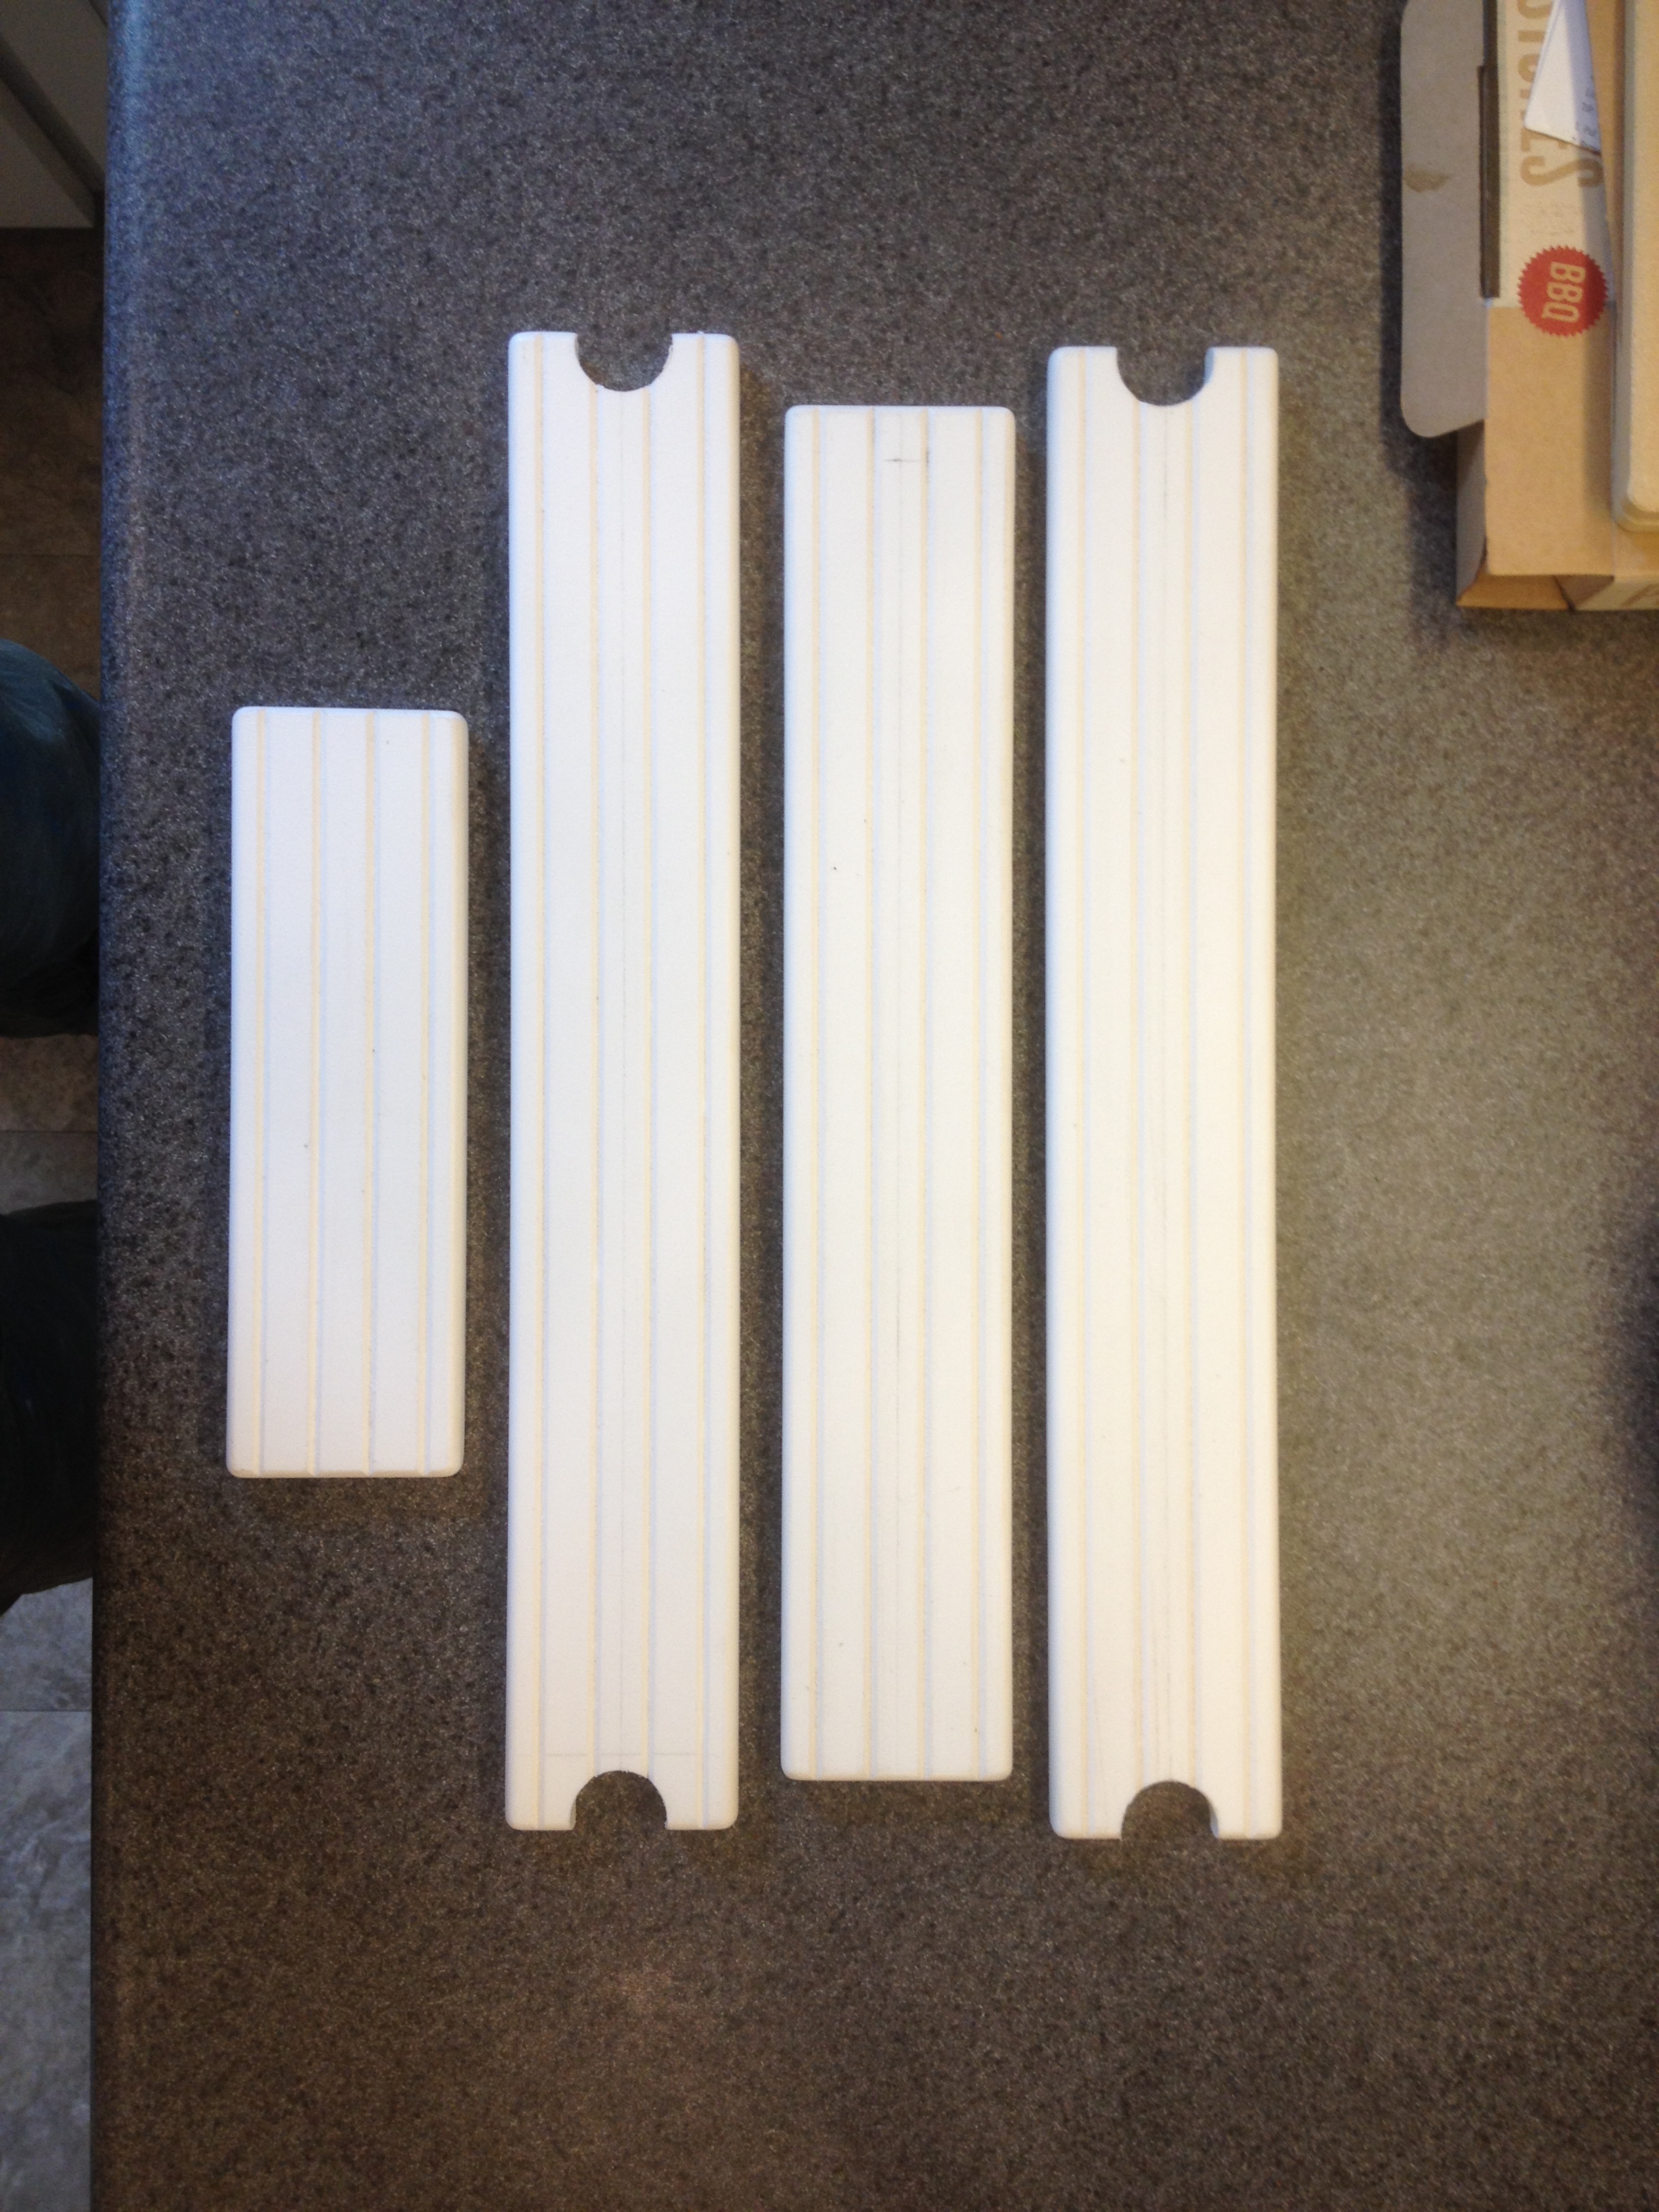
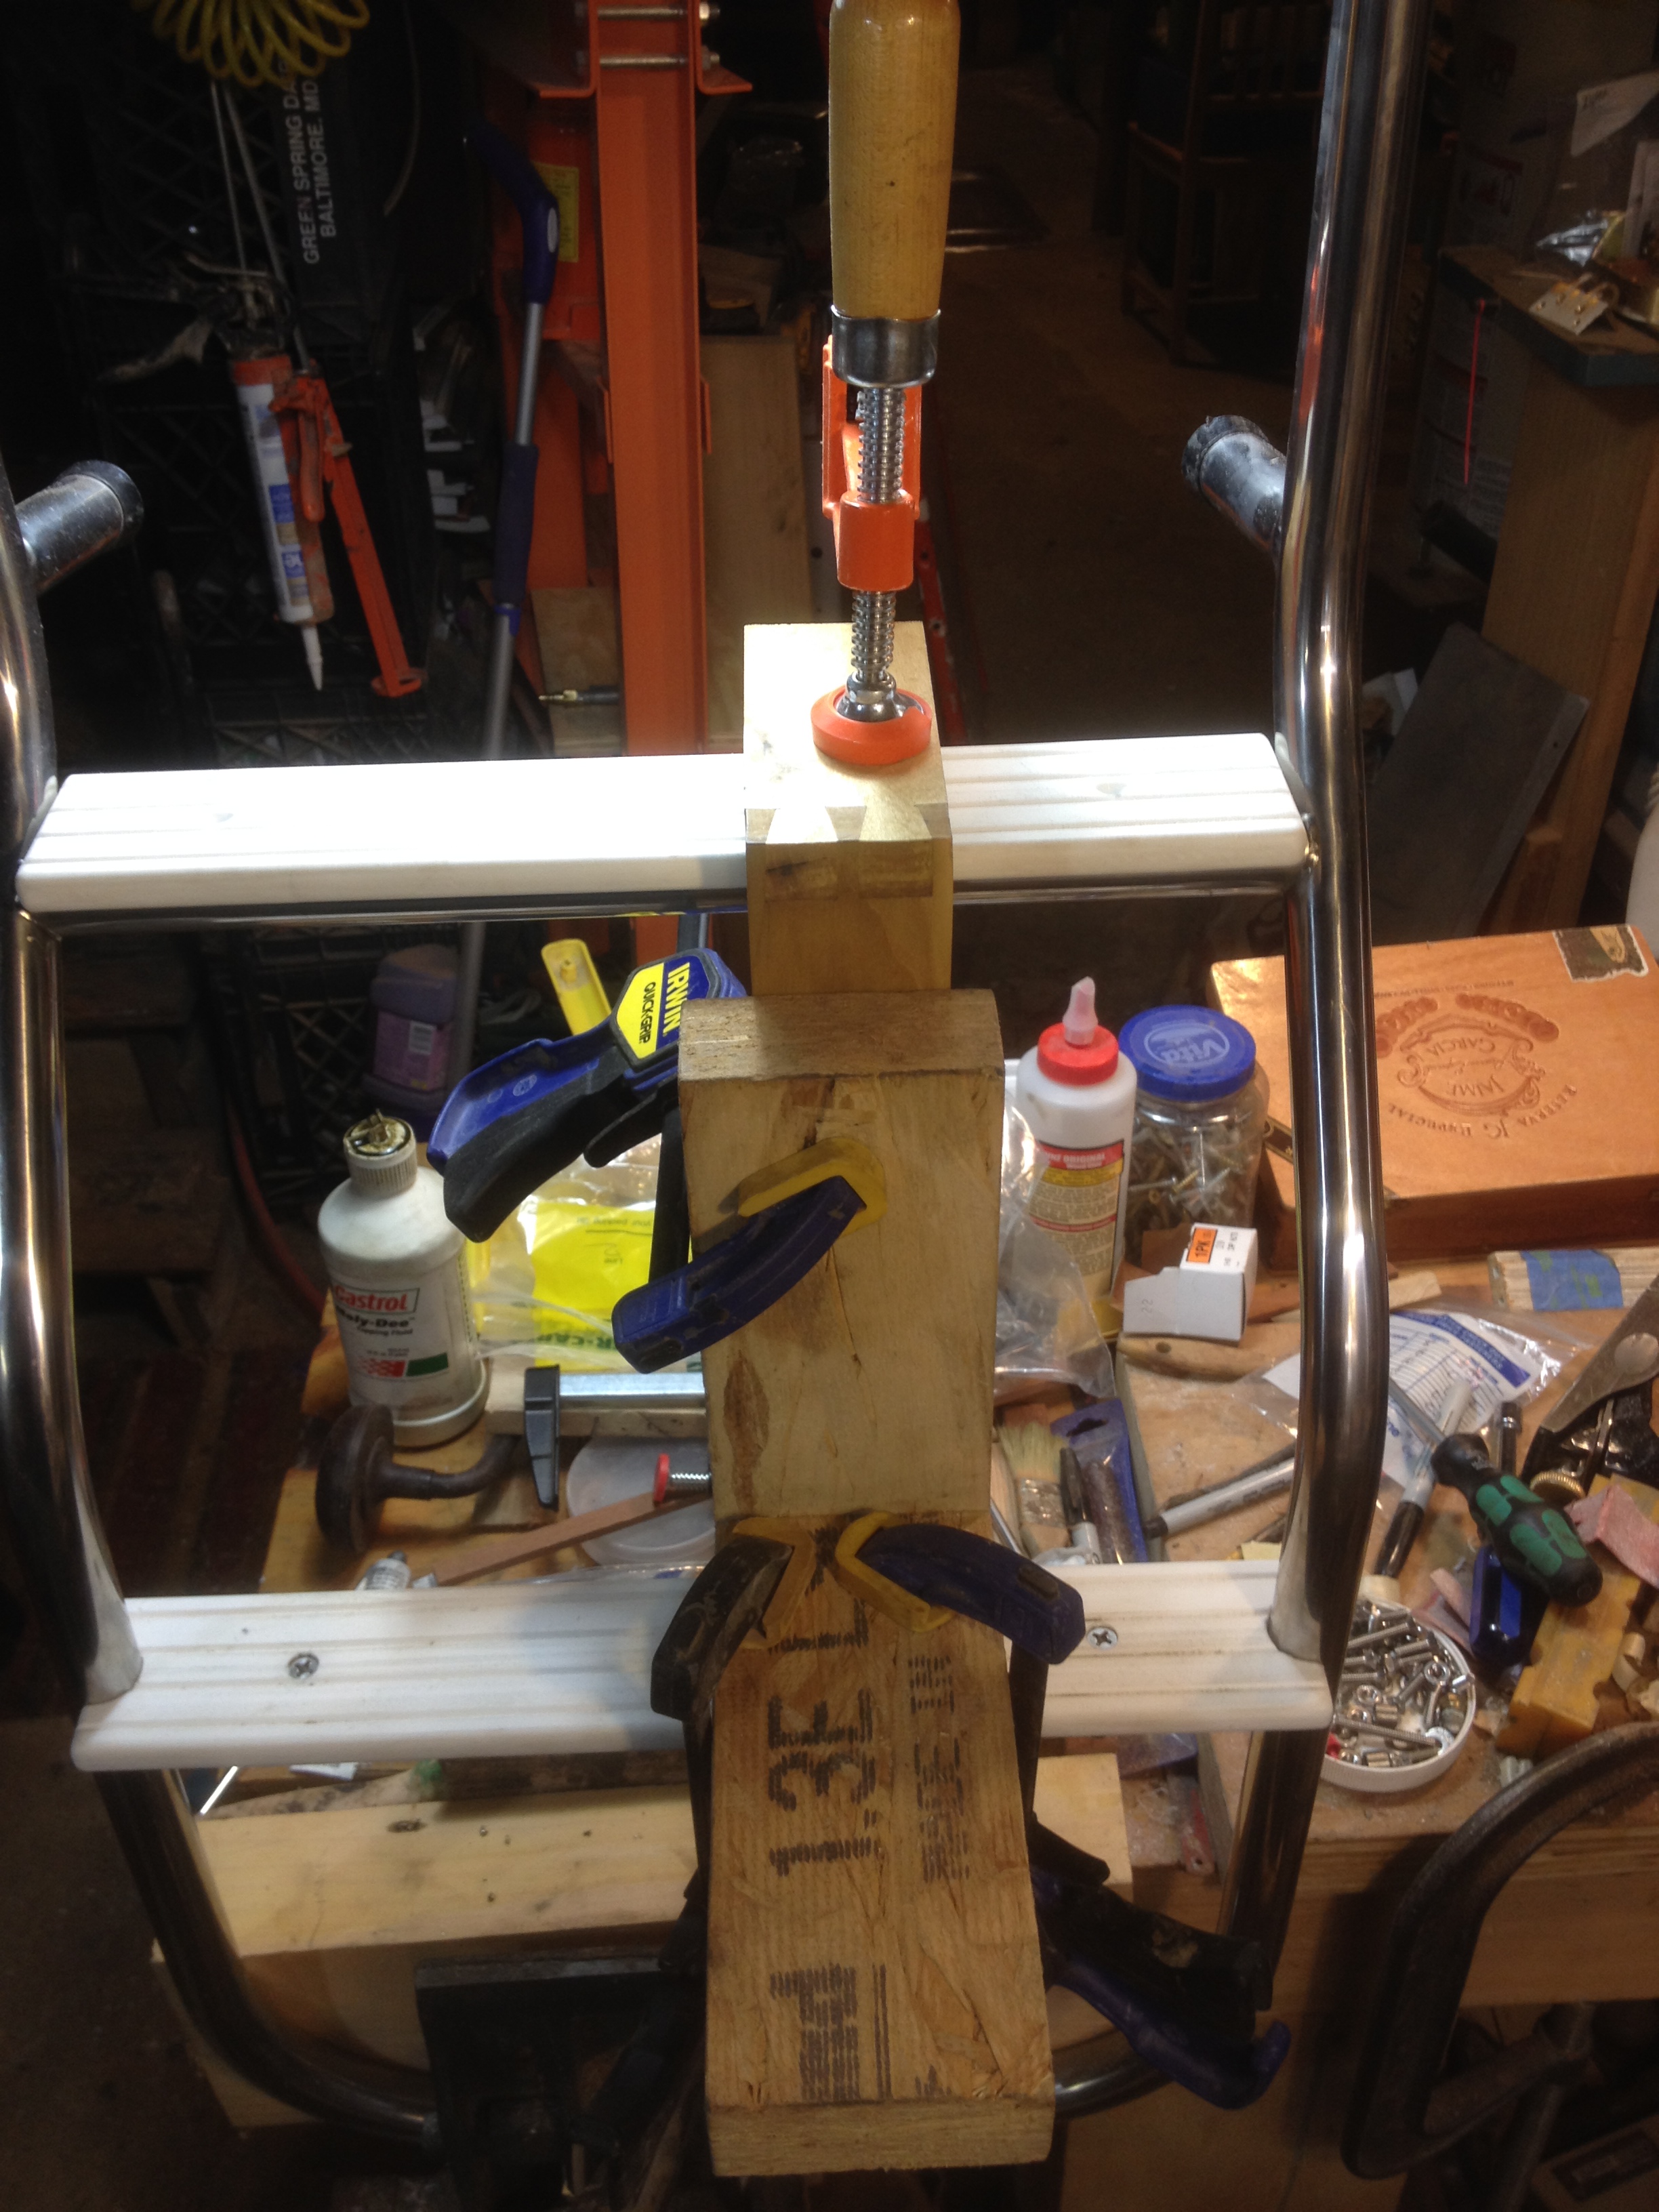
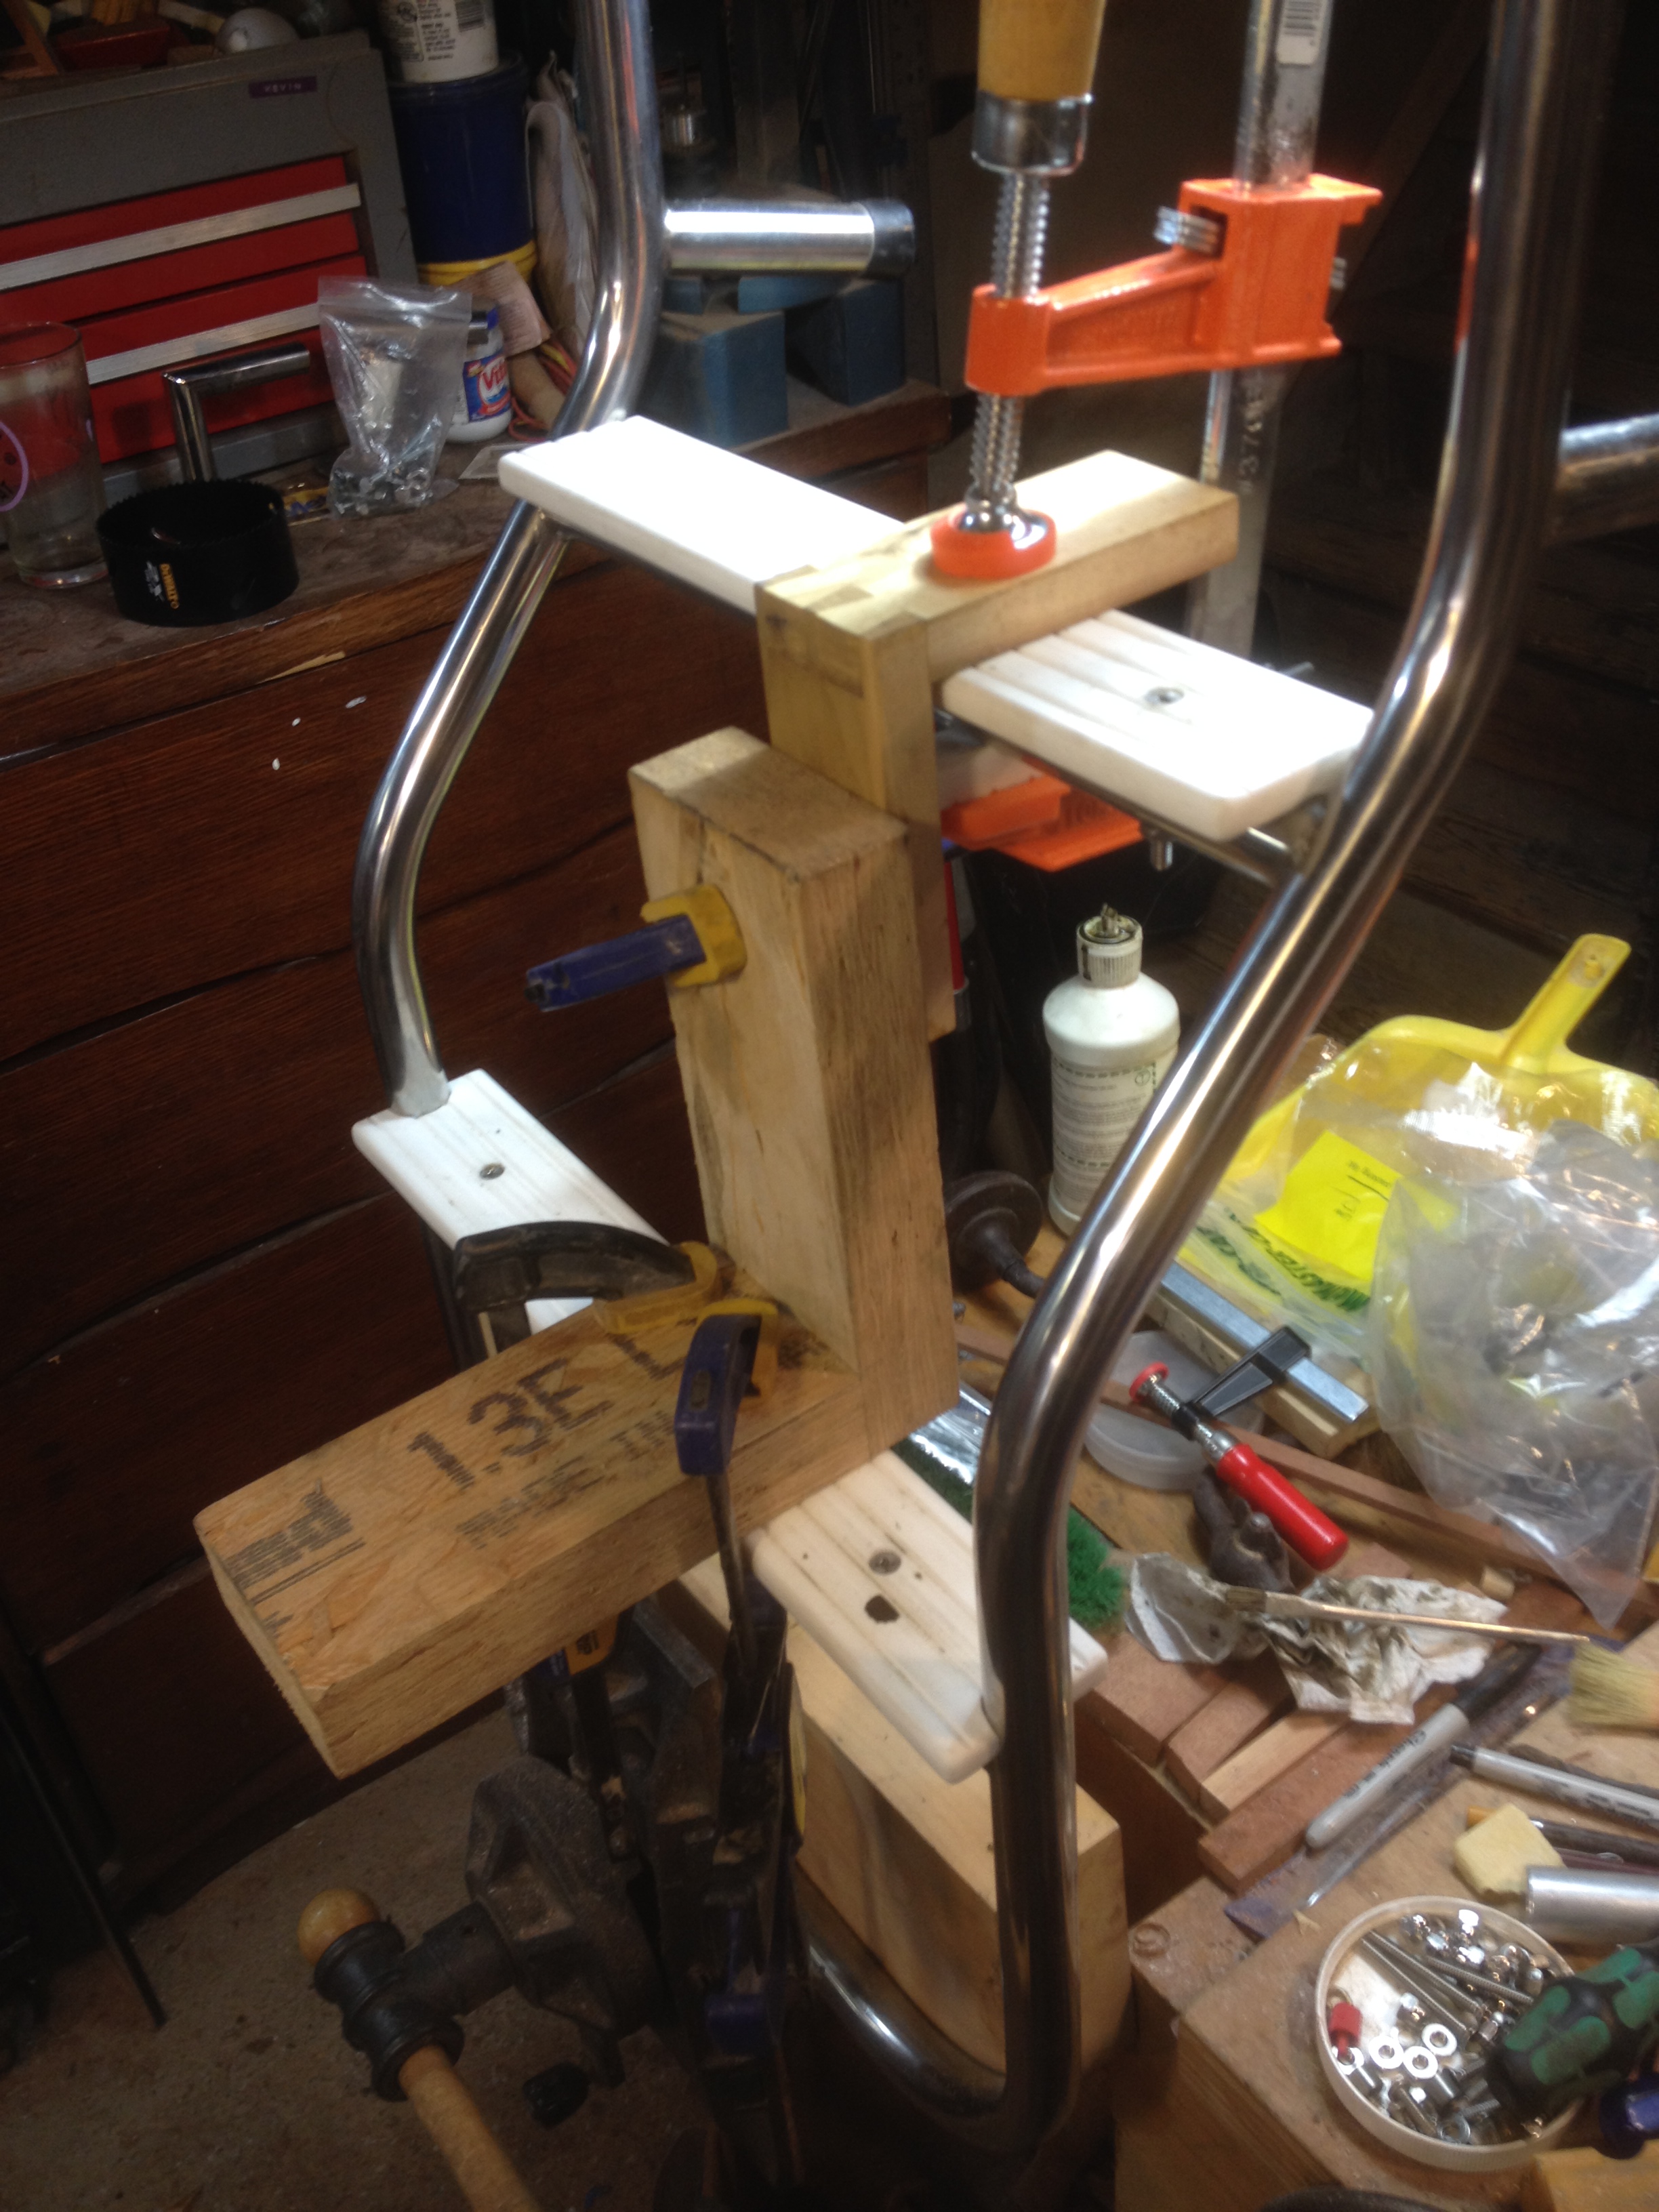
The original support cleats were four mitered pieces that were not connected at the miters. The new support cleat is single piece made from four pieces of Okoume marine plywood, fully epoxy bonded to the hatch and through bolted in twelve places and then bunged.

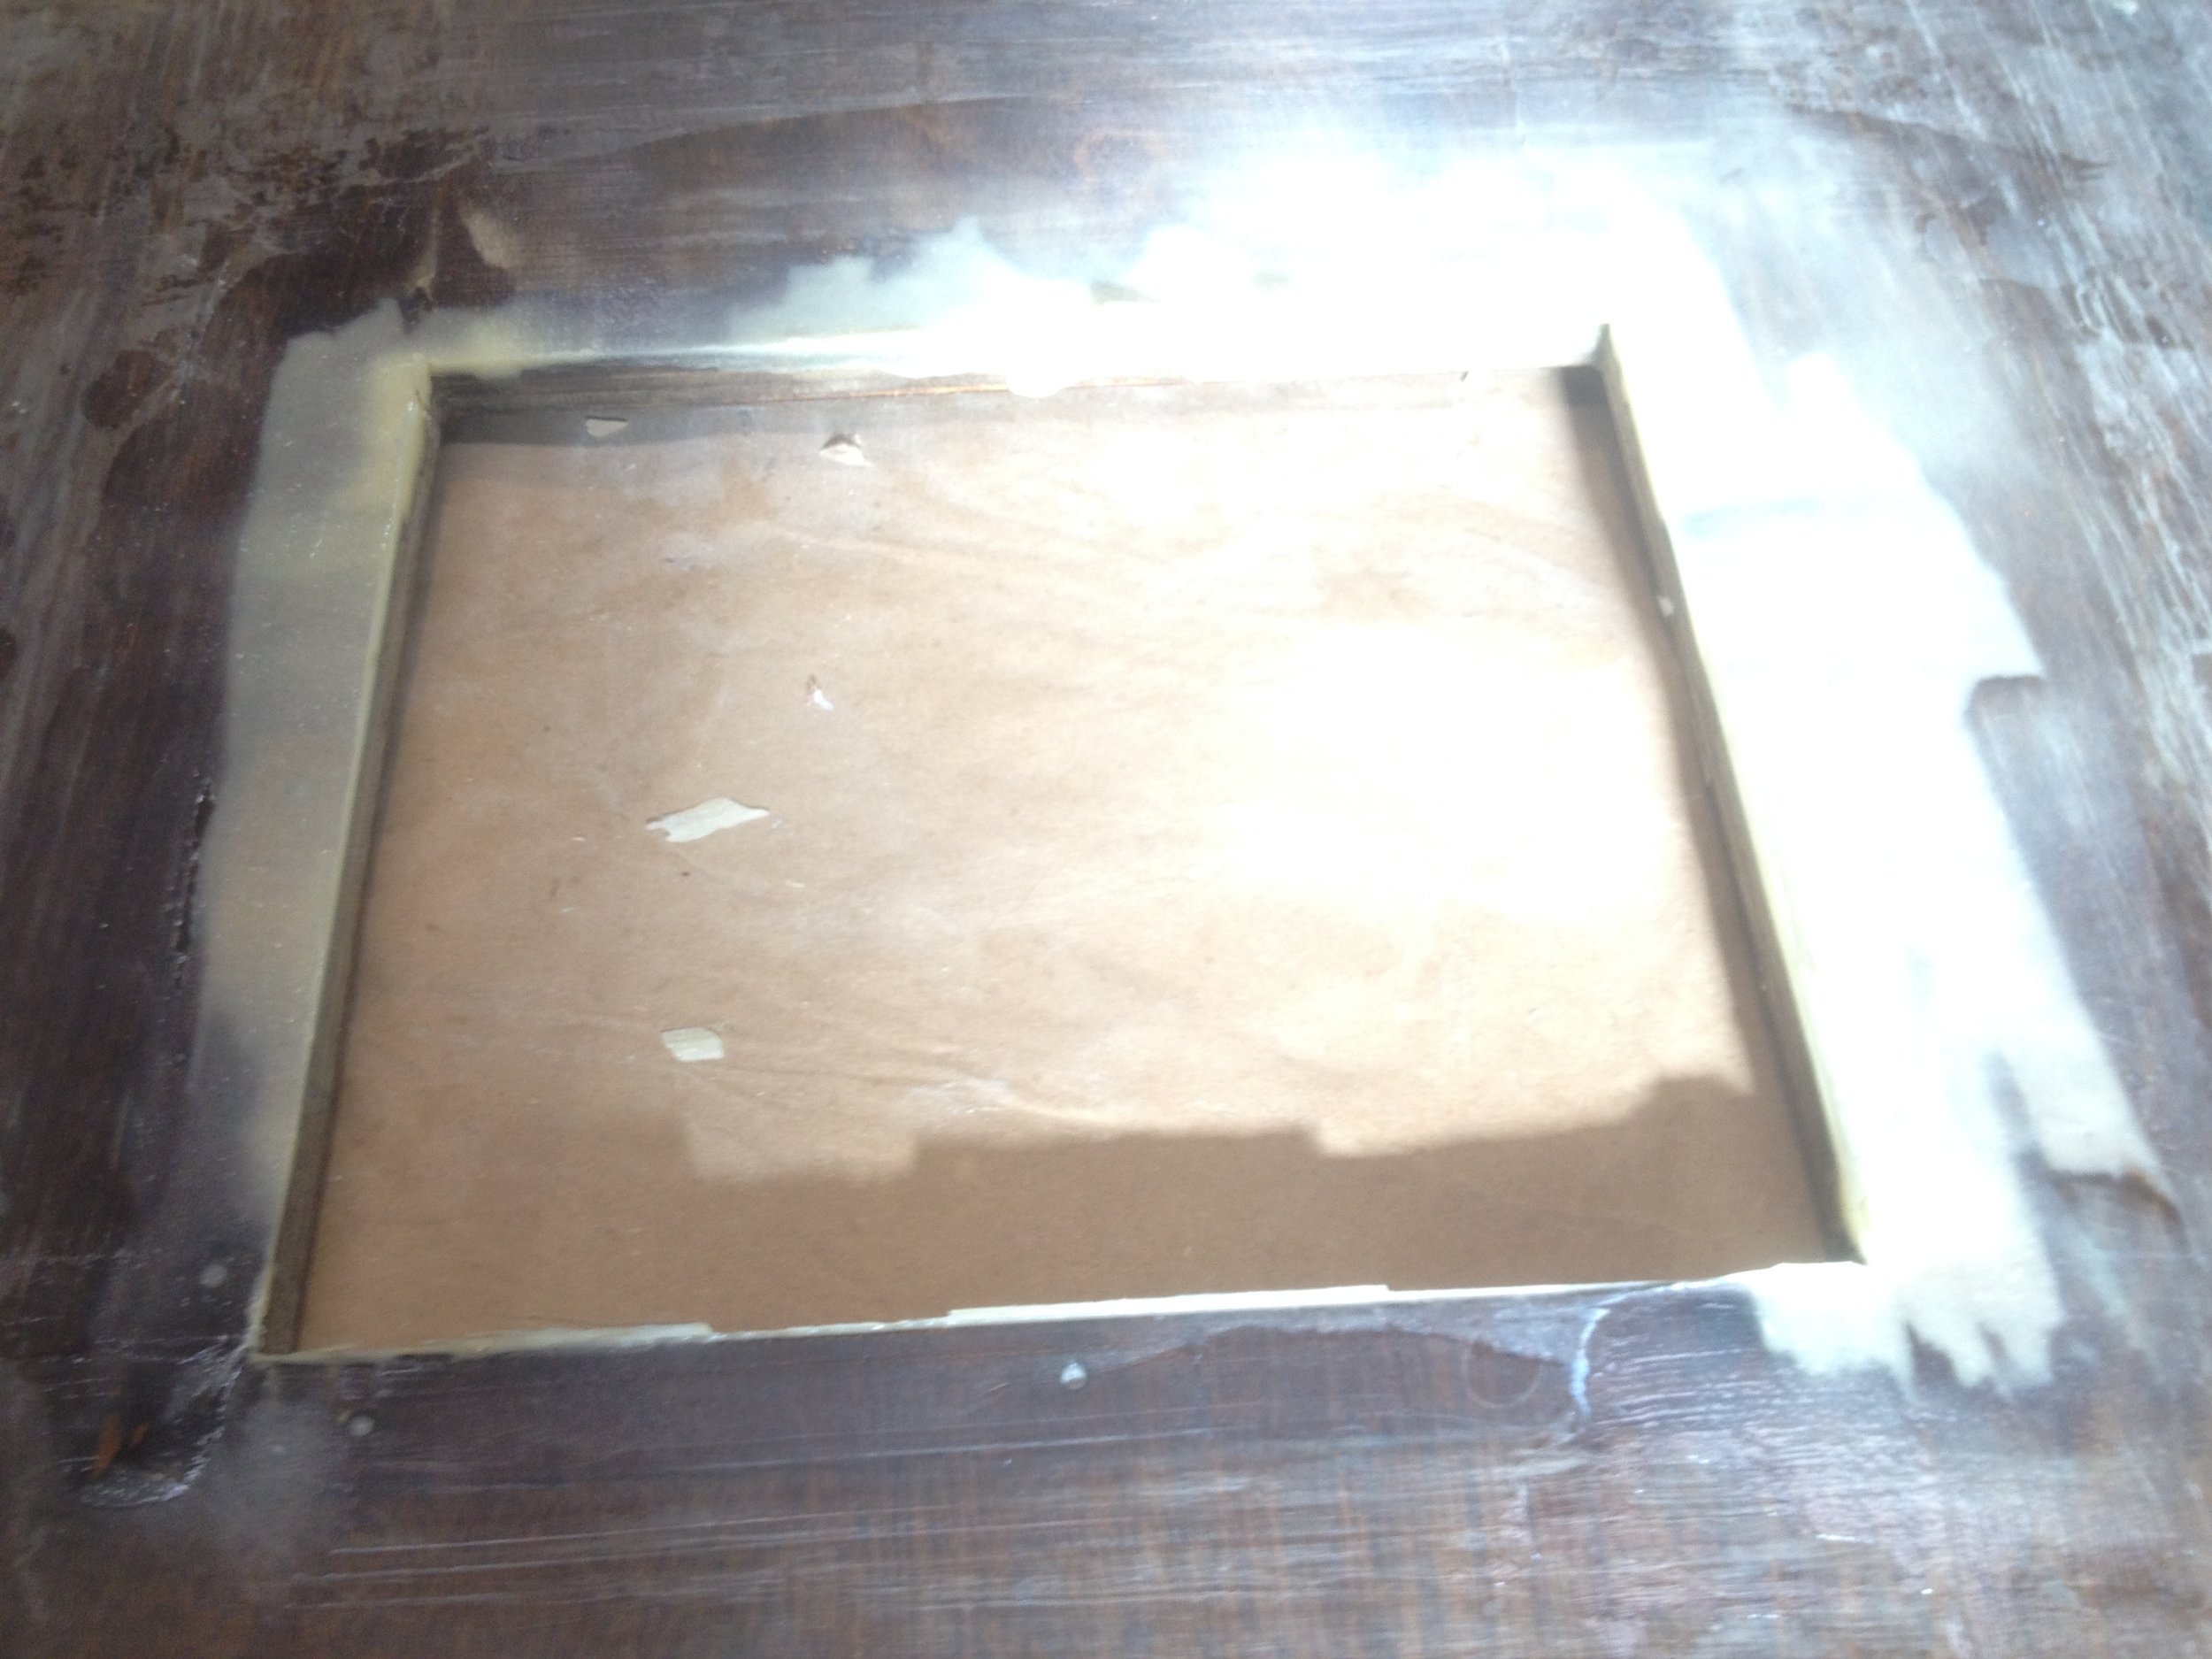
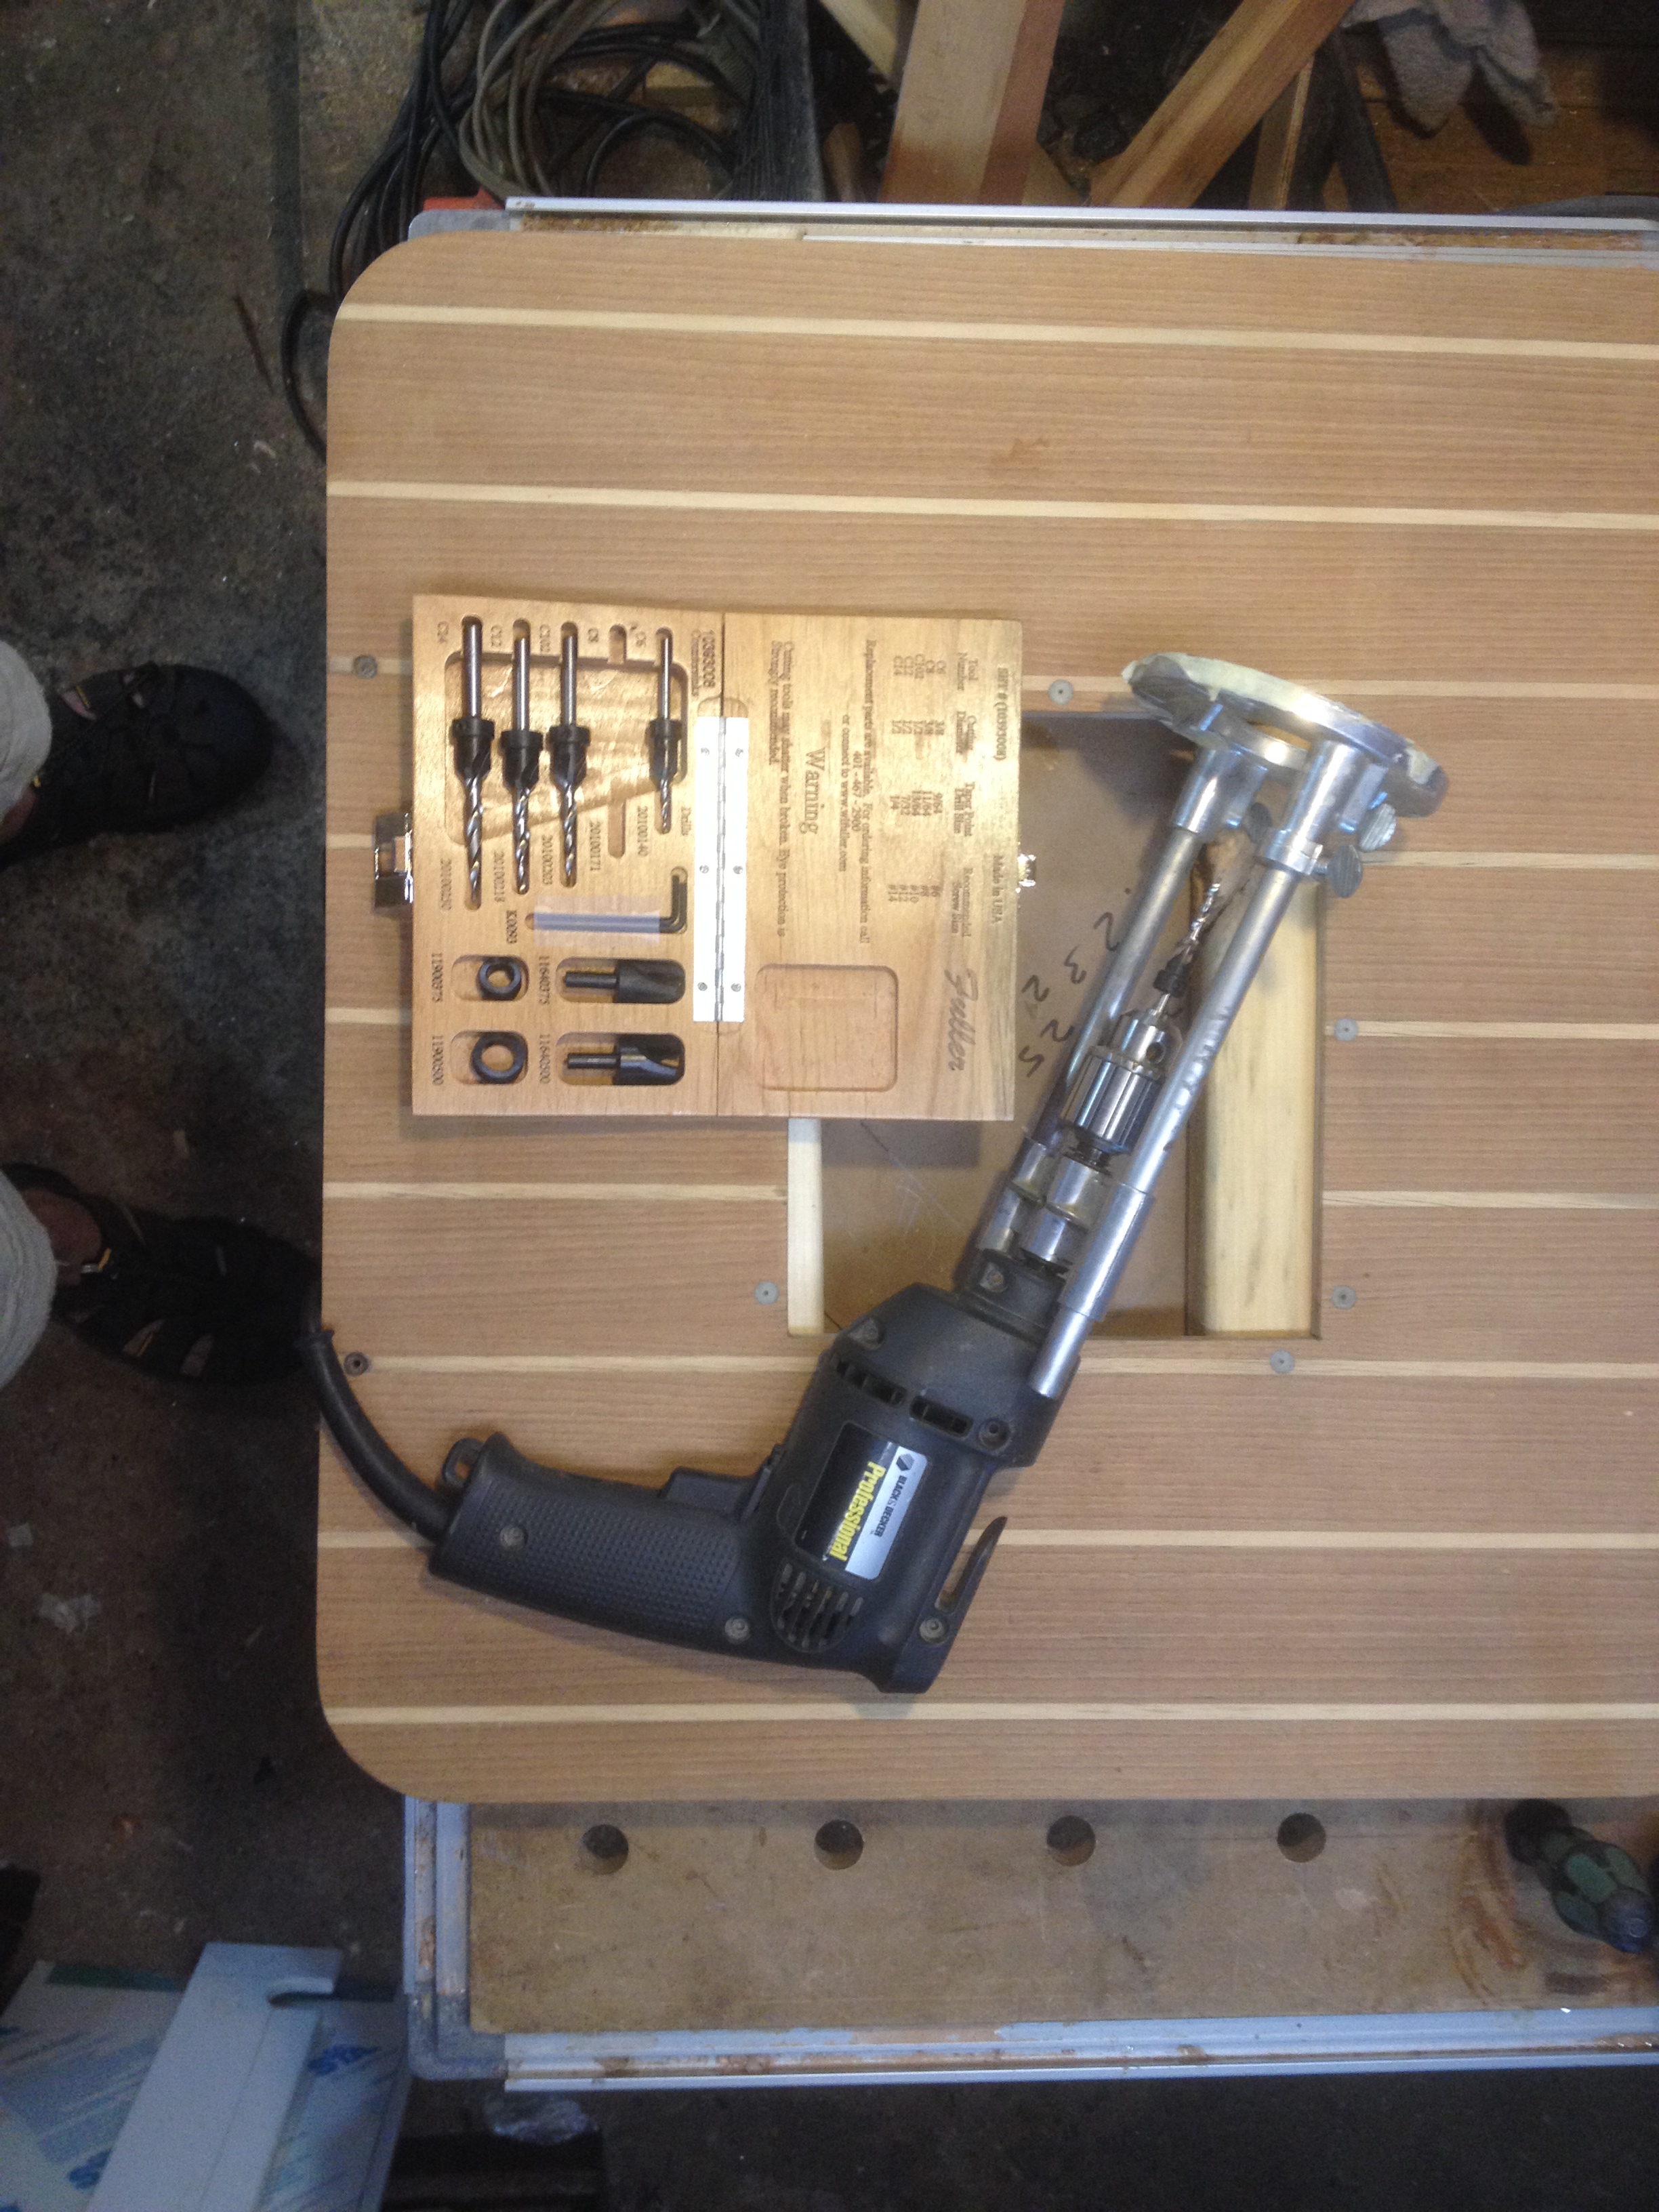
To get a fair surface to bond the support cleat a dam was made of waxed scraps and thickened epoxy was troweled in twice to bring the surface level. The epoxy mixture was also forced into the screw holes, which were completely filled and then redrilled with a tapered drill.

What's Inside a Six Gallon Marine Water Heater?

What's Inside a Six Gallon Marine Water Heater? Not much. Not shown is the rectangular aluminum box and insulation that wrapped this pressure vessel. It was not winterized properly and freezing water burst the vessel at the weld. About half the weld was broken and I ground through the other half, the aluminum was really thick and it took some effort.

The closed loop is where the hoses carrying engine coolant connect. The other two pipe stubs inside are in the input and output of the potable water system. The long skinny loop part is the 120V heating element and the rest is an overpressure valve and thermostat components.

Exhaust Replacement on Universal M12 Diesel

The raw water injection elbow had a very slight leak dribbling out from under the heat wrap. Unwrapping it showed that the elbow was about to fall apart! These really need to be inspected periodically. If it failed the worst possible way water could be pumped right into the engine. Both the original and replacement water injection elbows are Onan generator parts, so there is no quality issue. They just wear out. 

The piping components are all plain steel and cast iron right off the hardware store shelf. Avoid galvanized parts, the coating is poisonous as it burns off. The copper colored fitting is a $100+ part from Westerbeke/Universal that I wanted to reuse. A propane torch, Kroil and a 24" wrench got the old street ell off. If that didn't work I could have cut the pipe off flush and machined away the stub from the inside on the mill or lathe. All of the threaded connections are NPT so they seal pretty well alone but I coated everything, including the manifold studs with Permatex 77124 Nickel anti-sieze good for 2400 deg F so it's easier to disassemble in the future.

Homemade Holding Tank Filter

This idea comes from Practical Sailor magazine. A lot of the holding tank vent filters on the market are expensive and disposable. A notable exception is the Big Orange http://bigorangefilter.com/. This is just a pipe filled with activated charcoal with two yellow kitchen sponges on the ends to help the charcoal stay put. Not shown is the operation where a pipe stub was sharpened and used with the vise to cut out two yellow sponge disks matching the pipe diameter.

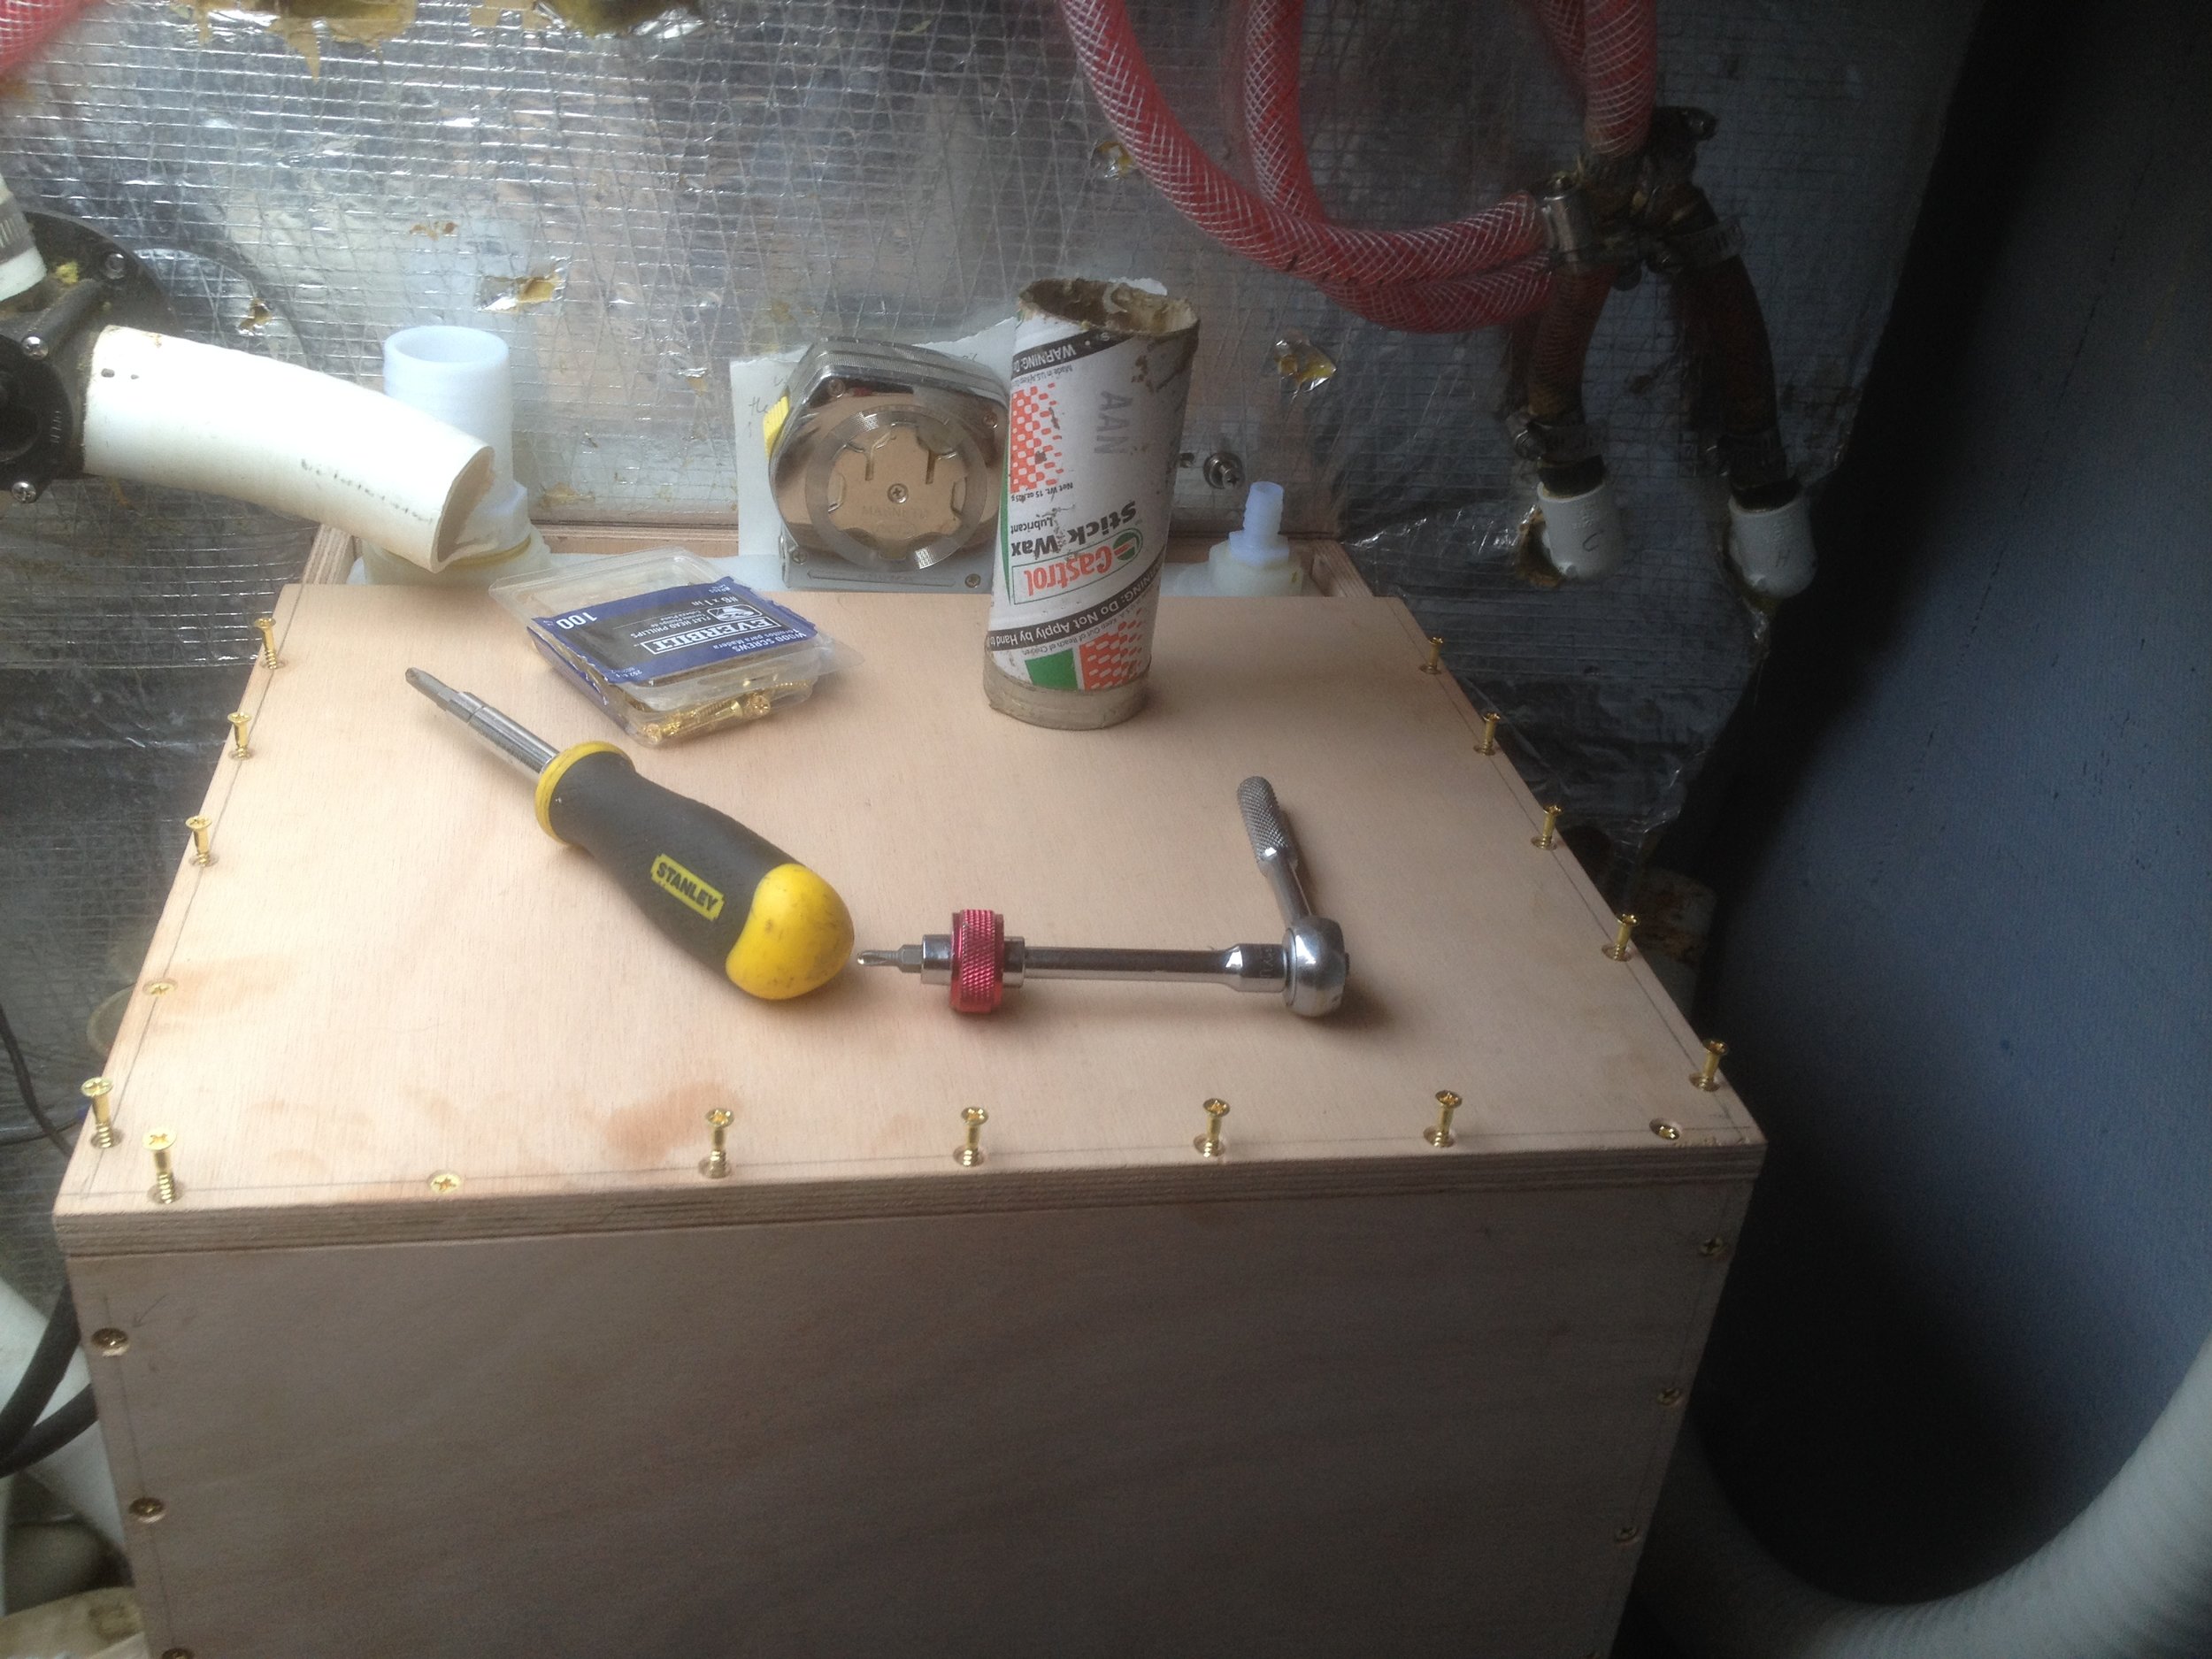
Strong Plywood Box for a Holding Tank

An aluminum holding tank would have been so easy to install here. They come with mounting tabs welded on, through bolt them to a bulkhead and you're done. Until the bottom drops out because aluminum is a terrible holding tank material.

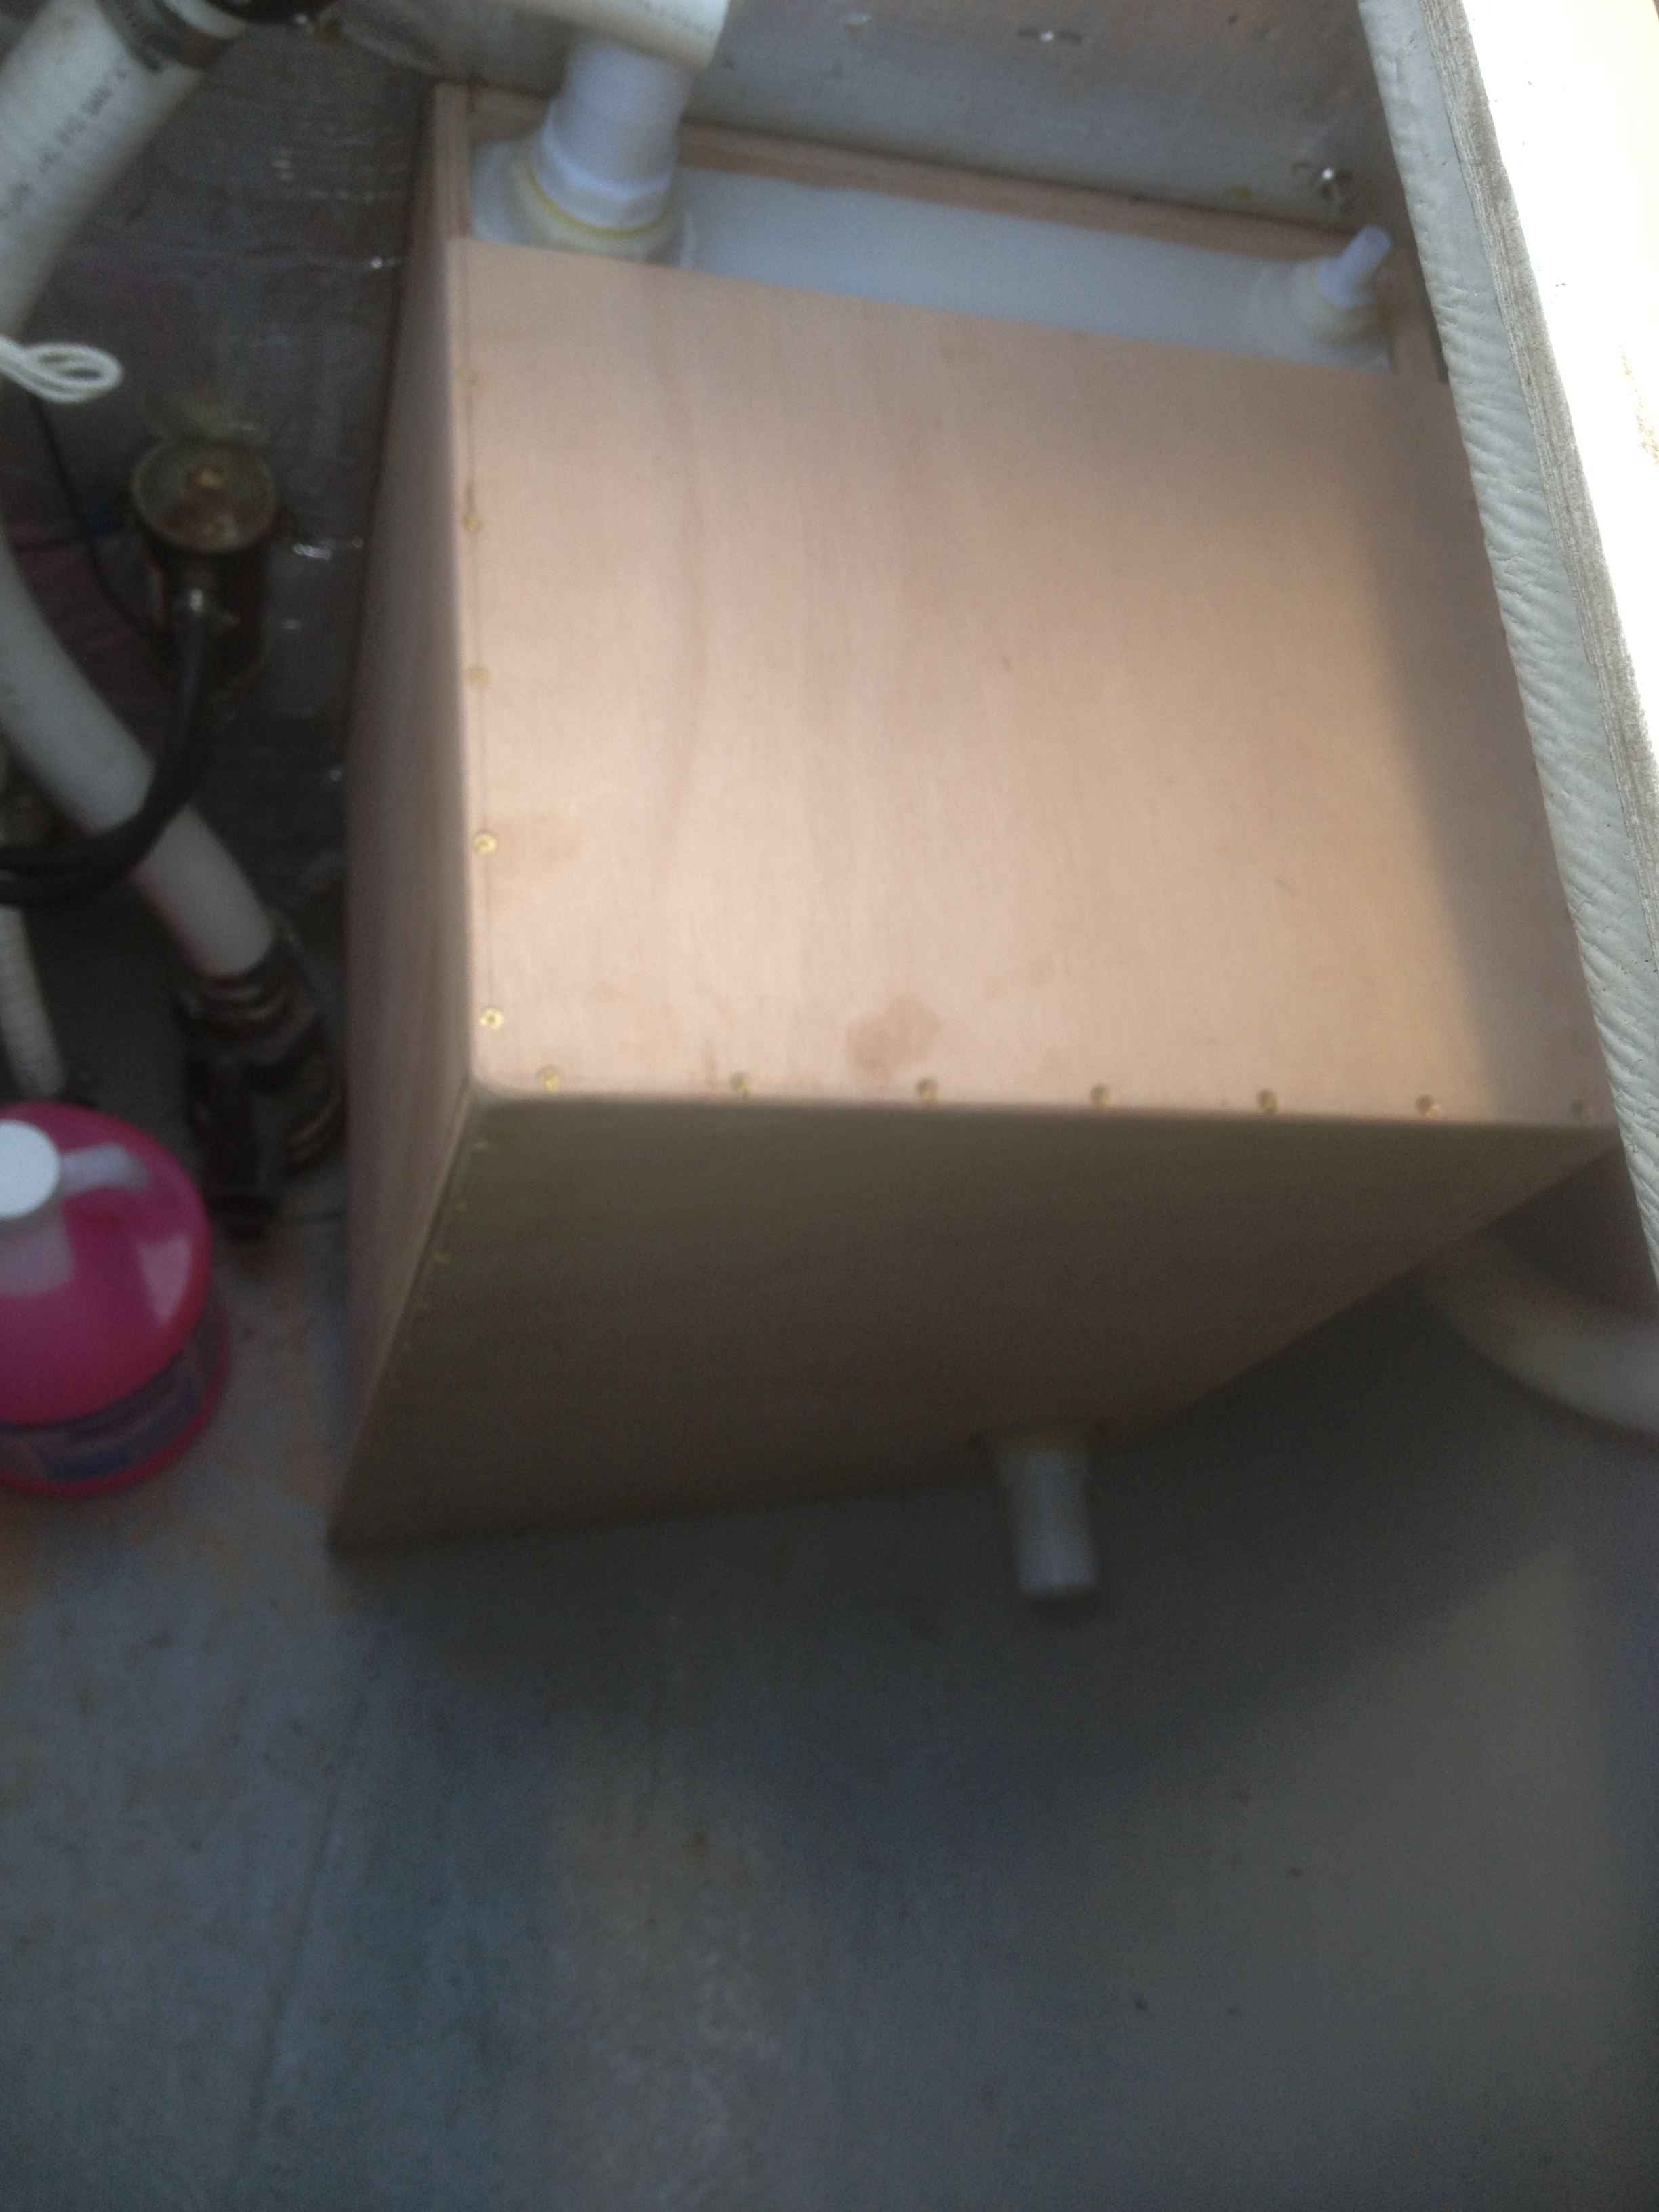
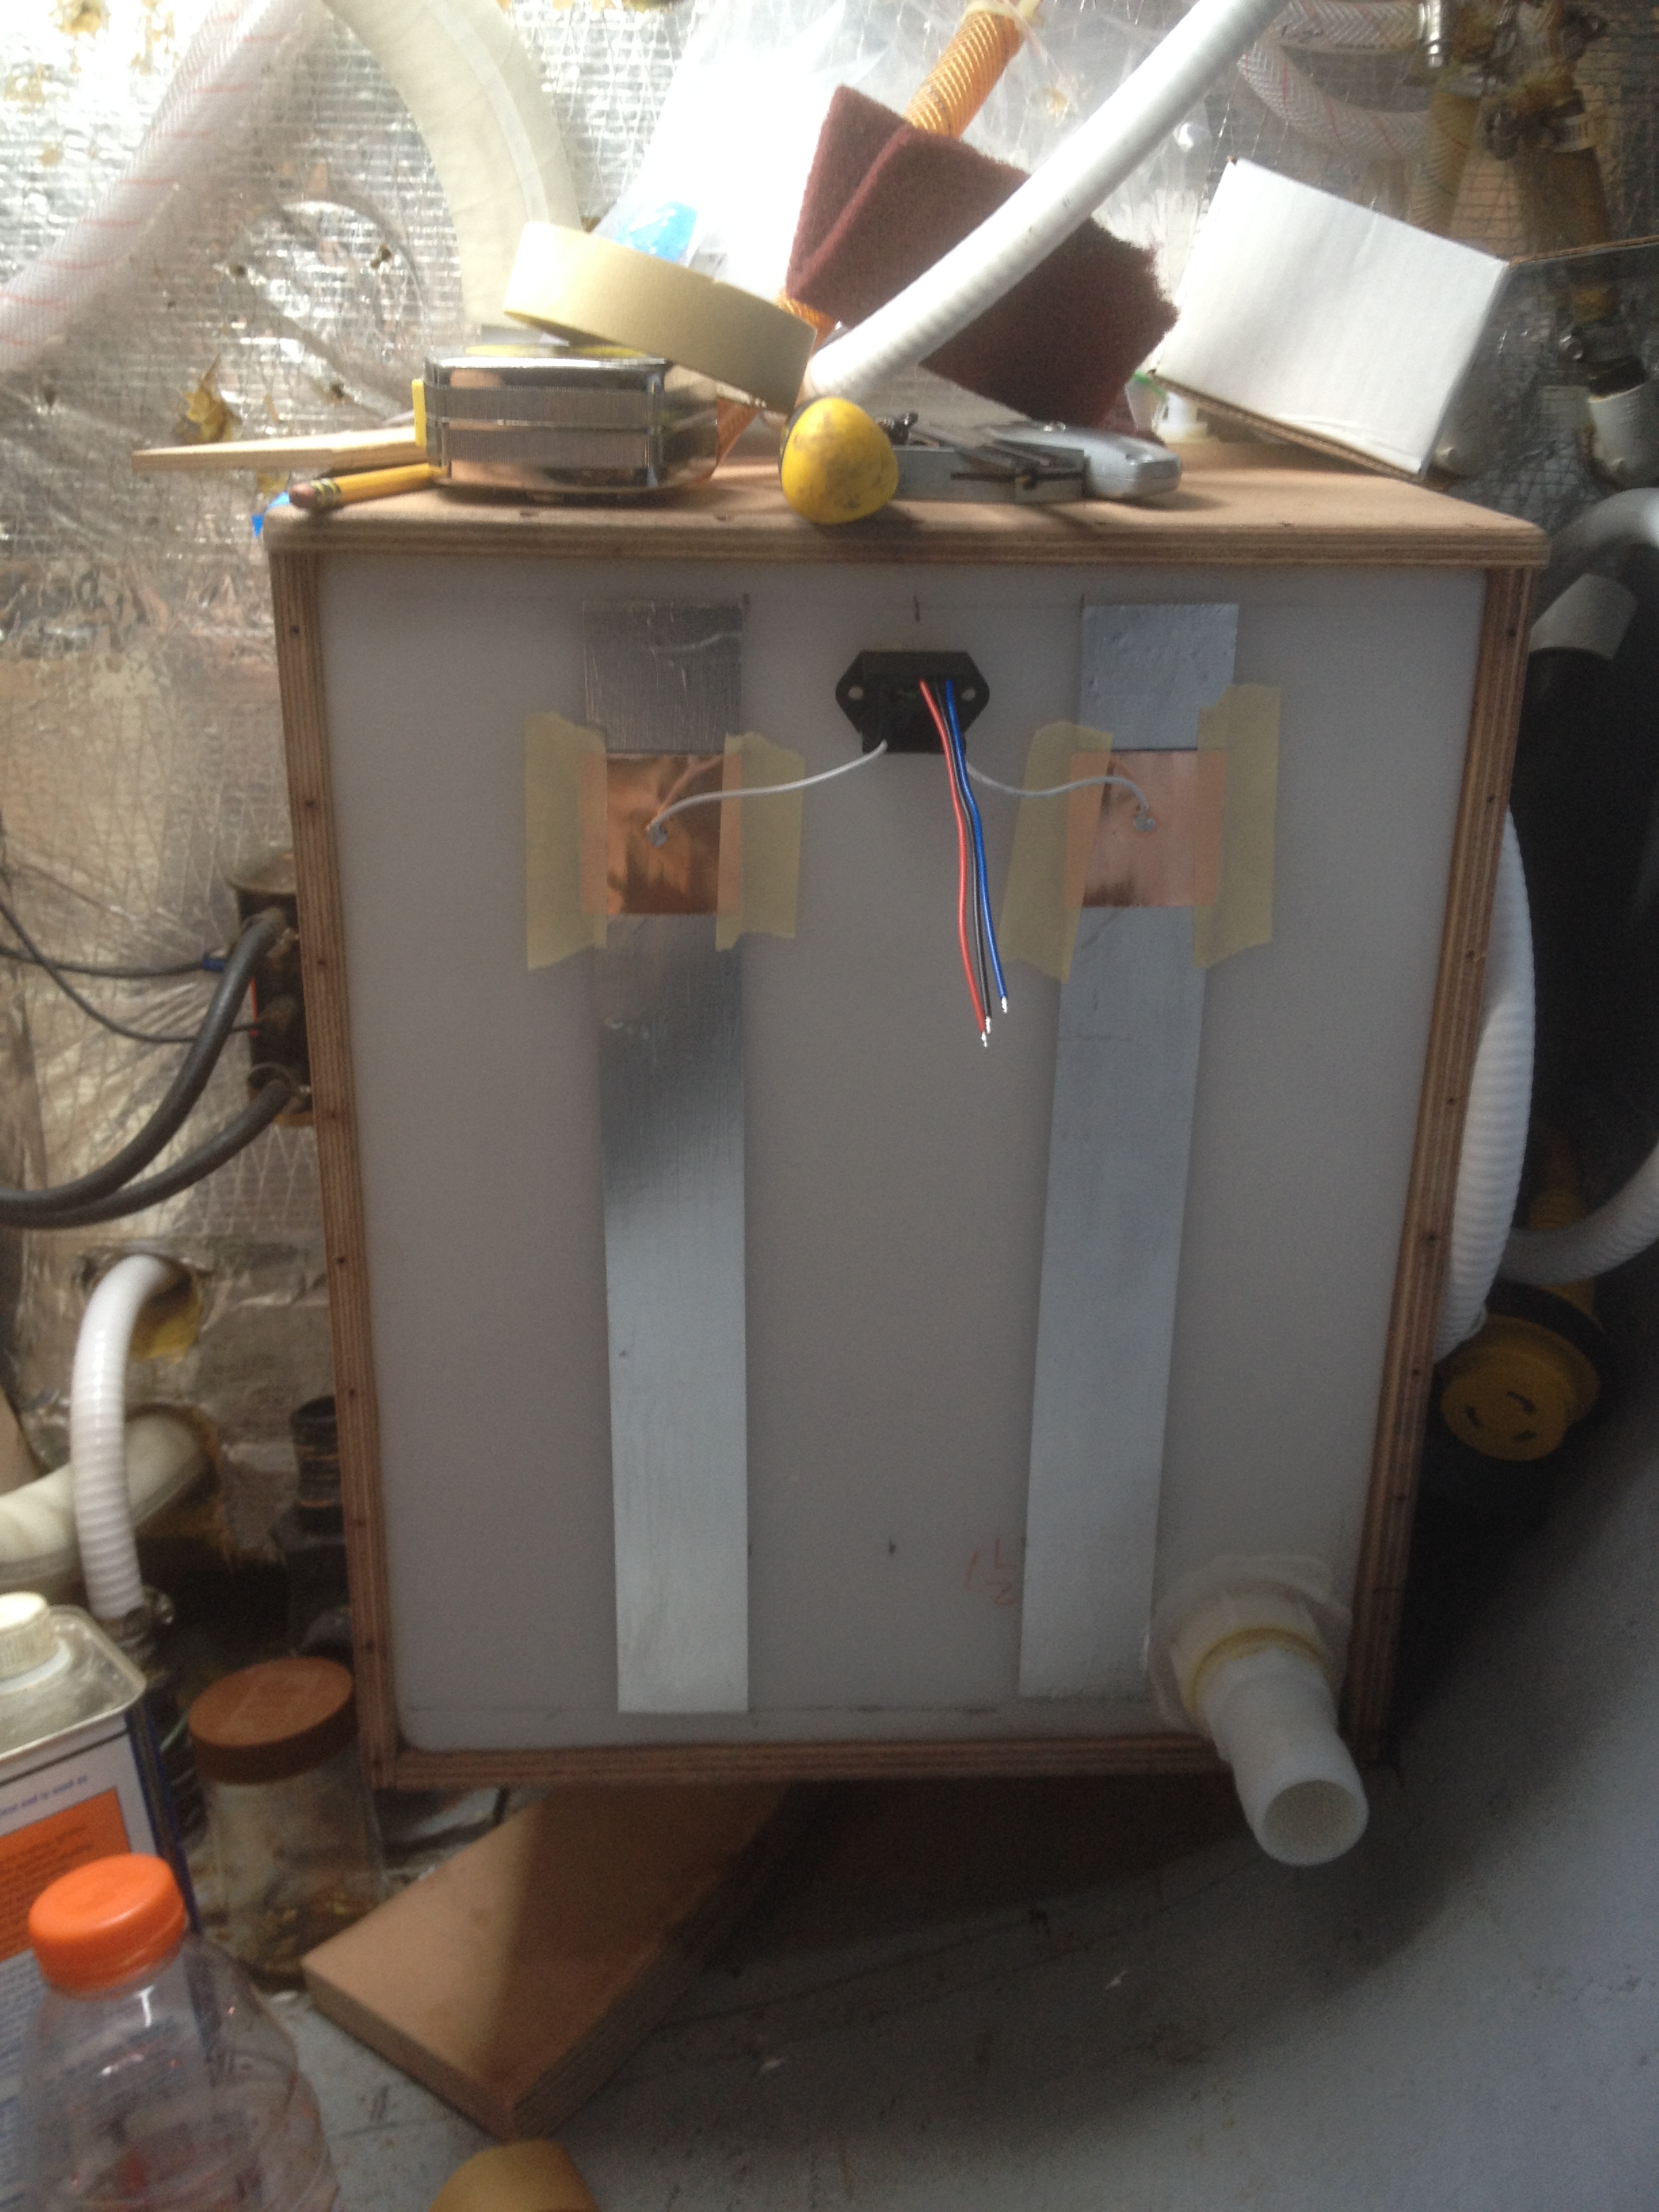
A rotomolded polyethylene tank doesn't have any features to help with mounting so it needs a lot of help. This is a Okoume ply cabinet that is through bolted to a bulkhead and is screwed to a double thickness cleat that is fitted and tabbed into the hull. The corner of the cabinet is so solid it can be used as a step to get out of the locker. The hull tabbing might seem to be overkill but the tank would weigh over 115 lbs full and I don't want it to move.

The tank barely fit and the cabinet didn't fit at all. It was mostly assembled in the locker, in my lap, with stainless brads and Titebond III glue. This was not fun.

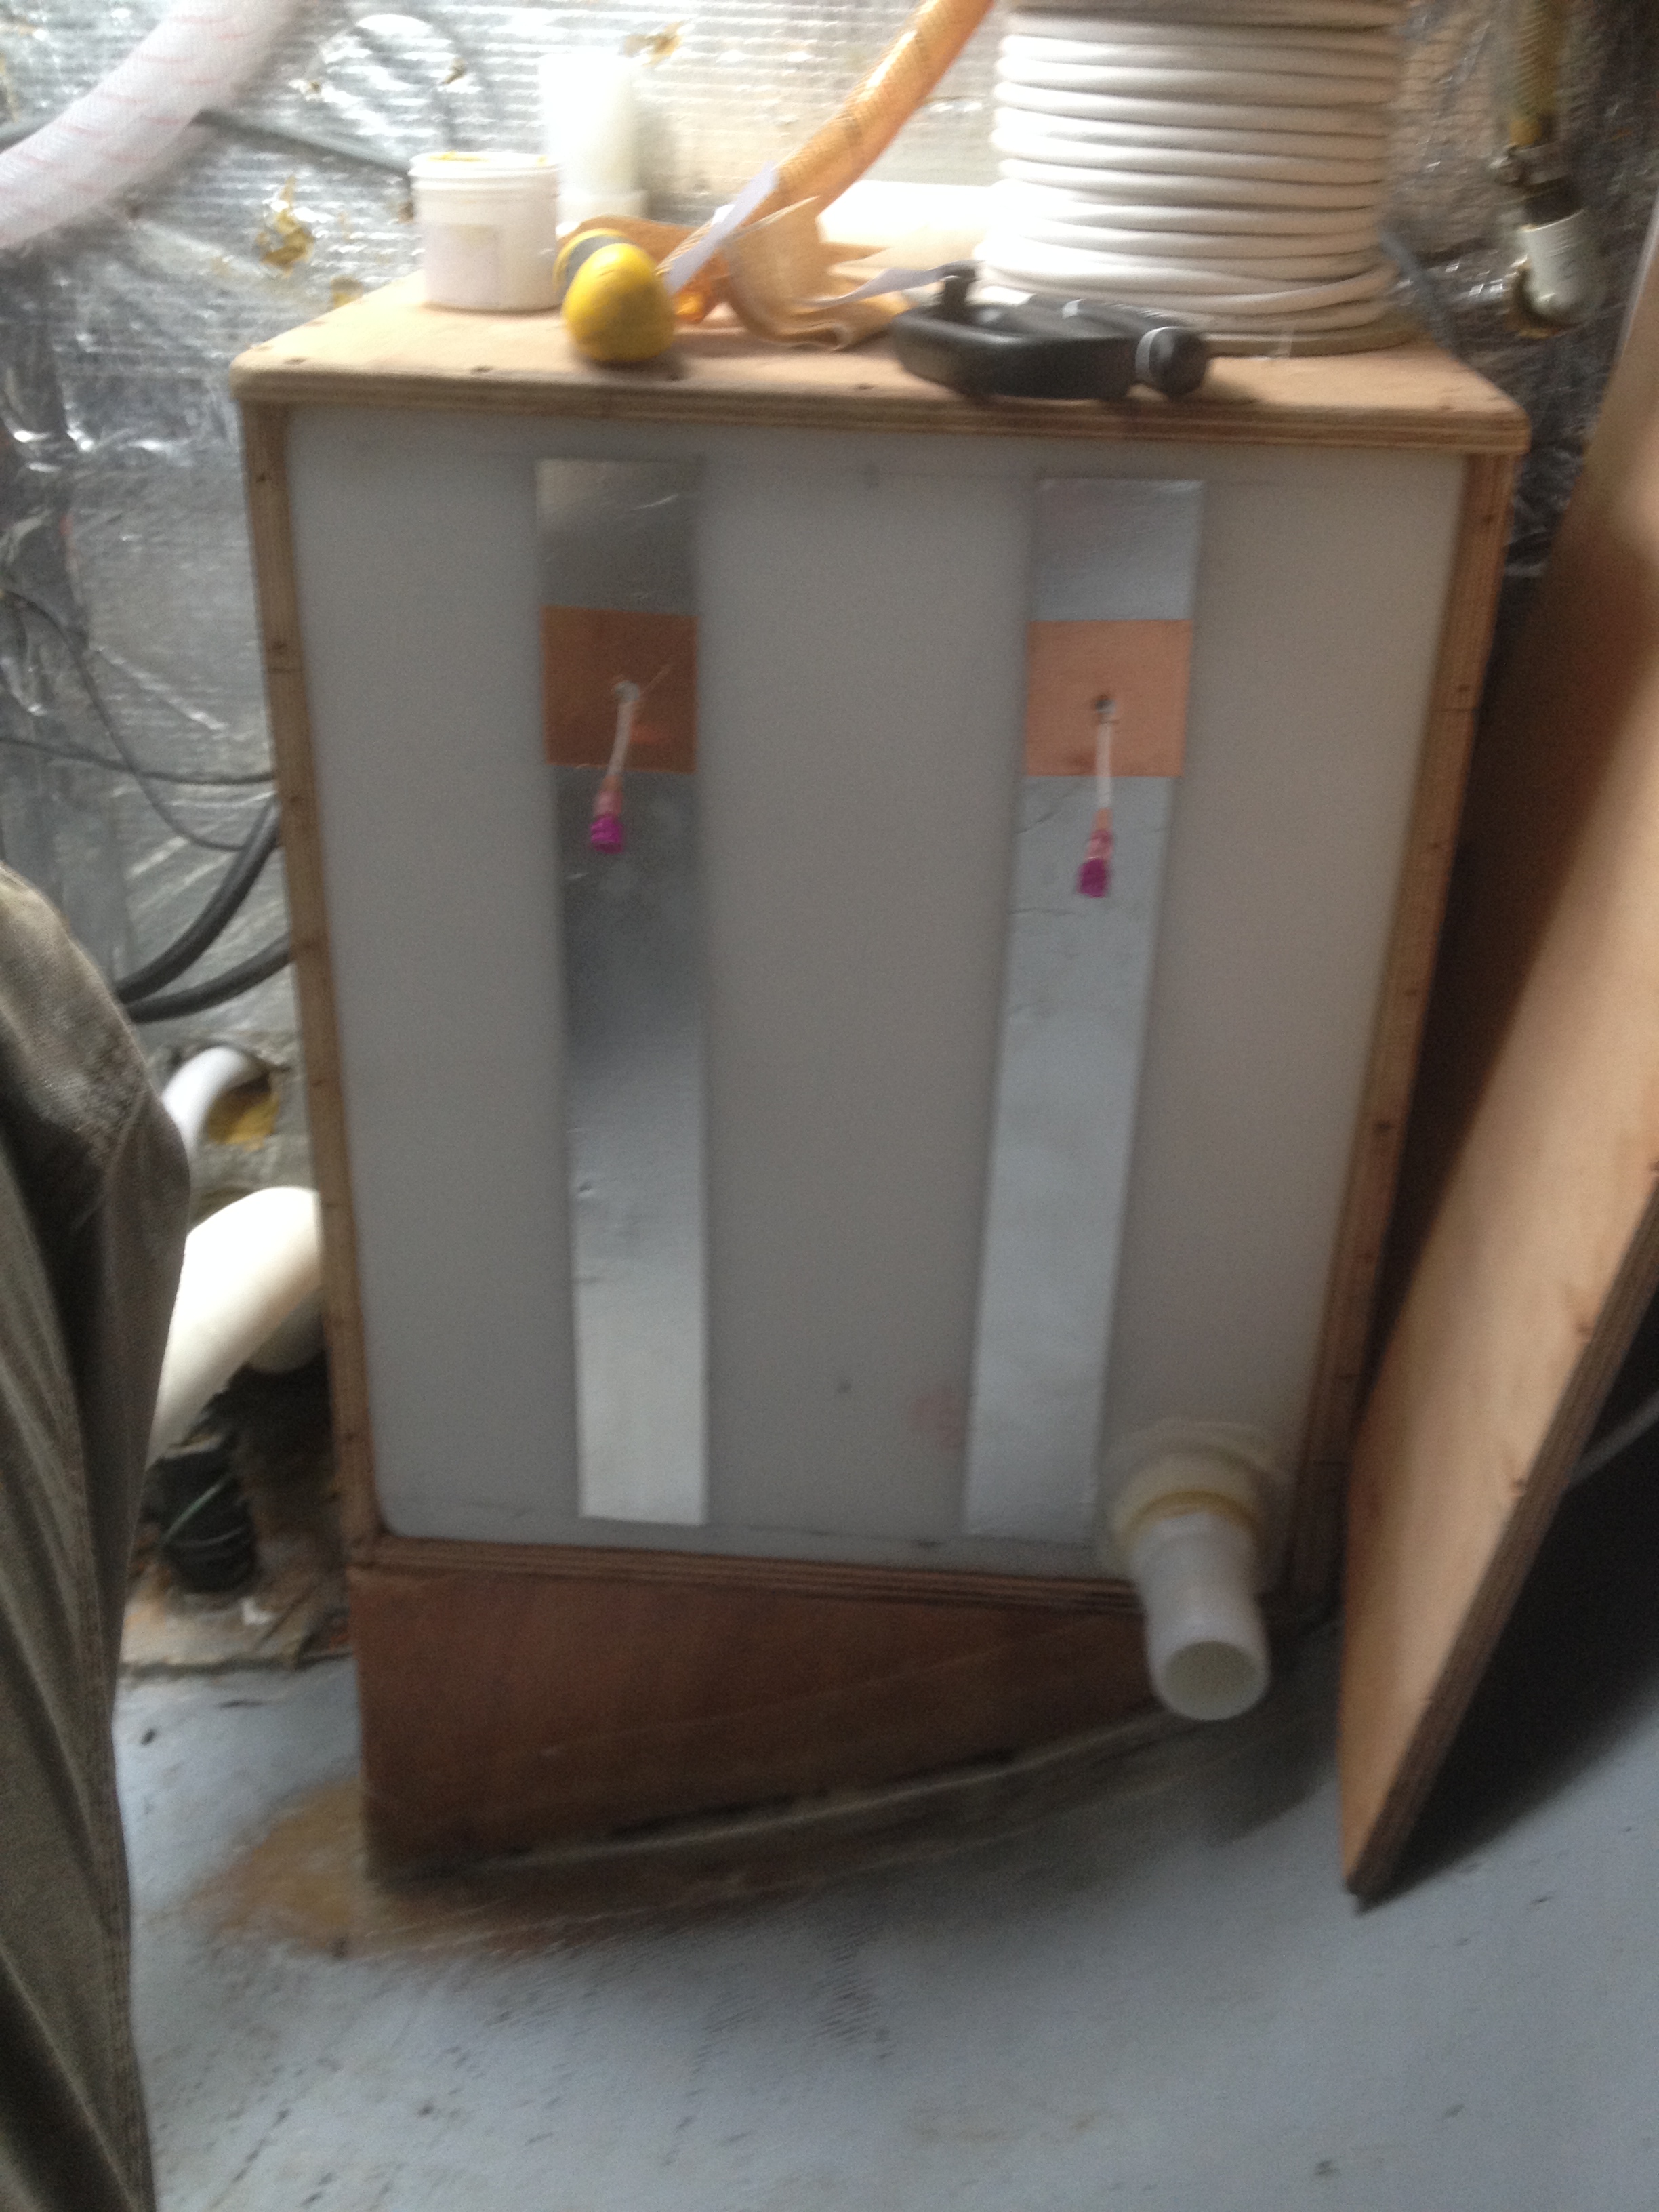
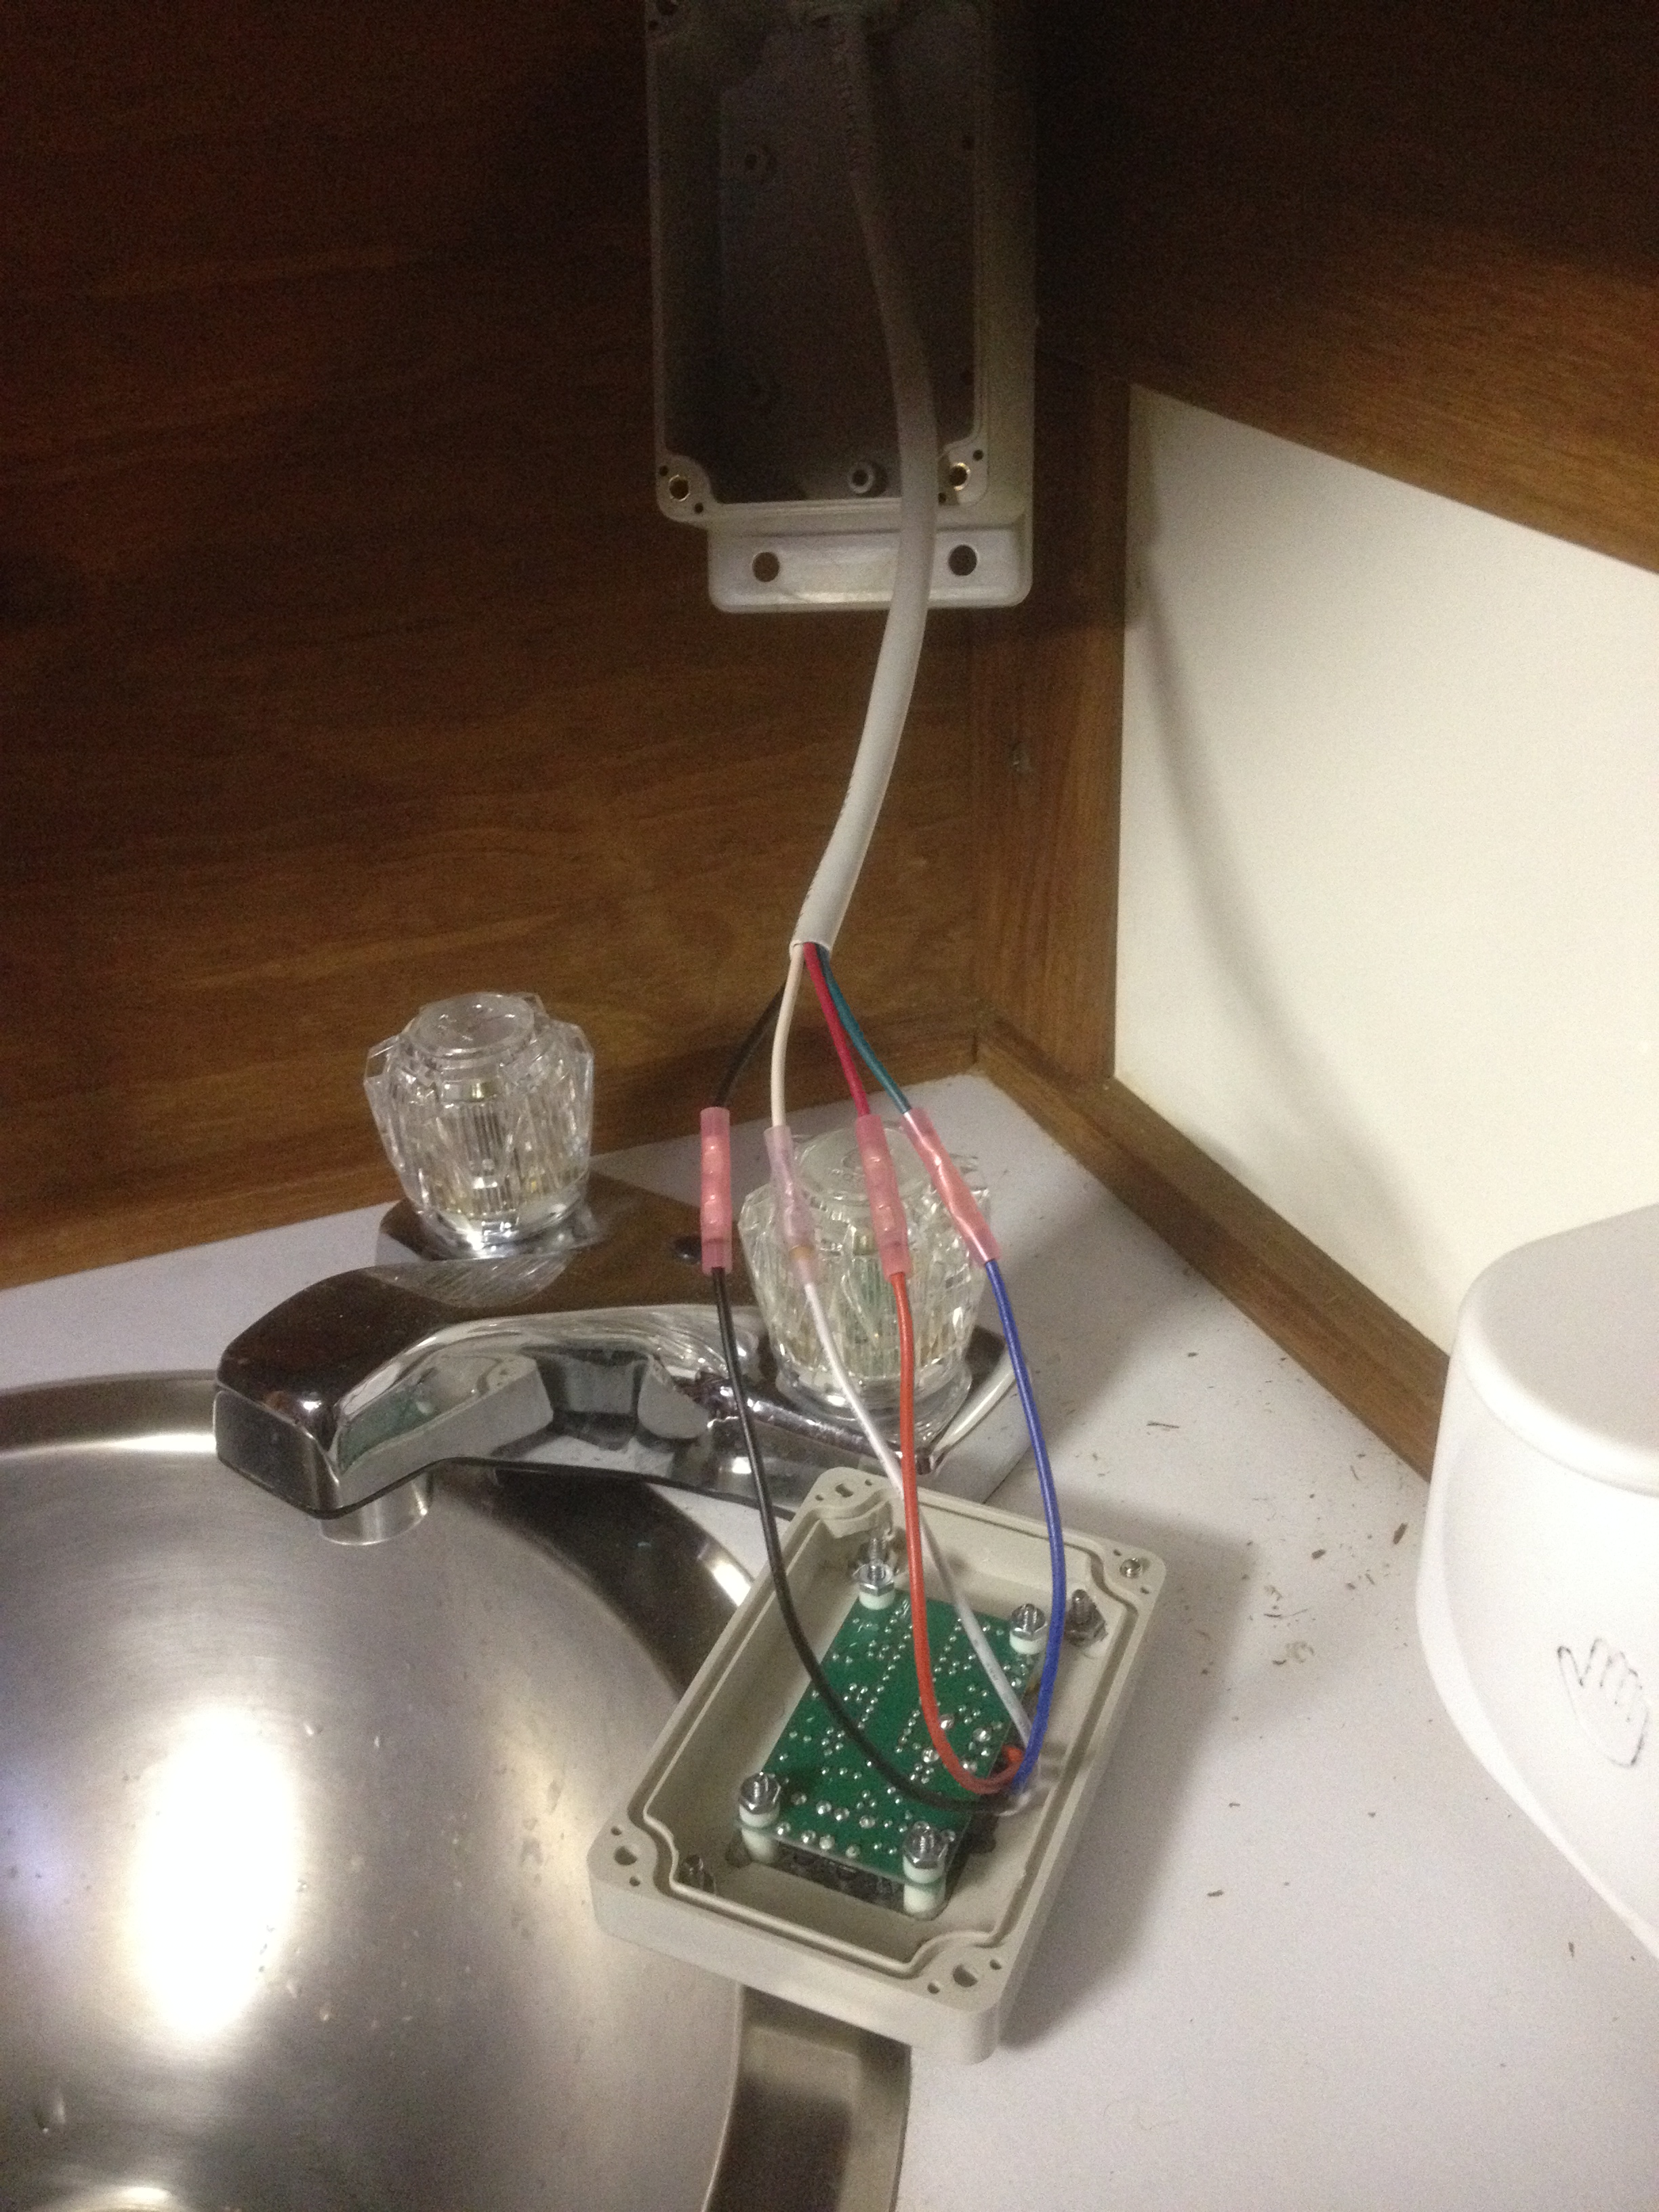
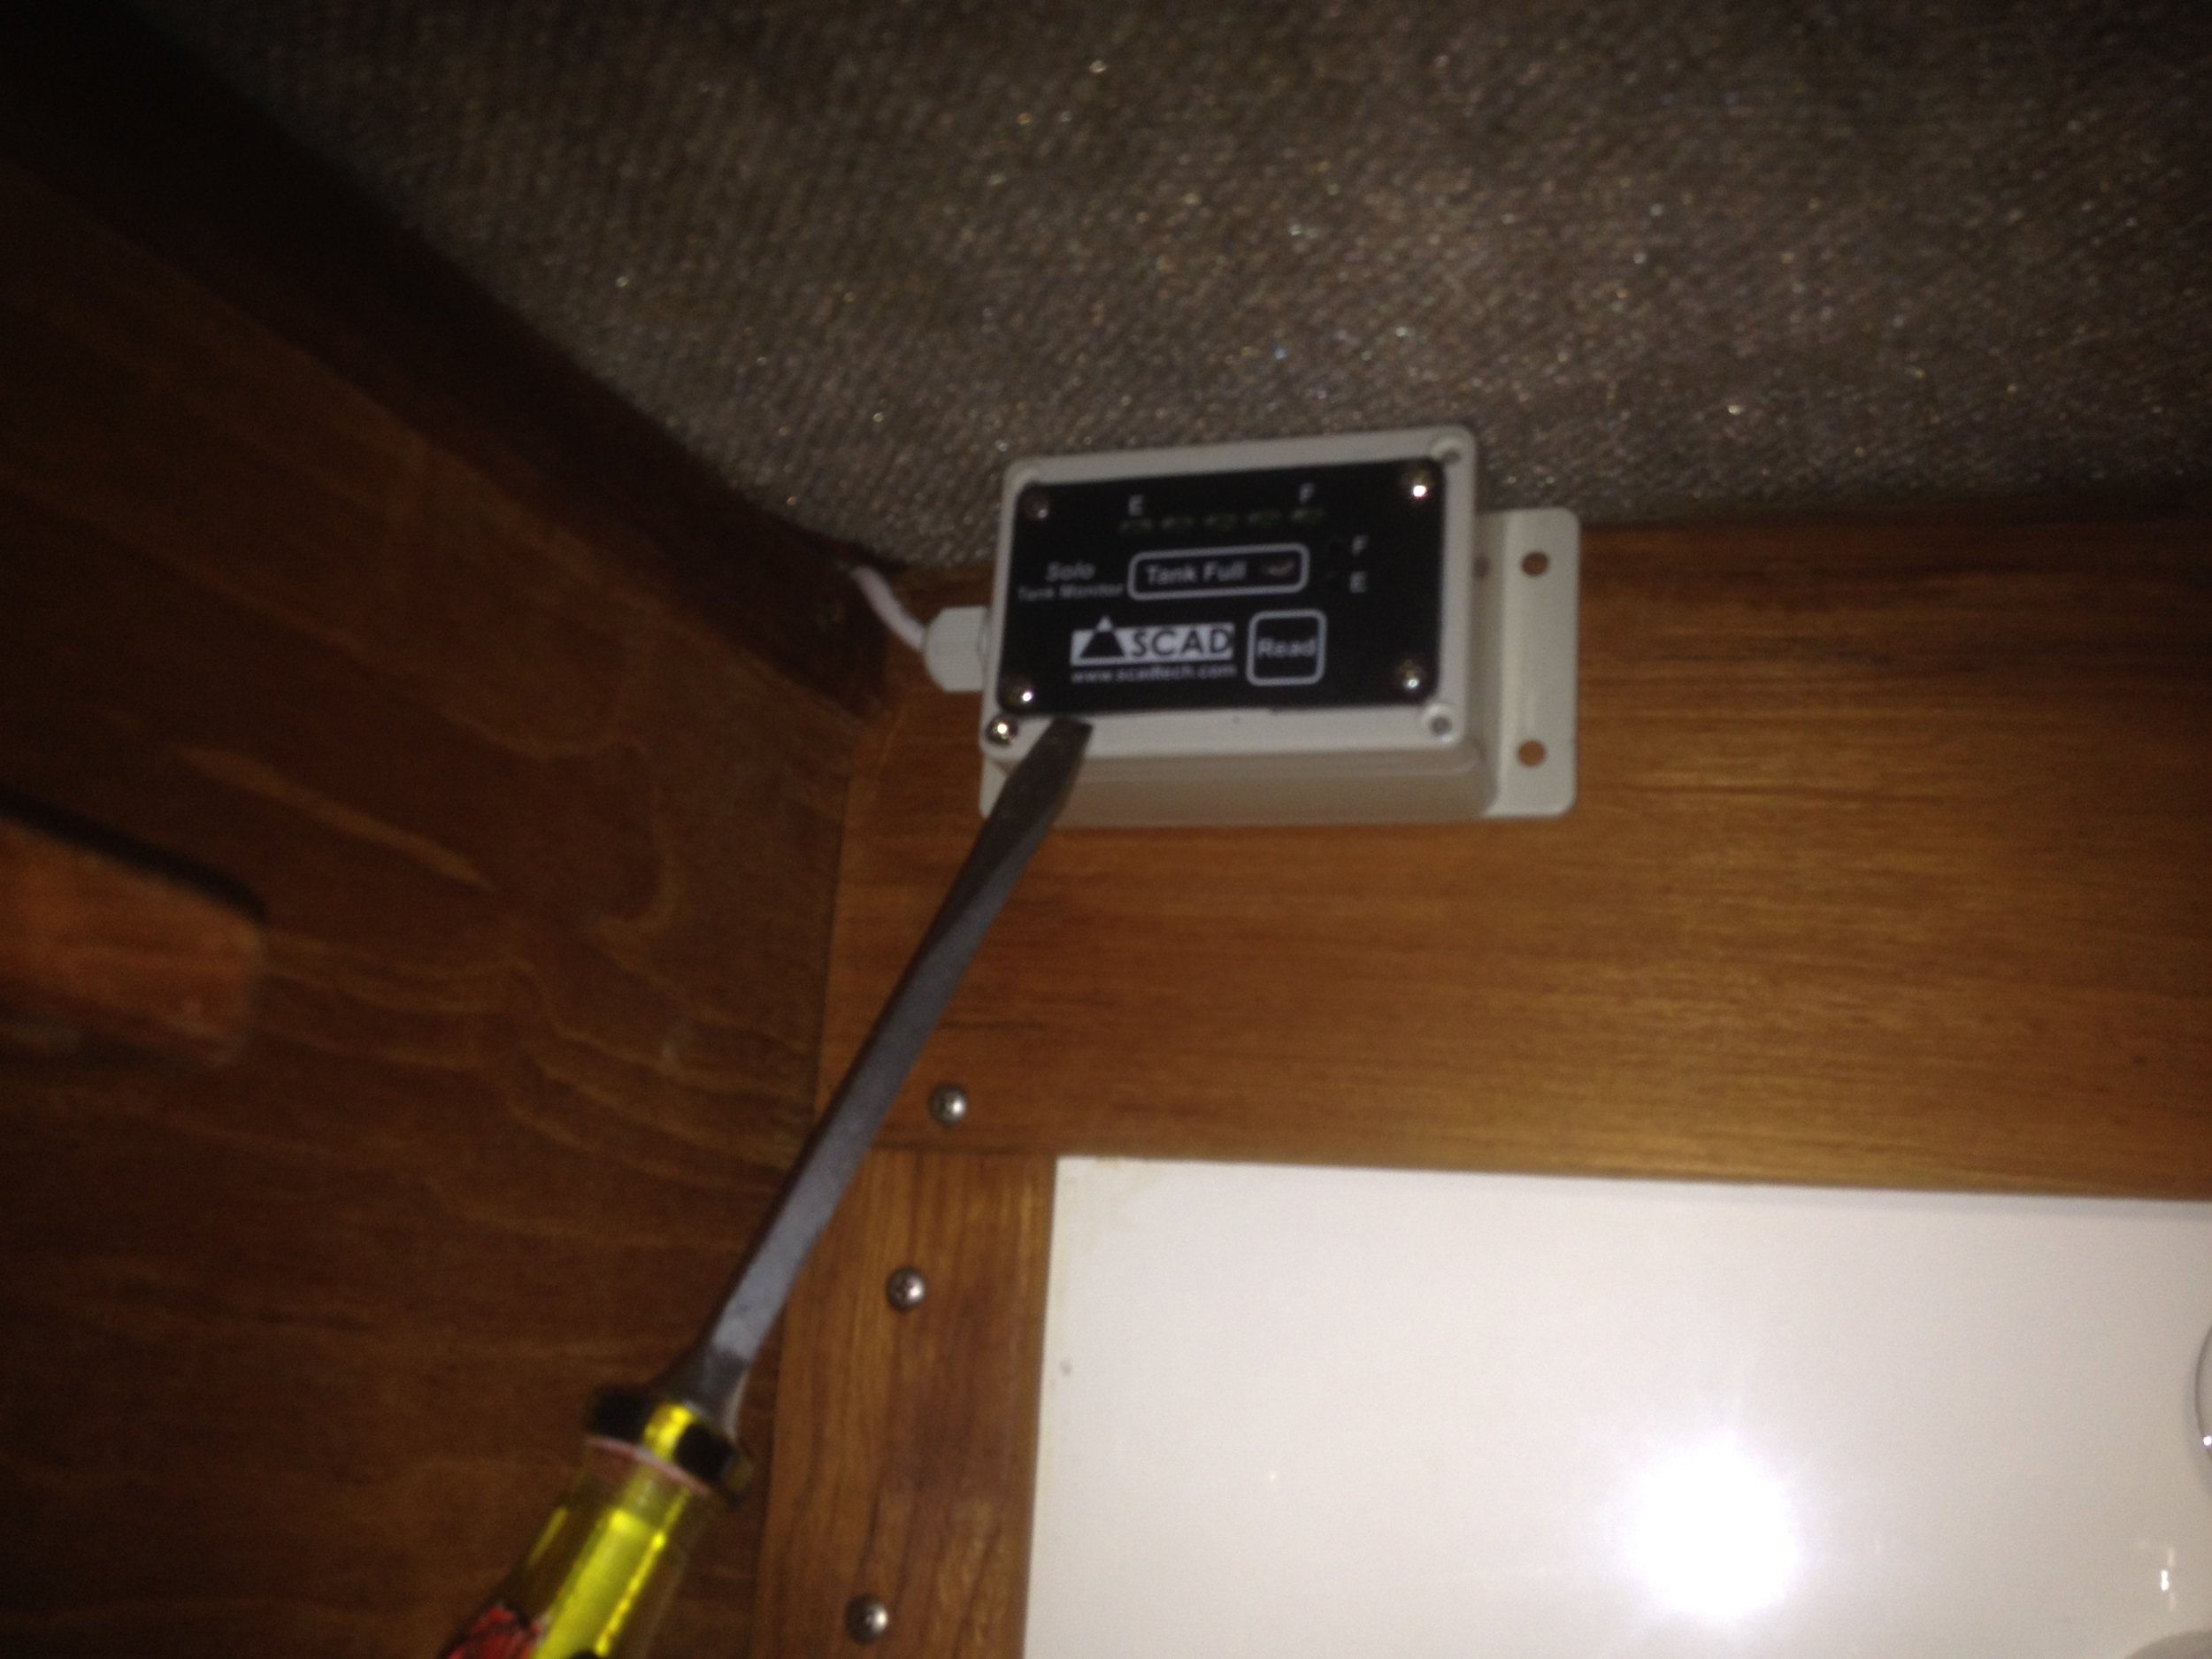
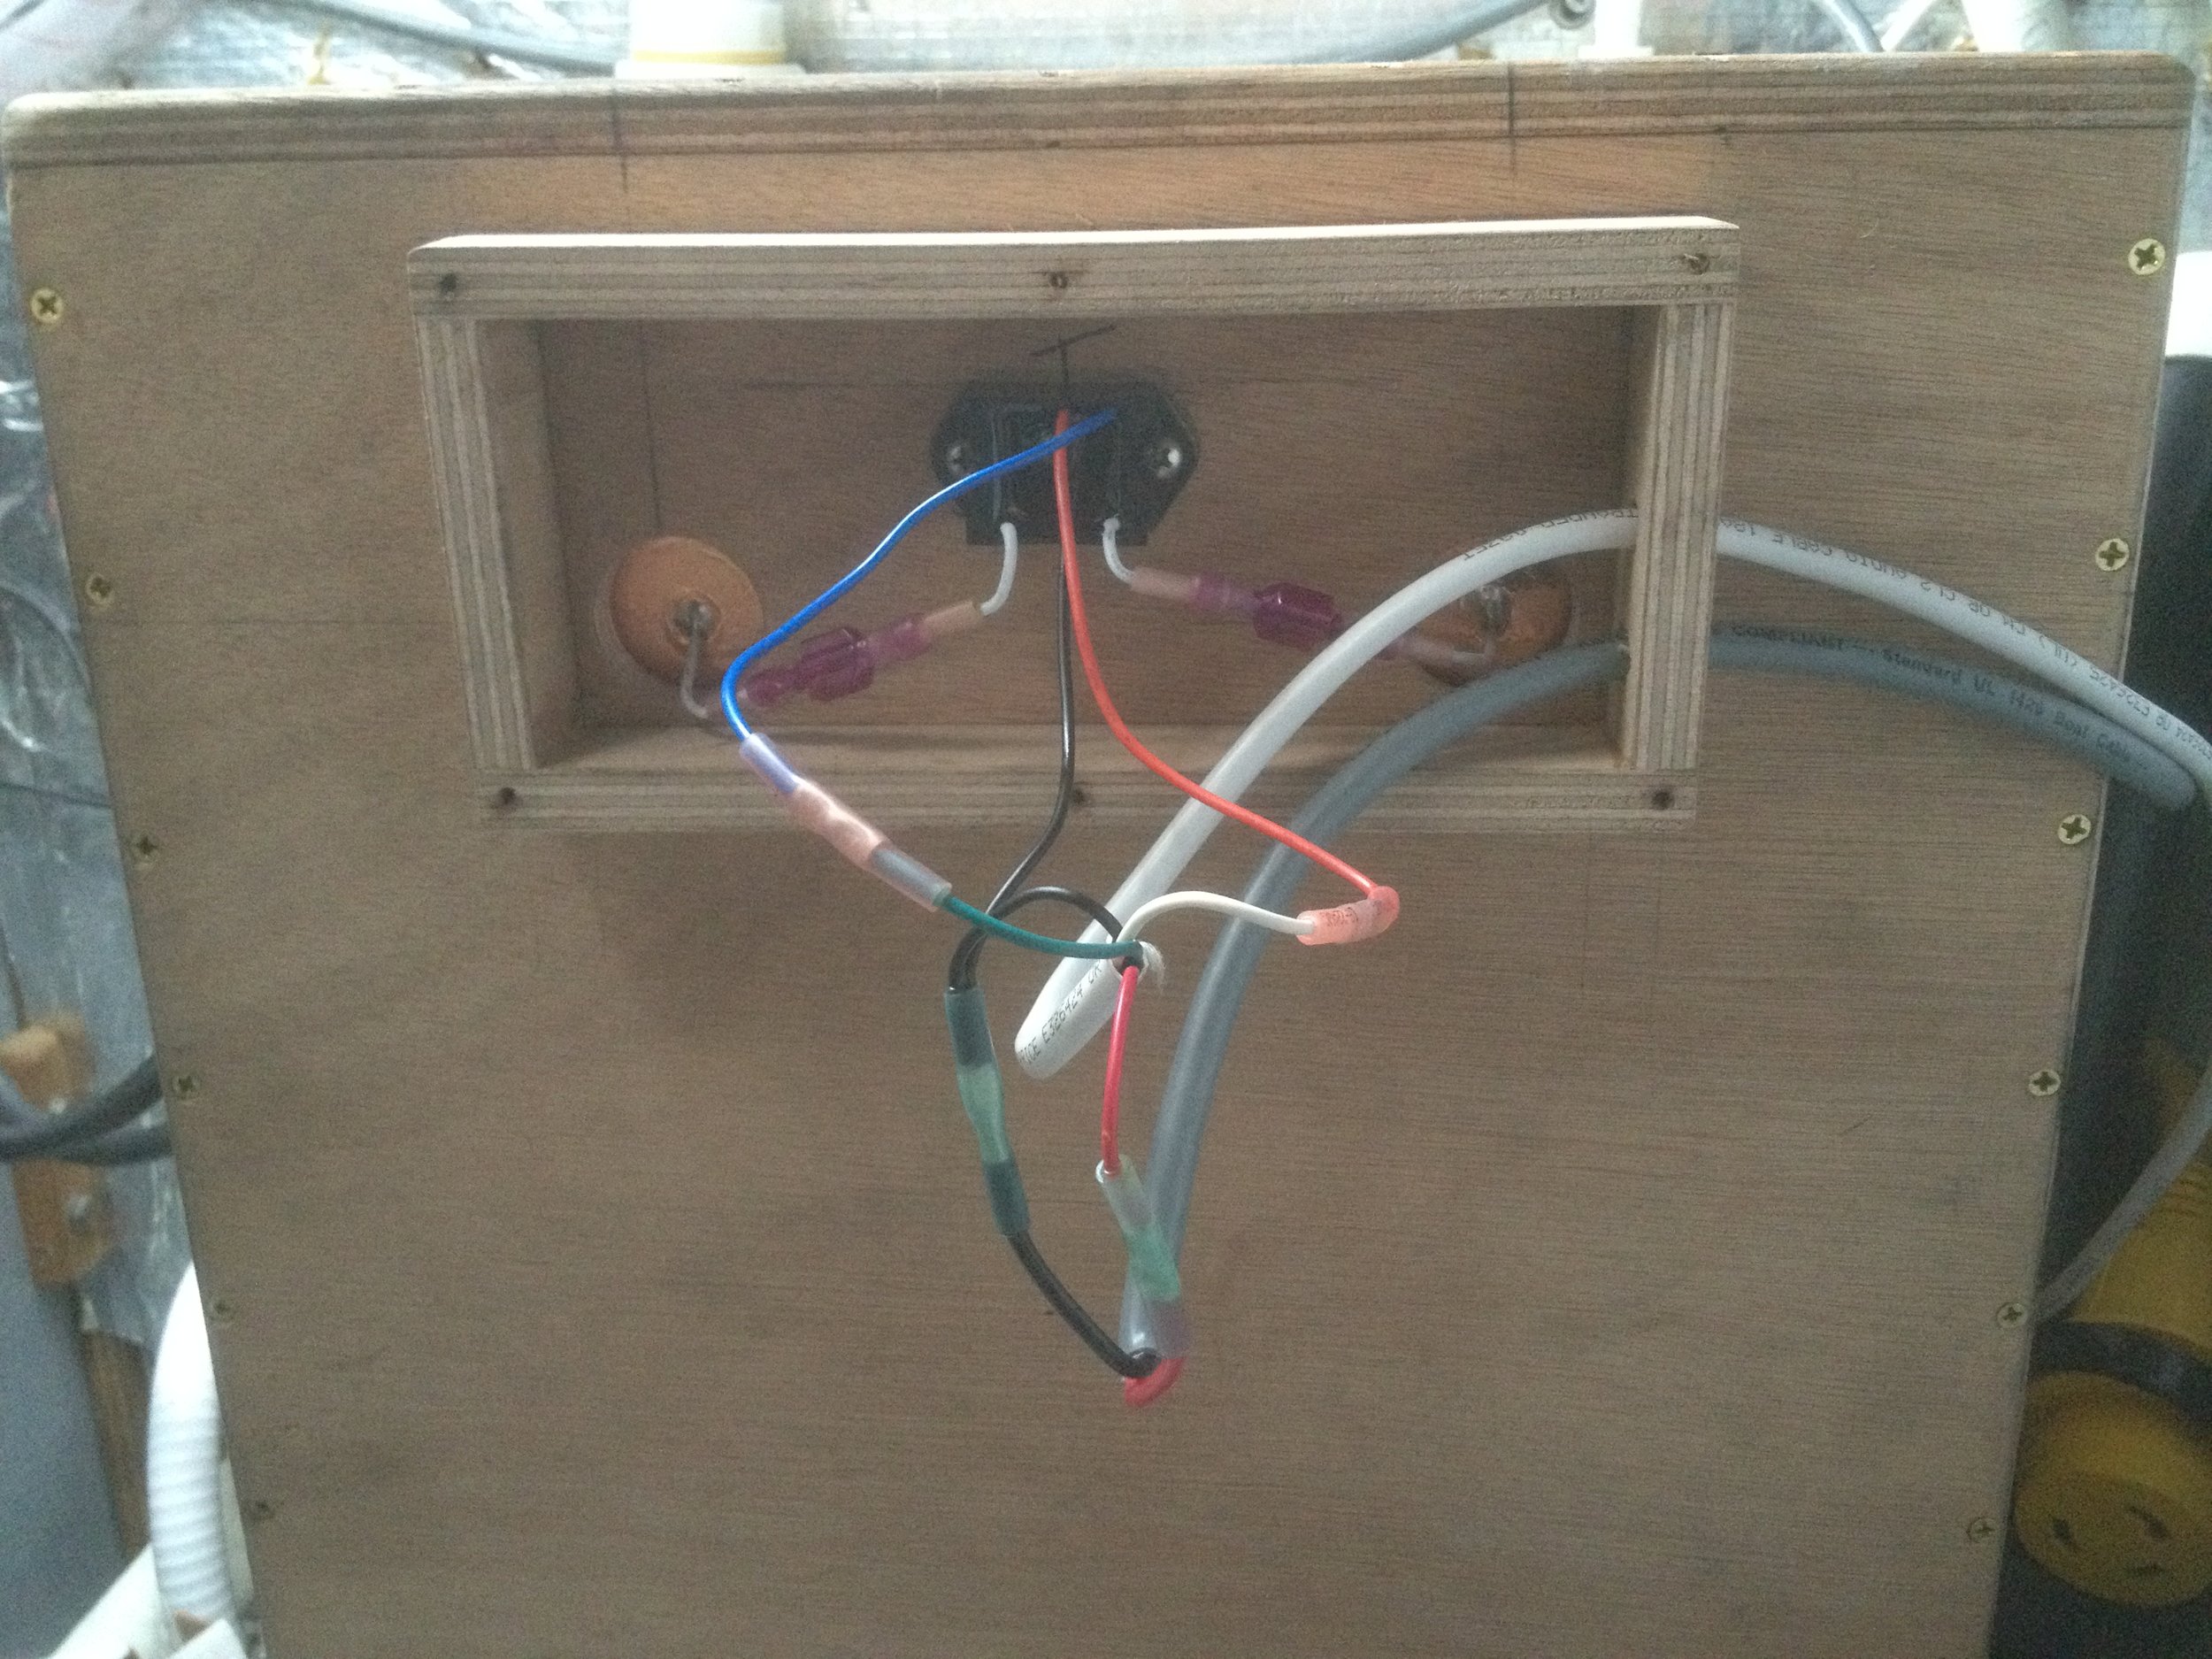
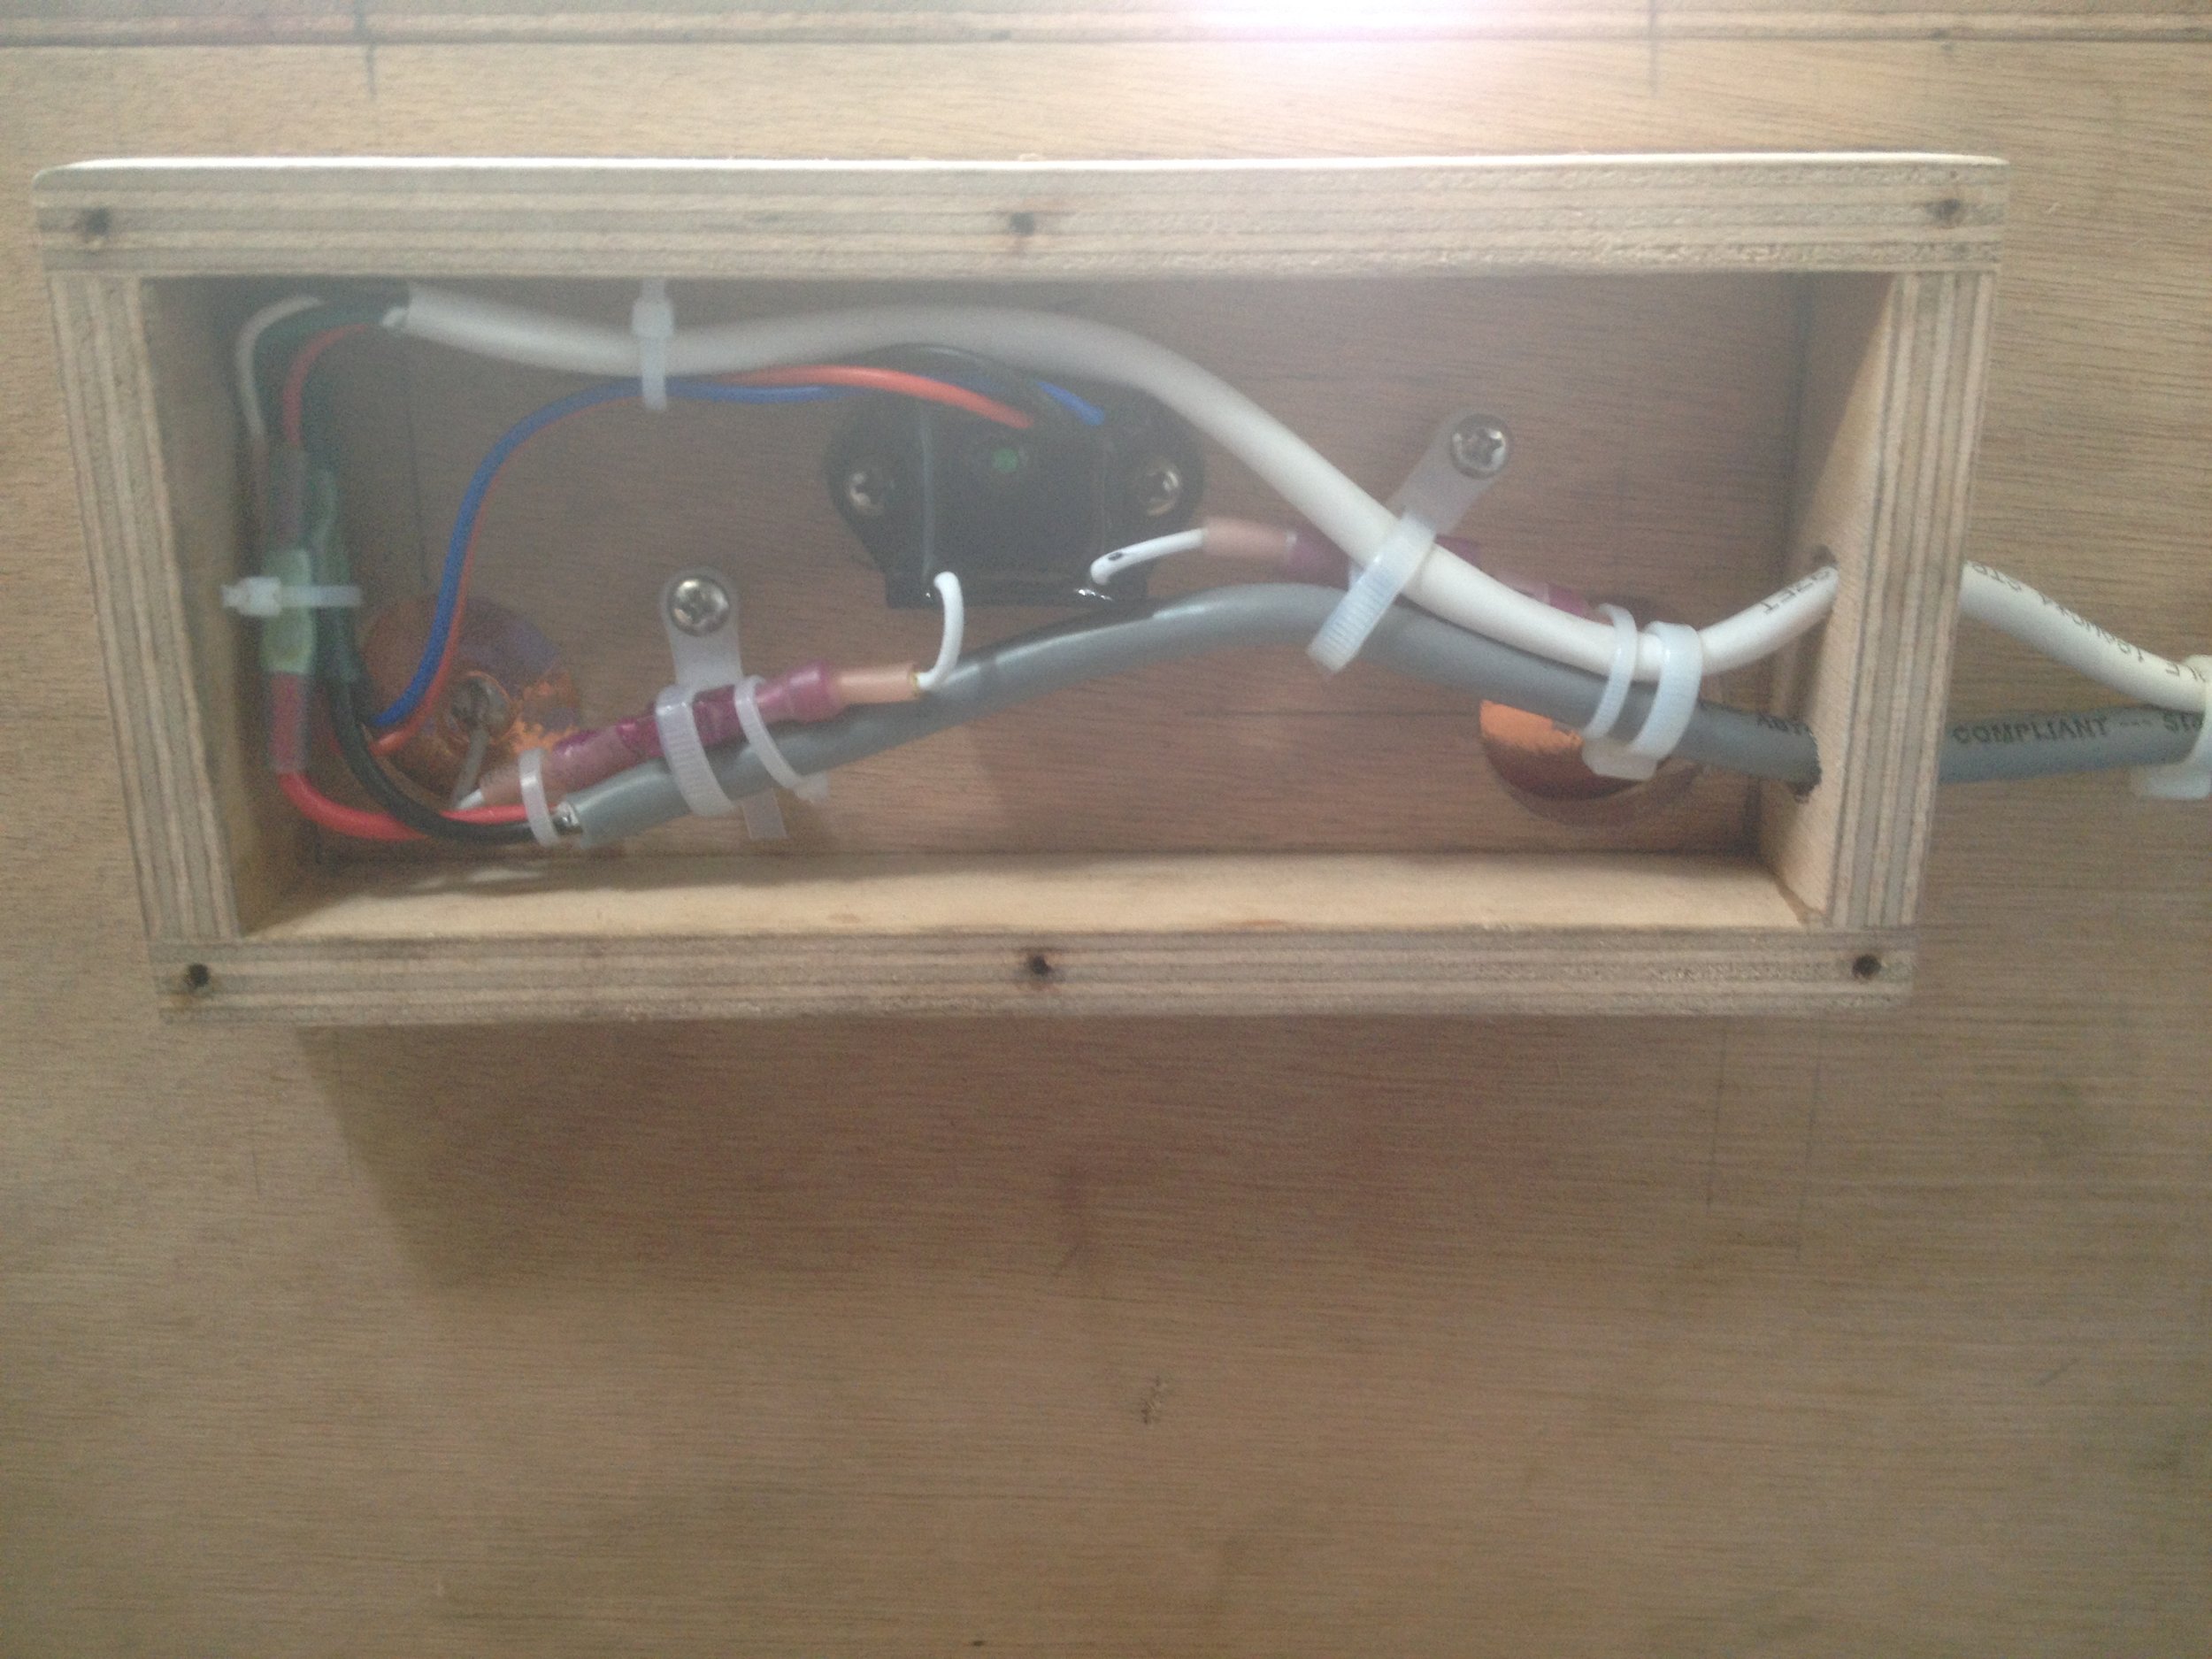
A SCAD tank monitoring system was installed and a wooden junction box was built to hold the wiring. 

A big improvement would be a plastic standpipe that enters from the top deck of the tank for pumpout instead of the fitting at the bottom of the tank. The pumpout hose is constantly wet up to the tank level, a recipe for permeating. It's a short length and easy to replace but it would last much longer with this change. I also would have gone from the typical 1/2" ID vent hose fitting to 3/4" or larger, more airflow only helps.

Perko Water Strainer Rebuild

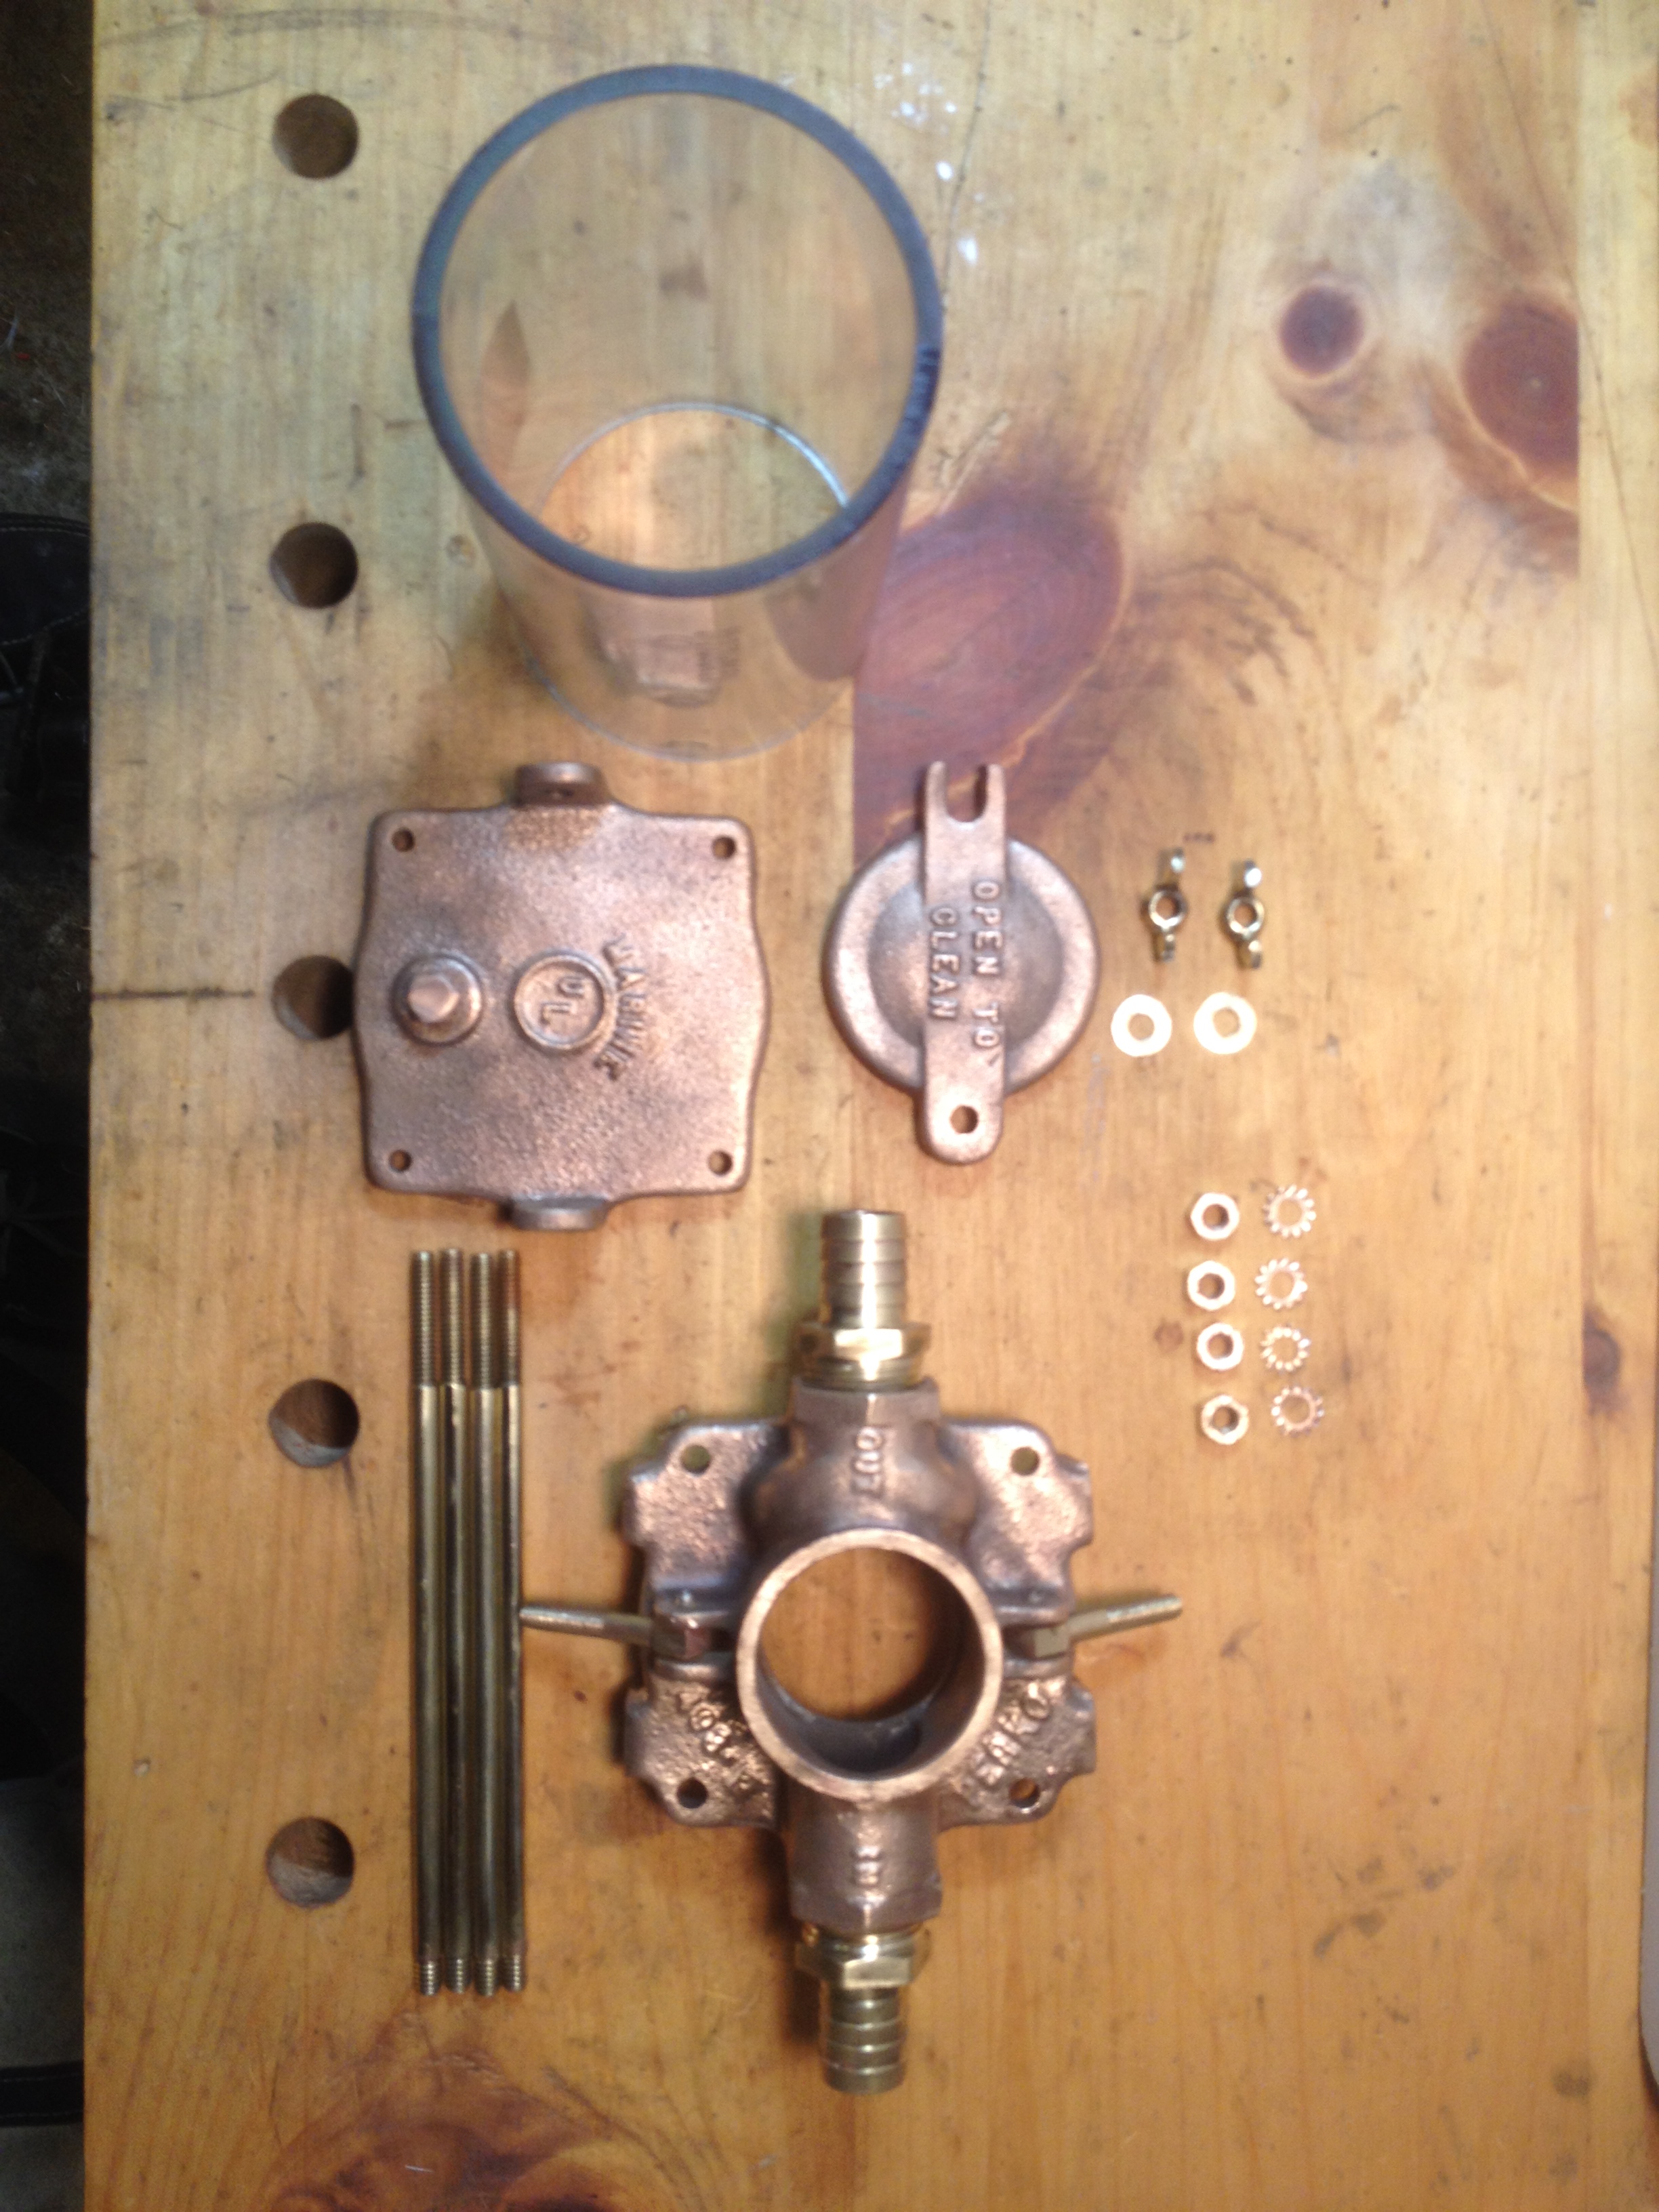
The only necessary jobs to keep these going is replacing the gaskets and inspecting the 1/4" rods that hold it all together for dezincification. If you see pink, you have a problem.

Older units use cork gaskets, new units use rubber. Make sure all the old gasket is removed.

I like to do a full disassembly and clean away all the crud. The lens can be buffed inside and out with a cloth buff and compound. 

Bulkhead Mount Compass Box

This is a mitered and splined open box of made of one of the light colored African Mahogany species. The typical way to make a box like this would be to cut a square and then wrap it with the mitered sides. I used a Lion miter trimmer to get perfect miters, made a four sided box and then worked the square part until it was a slip fit, it is just glued in place. 

The interchange between hole saws and arbors across brands is pretty sloppy. I had to make a brass shim for the hole saw to get it to run smoothly. It's a six inch diameter saw being used in a drill press, which is still pretty scary since it can ruin the work and cutting the hole is almost the last step.

Turning a Barb into an Elbow

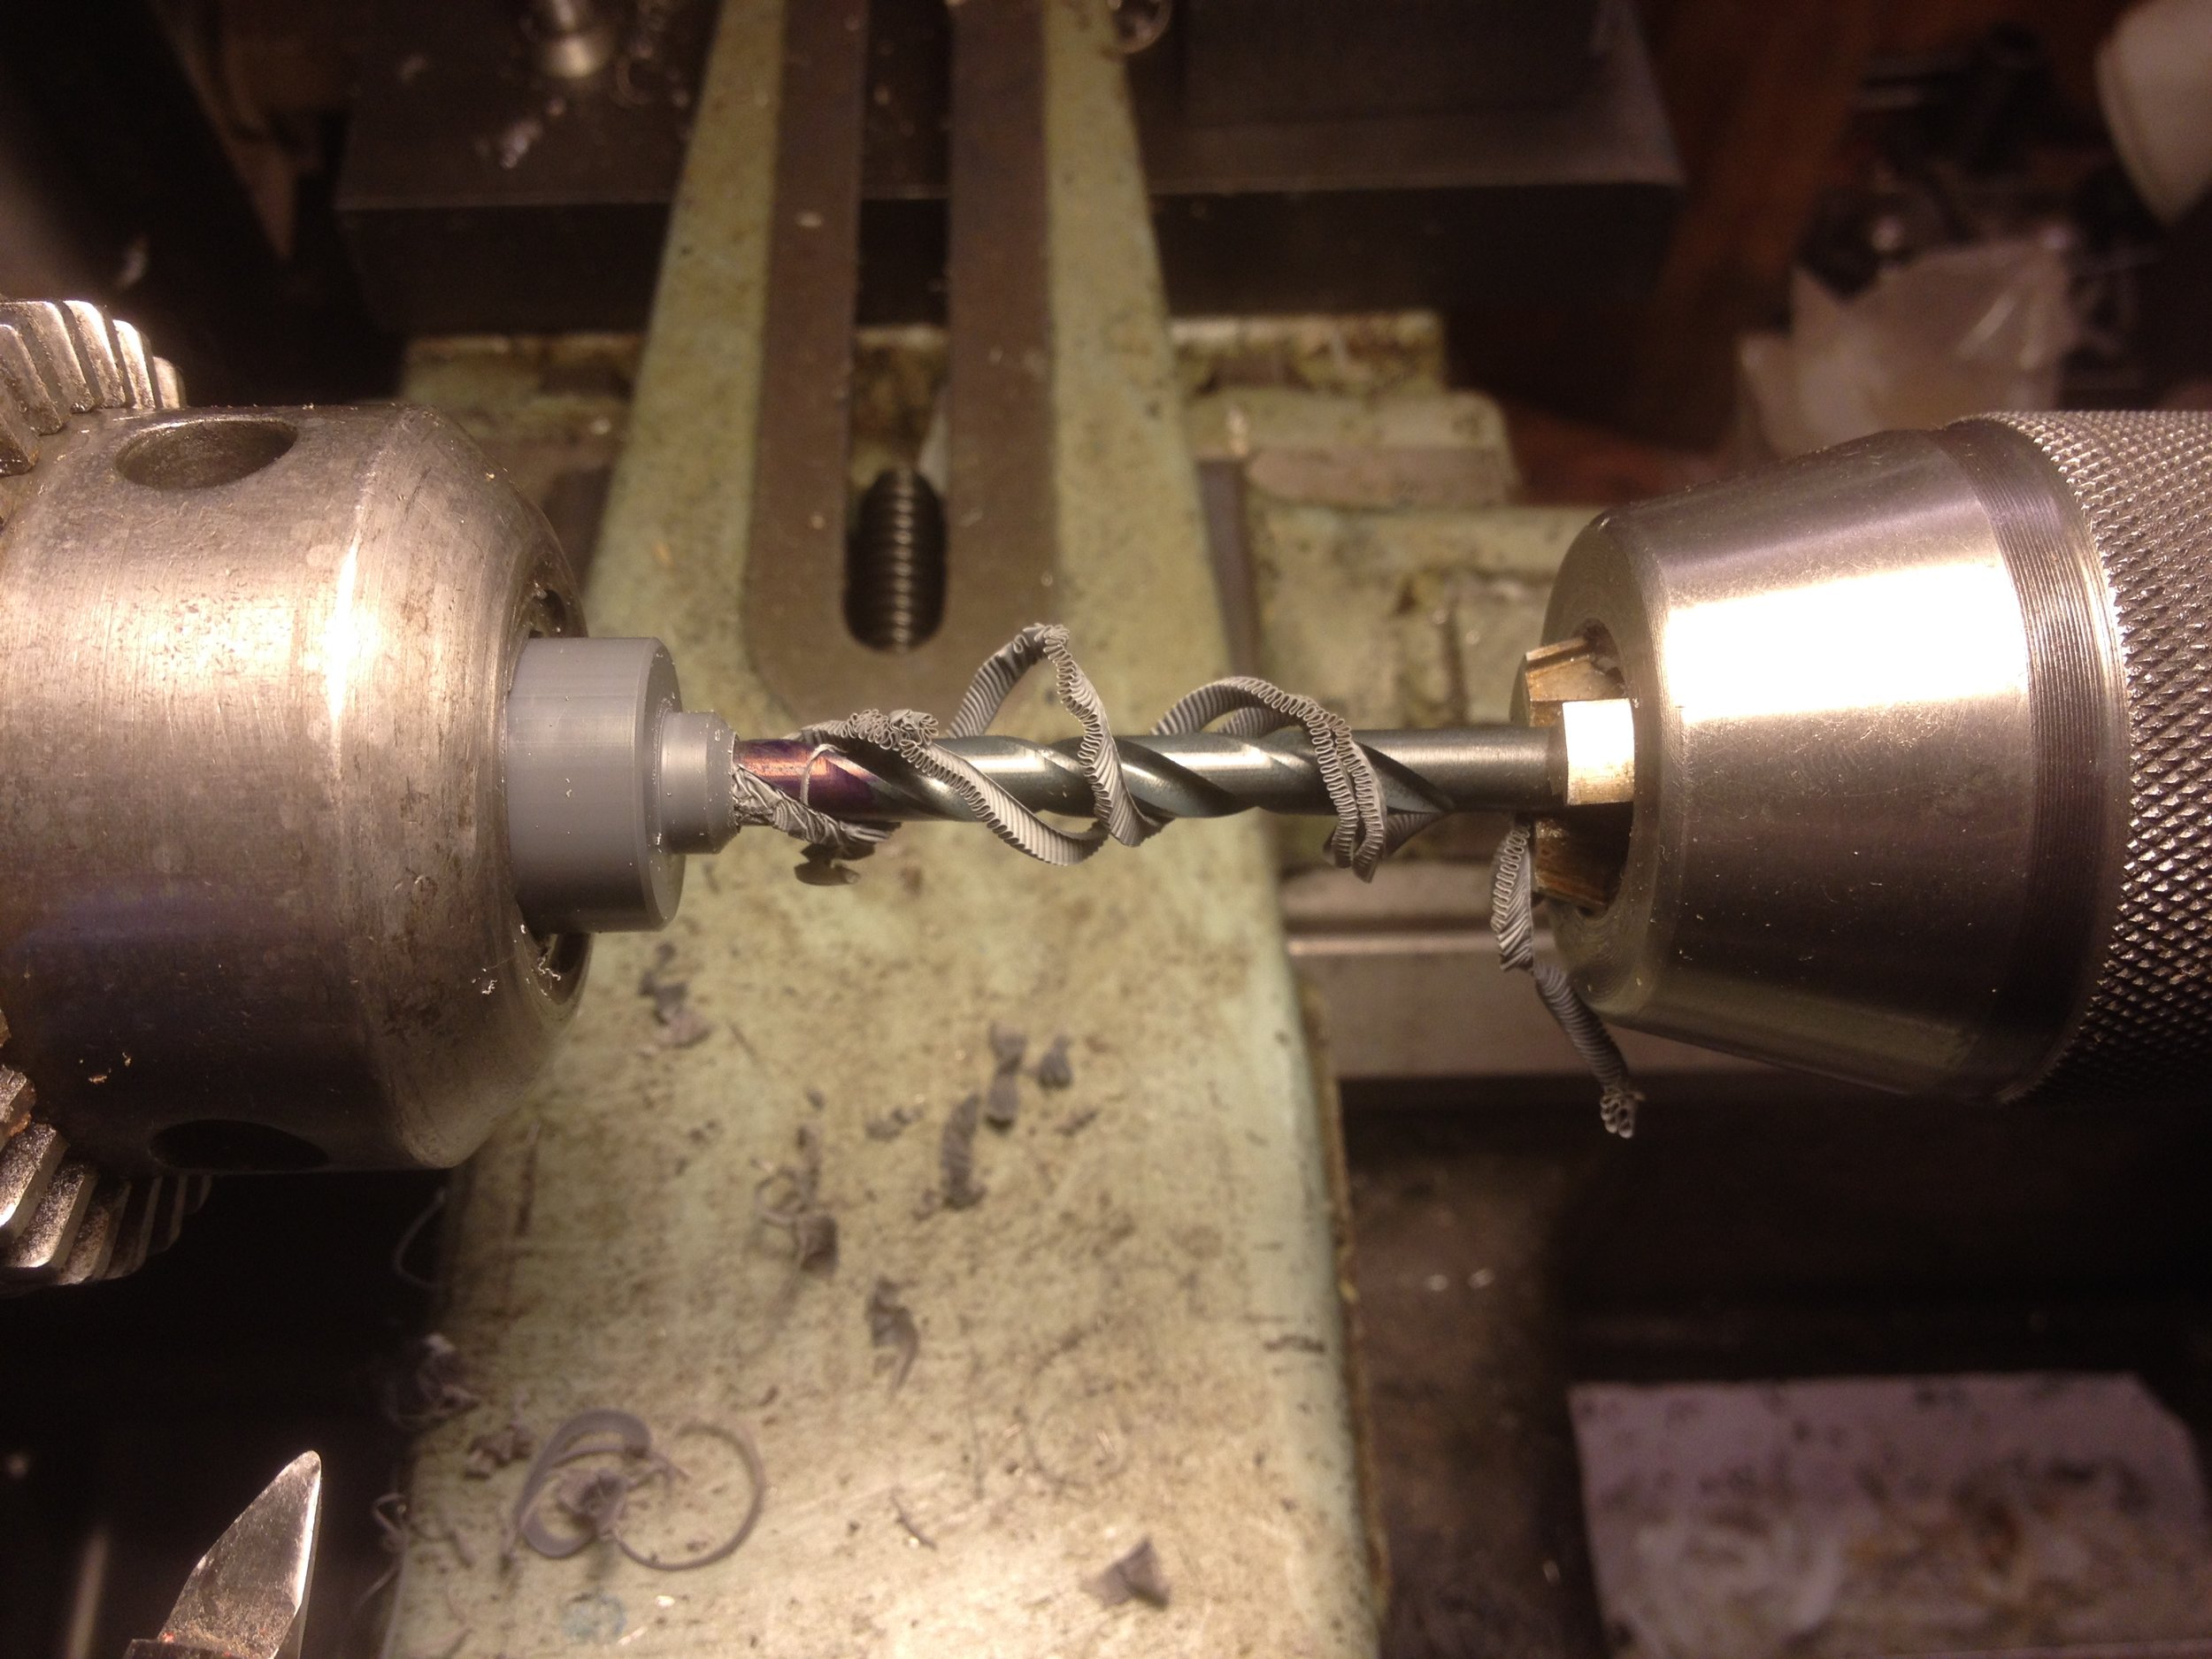
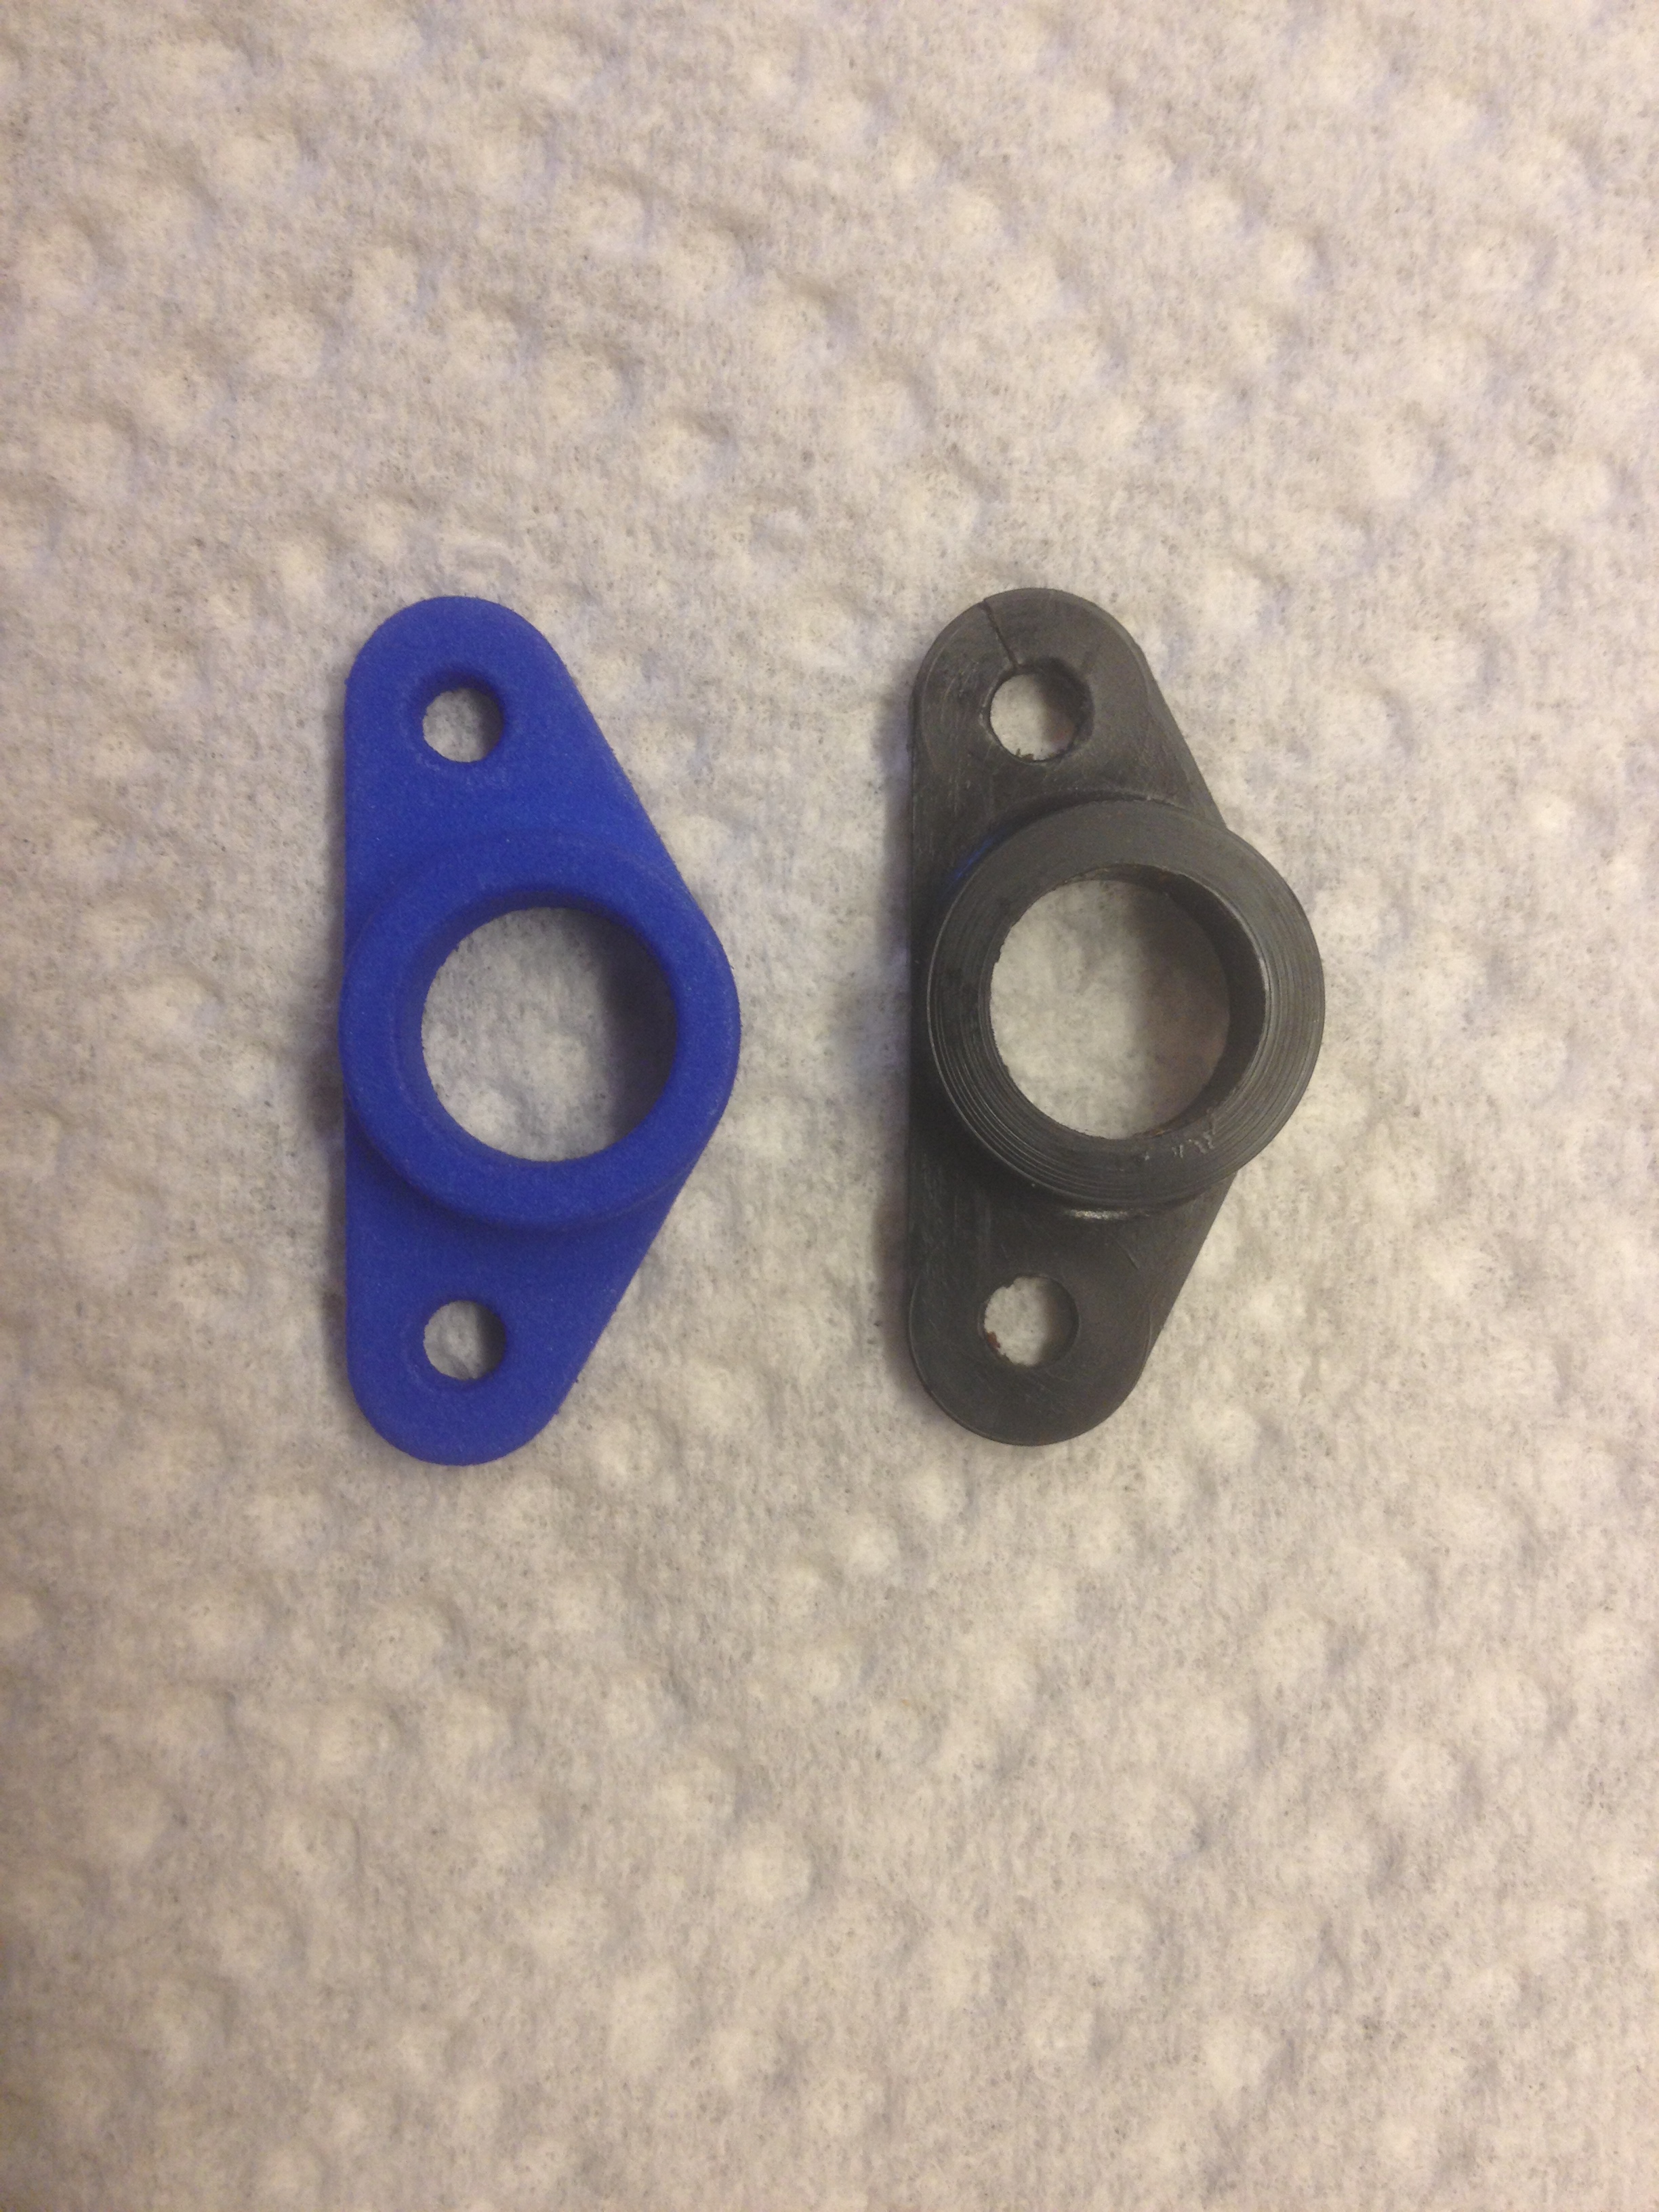
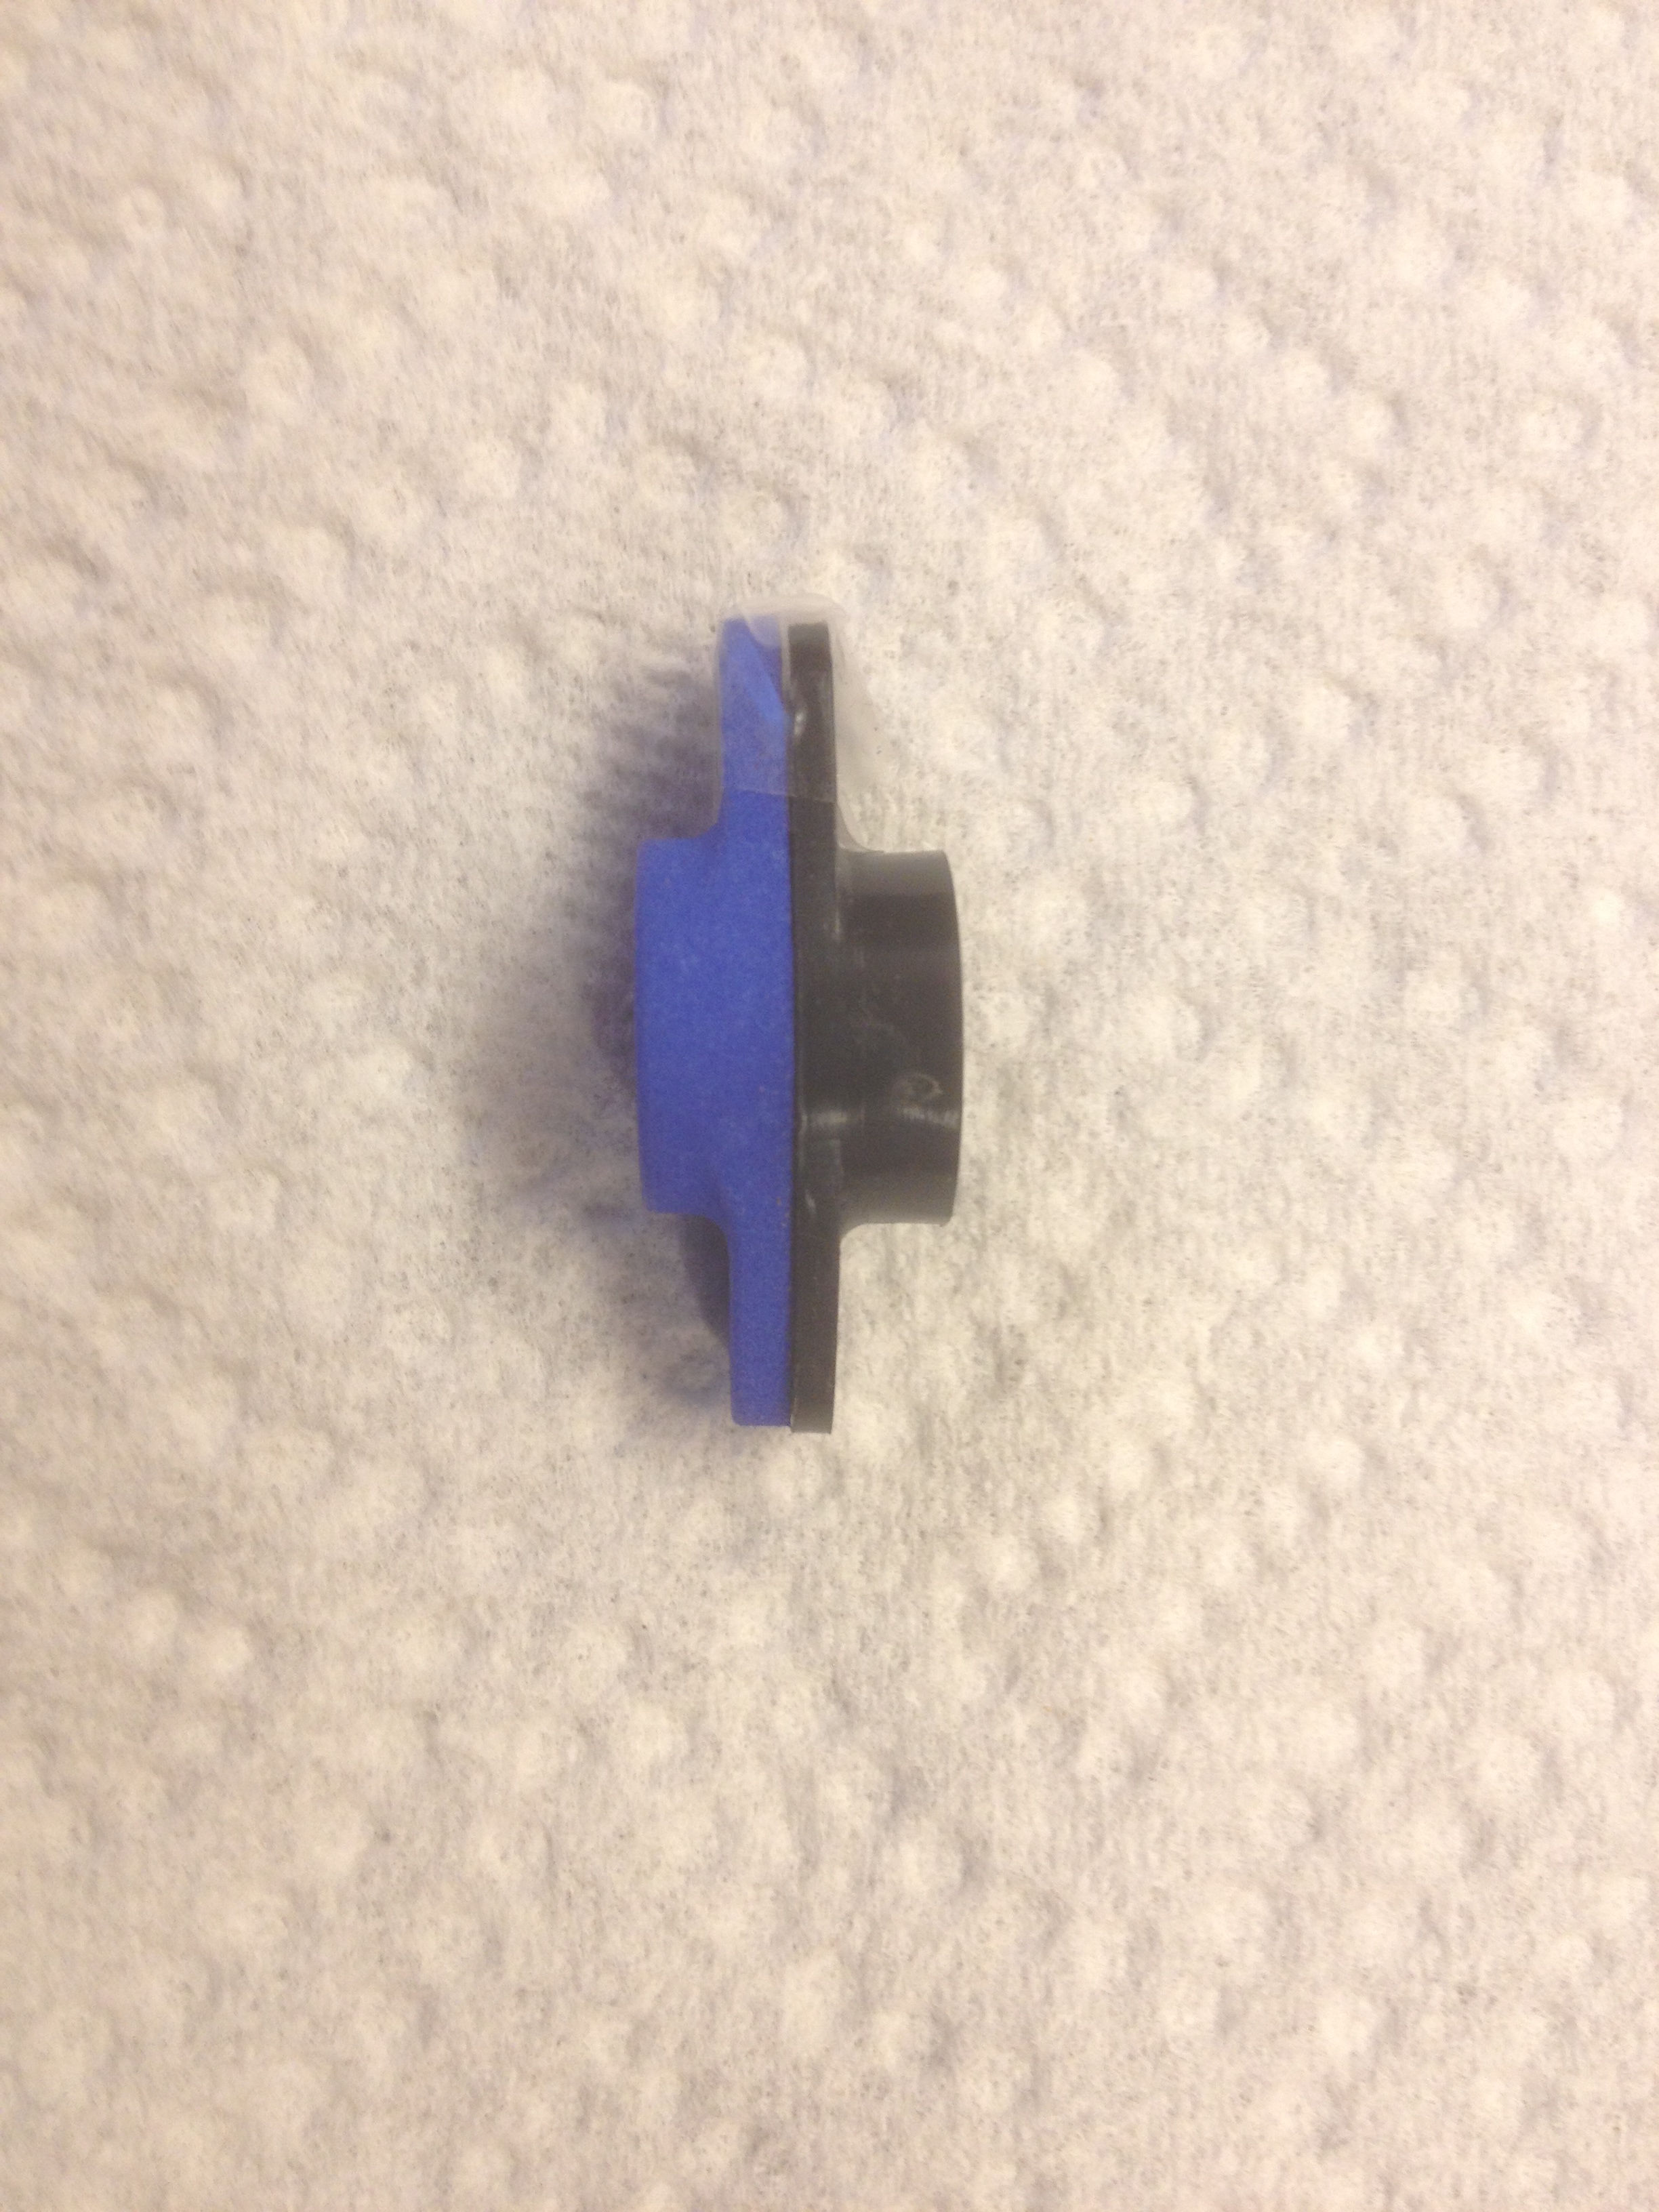
You can get elbows for tubing in many sizes and many materials but not in PVC. This was the last detail in a big ElectroScan sanitation system install, it's the brine tank connection. The install is under a set of stairs and a straight barb plus tubing wouldn't clear the stair tread. I couldn't even find the barb for sale in PVC, turns out it is custom machined. I decided to design a part that I could cement to the barb to make an elbow while keeping the same inner diameter all the way through. After a number of turning and milling steps I cemented it together and it worked perfectly. 

Snack Bowl Instrument Covers

I installed a new Raymarine i40 depth instrument where a large 1980's depth instrument had been, leaving a large hole. I started thinking of turning a bowl on the lathe to cover the new instrument from the inside. The i40 depth had a long threaded stud it uses to mount, anything that catches that stud will work if secured with a nut. I realized that wooden salad bowls were roughly the right shape so I went searching for bowls on Amazon. The dimensions for bowls are approximate because you are not supposed to care so it ended up a little small, instead of resting on the surrounding bulkhead it rests in the hole in the bulkhead. A good color match for about six dollars.

A second issue with this installation was that I decided to add some screws after the Starboard filler disk had already been fabricated and the instrument was already sealed to the disk. Hard to do without a center to work with. I made a paper ring and divided it by folding it while holding it up to a light. Sixteen good divisions later I was able to lay out my screen pattern. This is a surprisingly accurate method.


Making Sole From Nothing at All

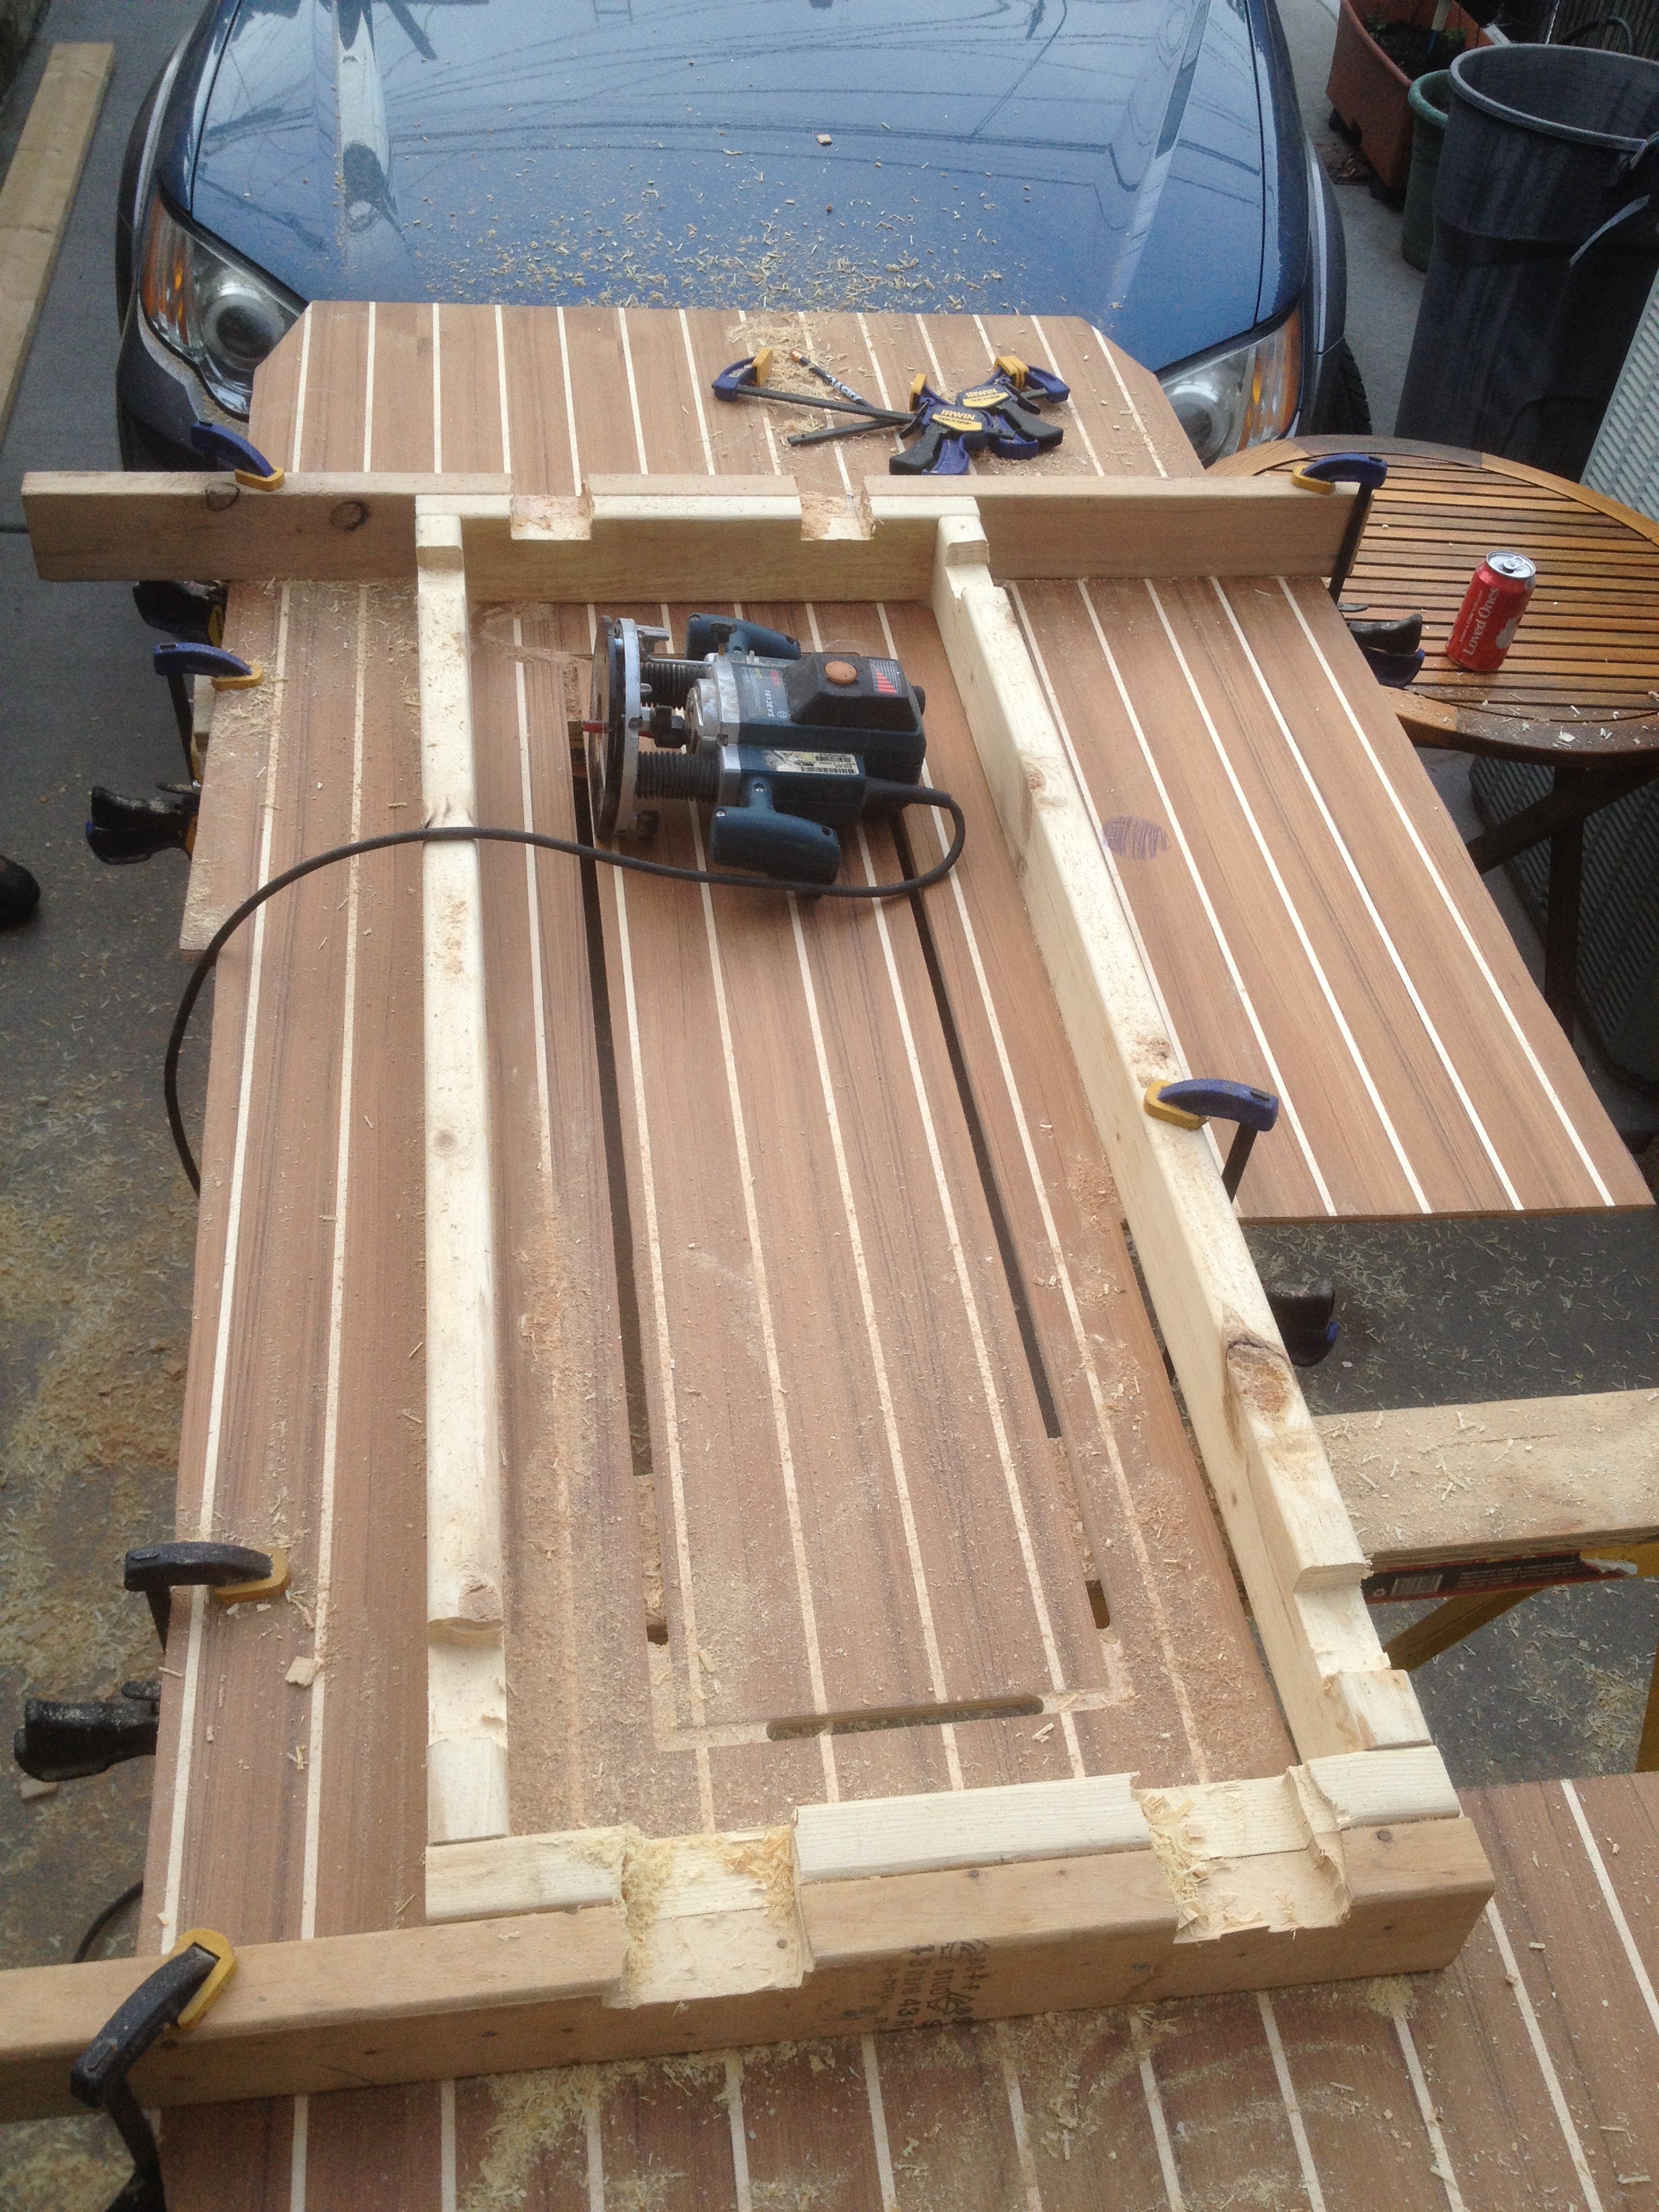
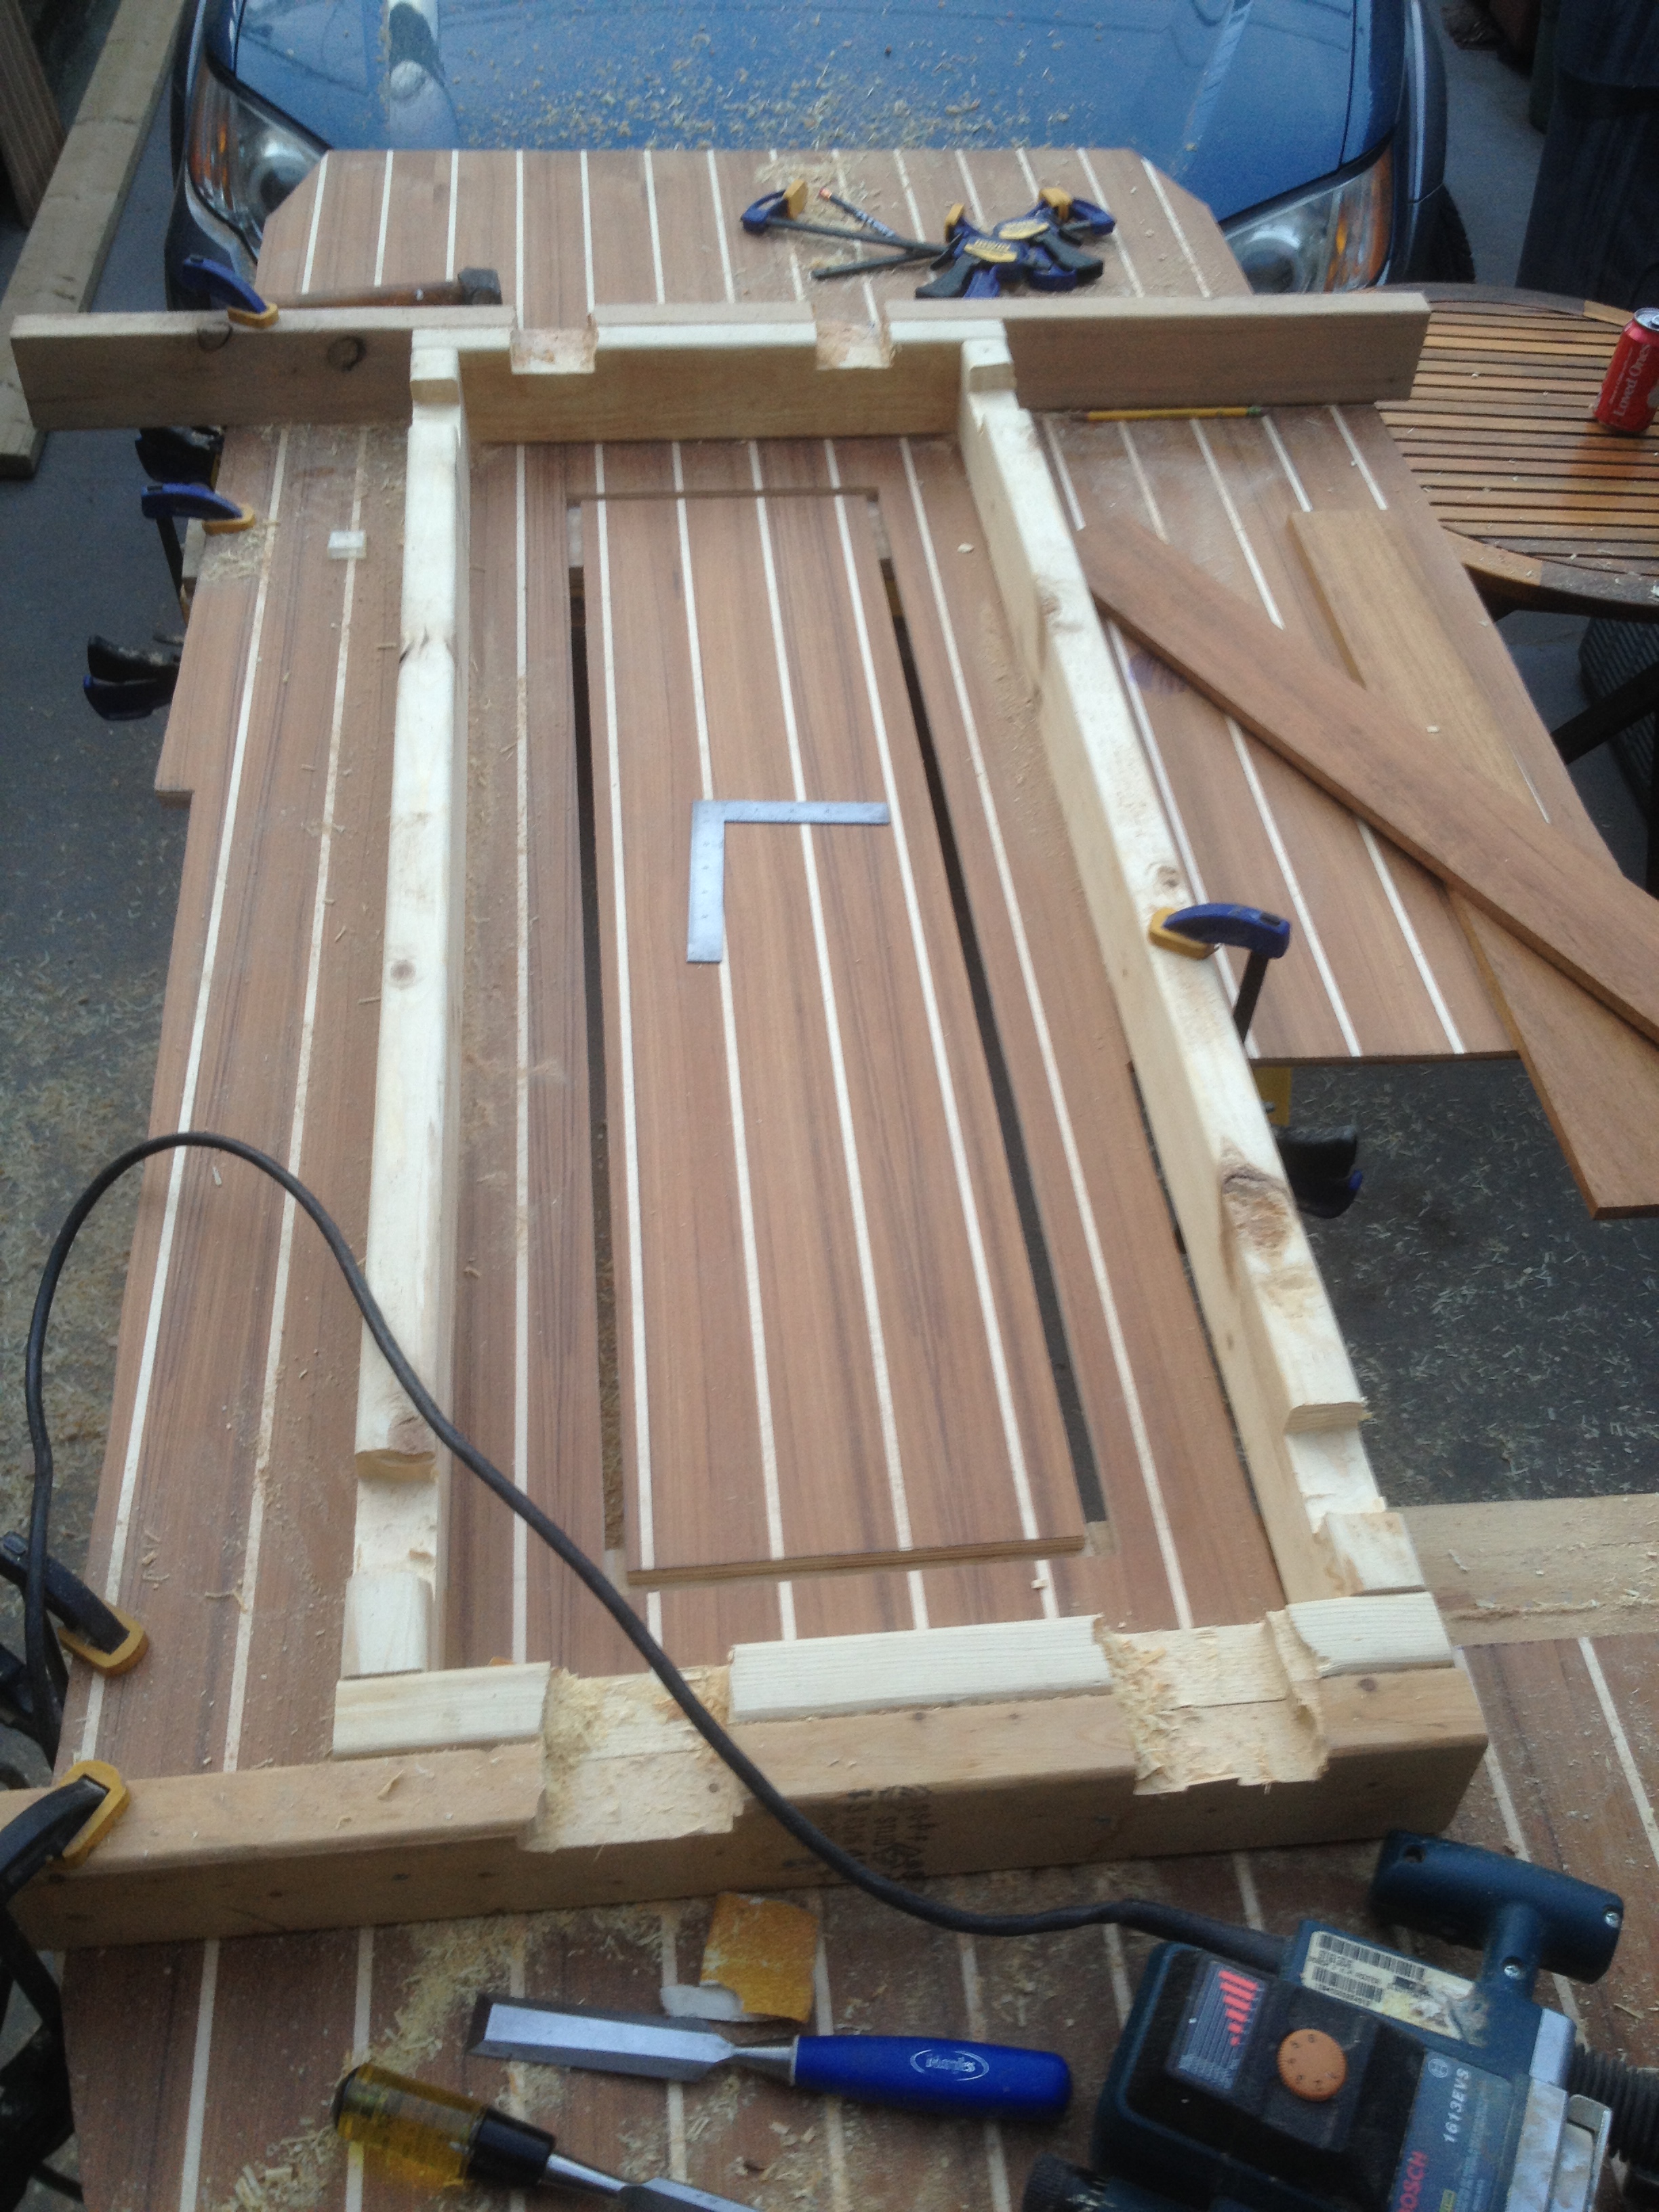
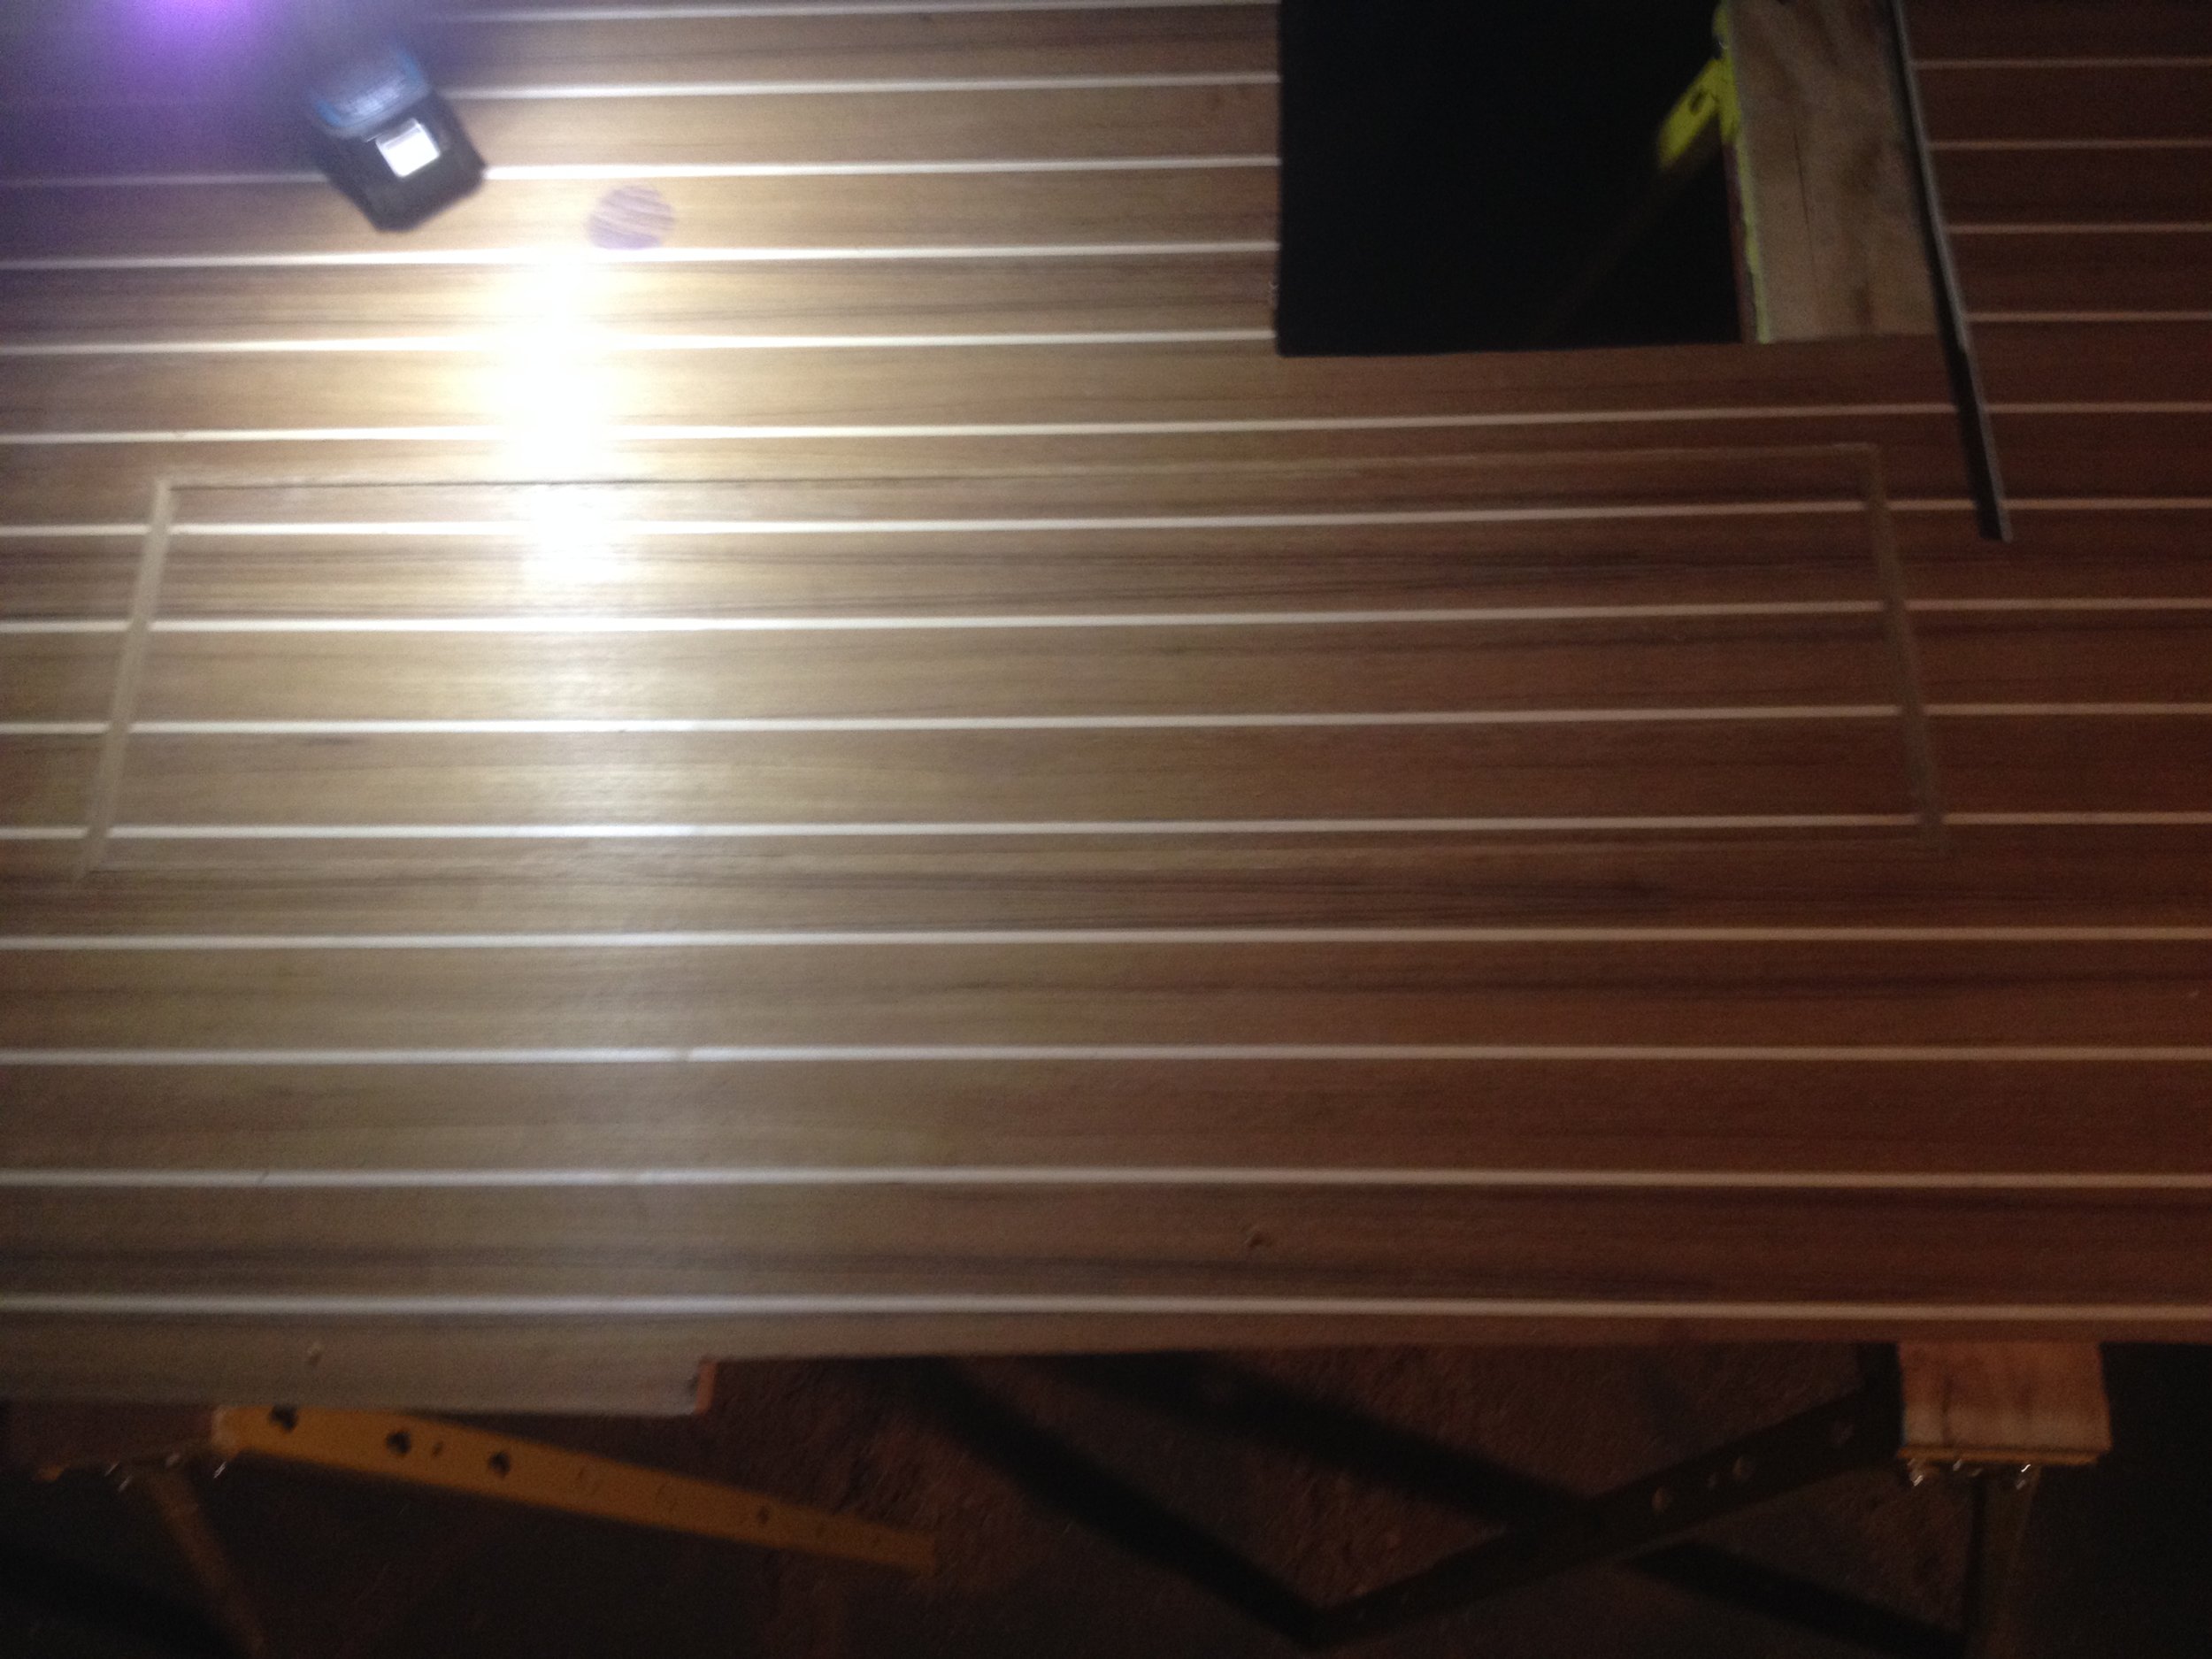
The last step in a customer's DIY cabin sole replacement was this section of removable flooring in front of the V berth. Just buying a new sheet of Teak and Holly ply would work but a new sheet is $250 and this only needed around a quarter sheet so I got creative and cut scrap pieces to fit.

It looks like just two pieces of ply cover the surface but there are actually seven pieces. The picture annotated with red lines shows the approximate locations of the seams. 

The trim is solid Mahogany and was left unbunged until final fitting. The bit of trim that is part of the sole was added because there wasn't enough ply to work with. A mistake or two and this project would not have worked out. A Mahogany strip could also have been inlaid at the obvious seam for a more finished look but the customer was happy with the result as is. 


Custom VHF Radio Adapters

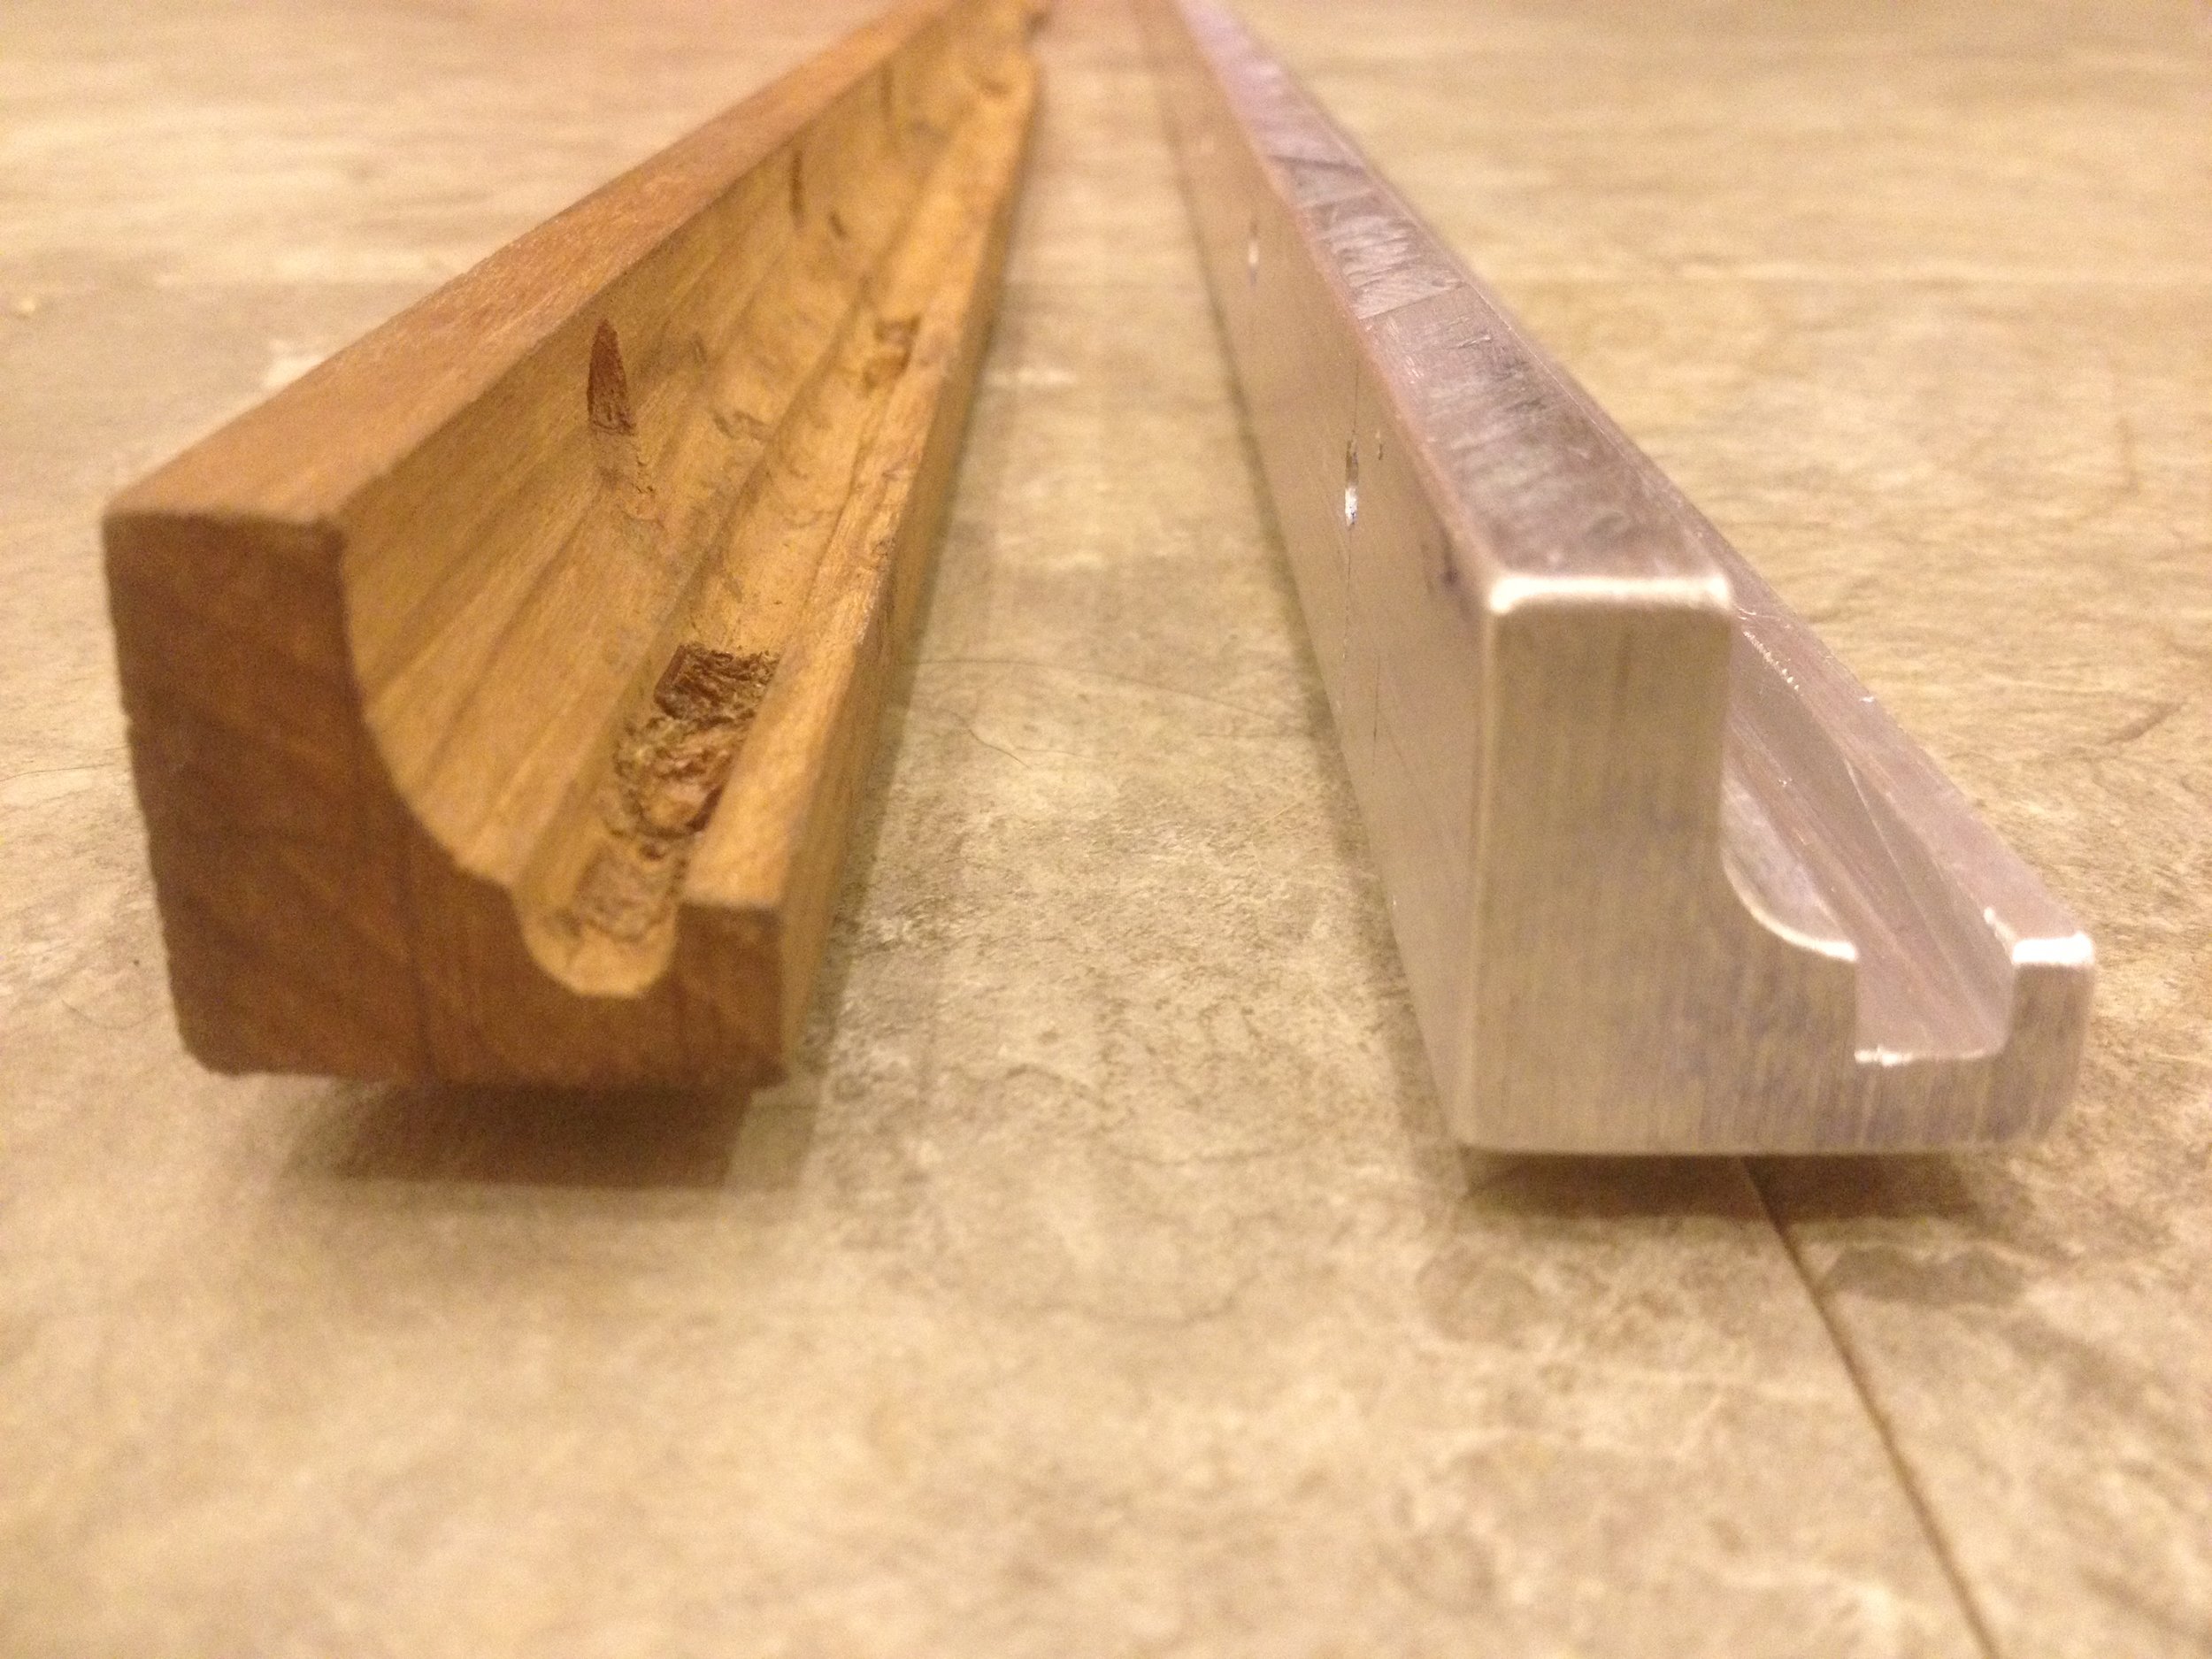
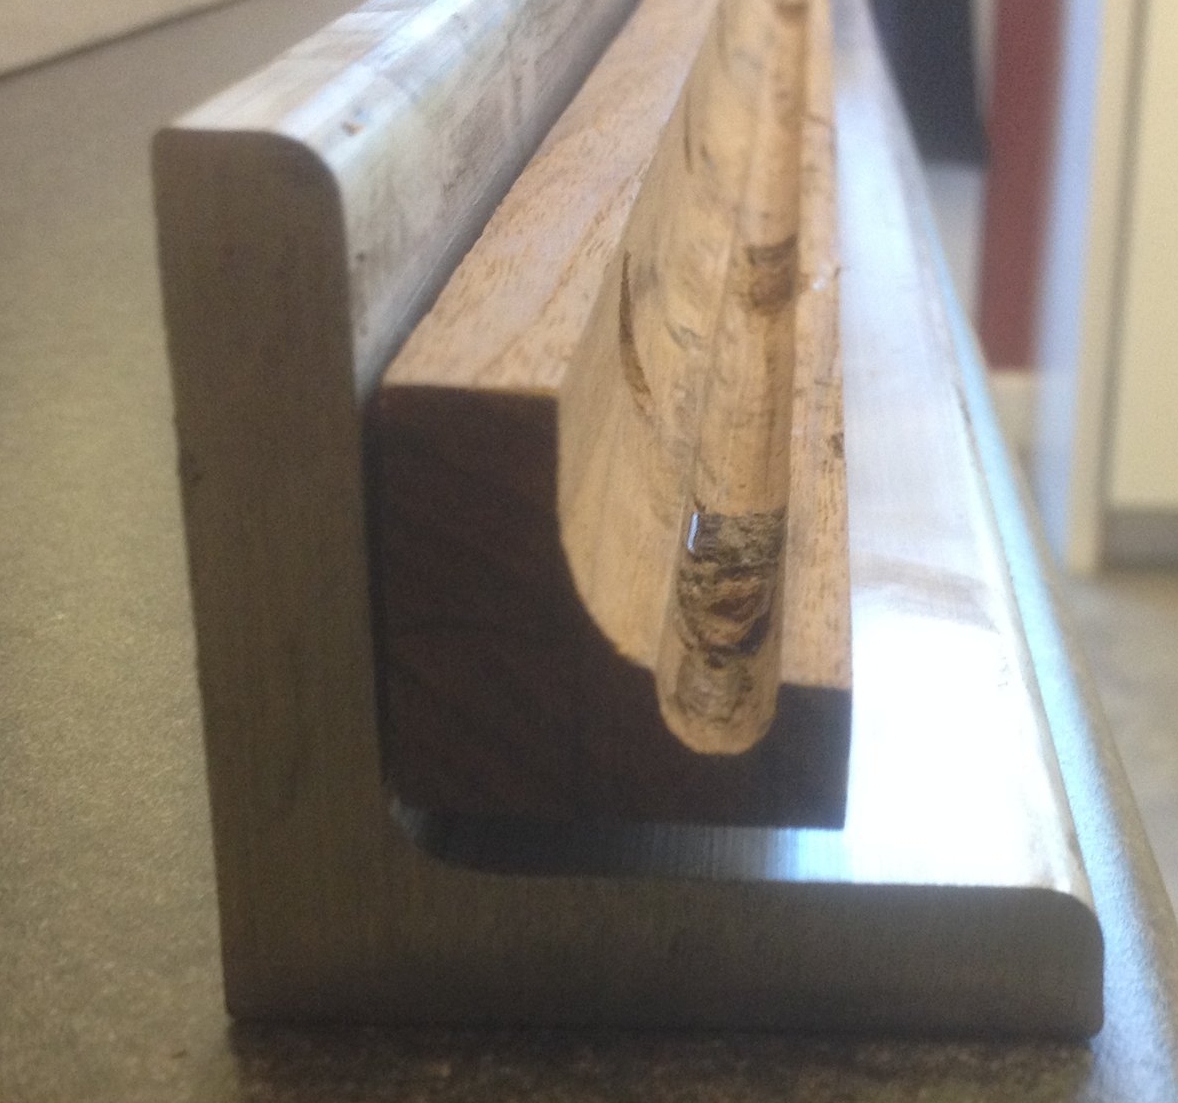
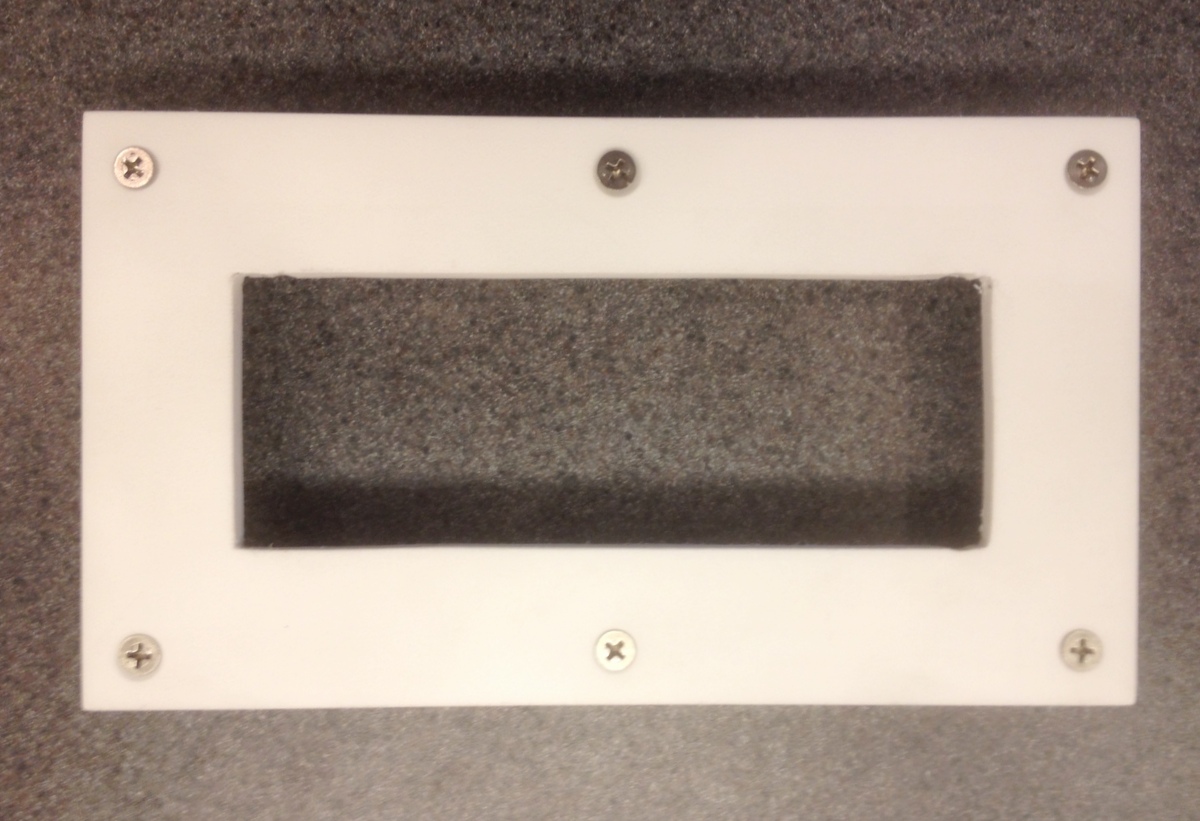
There are really no size standards for panel mount VHF radios, even within a brand. Models were much larger ten to fifteen years ago and so an adapter is often needed to fit a new radio. I use 1/4" starboard, 316 stainless machine screws, 316 stainless nylock nuts and 316 stainless washers to fabricate and mount the adapters. Stainless on stainless should be coated with anti-seize so that the fasteners don't gall and lock together permanently. I like the Loctite 37617 Silver-Grade stick for this, it's like a big chapstick. Regular anti-seize is wet and greasy and gets everywhere, some types even burn your skin.

A good basic radio is the Icom 324G which includes a GPS receiver. It displays the GPS coordinates on screen so you can read them out loud when making a transmission and it also includes them automatically when you press the distress button. It will also let you disable the internal GPS if you later add an external networked GPS receiver.  

This bracket kit securely mounts the 324G when panel mounted.  

Here are a couple of 324G installations using custom fabricated adapters:

EisenShine Really Works

I bought the same kit shown below direct from the company back at TrawlerFest in Baltimore. They had a pretty convincing before and after display. And Practical Sailor says this is the best product for restoring clear vinyl and acrylic windows.

My project was a worn, tired dodger where the glass had lots of scratches and scuffs.  First I submerged the dodger in a bathtub of water with baby soap and gently agitated  to get rid of as much dirt and grit as possible. There was a lot of dirt and grit!

After letting the dodger dry I laid a canvas tarp on my kitchen floor and then covered it with old bath towels to use the kit.   I wanted to avoid adding scratches while trying to remove them.   

Step 1:  Clear Vinyl Cleaner

This step is a lot like using glass cleaner on a window. I let the spray sit for 20 seconds before wiping according to the directions. I was extra careful to get the little bit of glass under the Sunbrella seams so that dirt would not bleed out in later steps and scratch while I was trying to polish. This was a good move because there was a lot of crud under there that stained the Step 1 cloth. 

Step 2: Clear Vinyl Stripper

This step is where the magic happens. After doing both sides of the window there was a terrific improvement in clarity. The glass was also much smoother so I expect it will shed water much more readily now.  For each panel of glass I repeated Step 2 twice to be sure I didn't miss anything. Scratches, scuffs and hazing all disappeared.  Remaining were a few deep scratches and scuffs.  The directions recommend performing Step 3 on each panel after Step 2 but I did Step 3 all at once on each side of the dodger without any problems. 

Step 2 isn't easy, I worked up a sweat polishing each panel and I had to switch arms. But the effort was worth it!

Step 3: Clear Vinyl Protectant

This step is easy, wipe on, let it dry, get it wet again and buff until dry. Enjoy your newly clear windows!

Conclusion

Even after my excessive repetition of Step 2 there was still plenty of product left to repeat the entire process and plenty of product to reapply the cleaner and protectant for later maintenance.  I recommend marking the cloths and sponges with a sharpie so that you don't contaminate the Step 2 cloth with Step 1 grit.

A gallery with a sample of my results is below. The clarity up against the towel masks just how good the results were but the view through the plastic into the distance gives you a good idea of just how much improvement I saw. Below the gallery is a picture from Eisen Shine showing what comes in a kit along with a link to purchase at Amazon.com.

For folks thinking of selling their boat I think a little sweat equity to get better looking glass would be a great move. How many awesome boat products are only $60?